
Photography Tips for Beginners DSLR: A Practical Checklist
What if better DSLR photos came from noticing more, not changing more settings? If you’re unsure what to check before pressing the shutter, you’re not alone. These photography tips for beginners DSLR users can feel like a lot to take in, especially when every guide seems to introduce another term or piece of gear.
You don’t need an expensive lens or editing skills to make more intentional pictures. A simple, repeatable checklist can help you see how focus, light, and framing shape each image, then show you what to practise next. Here’s what to look for before you take a photo, how to make practical adjustments, and how to build confidence with the camera you have.
Key Takeaways
- Start with the subject and scene. You don’t need to master every camera control to make a thoughtful photo.
- Practise these photography tips for beginners DSLR learners can use straight away: check focus, light, and framing before you shoot.
- Make the most of your current camera and lens by adjusting your position and viewpoint before considering new gear.
- Follow a repeatable sequence: observe, simplify, compose, focus, then review your photo.
- Build consistency by taking a small set of frames and changing one decision at a time.
Photography Tips for Beginners DSLR: Begin with a Simple Pre-Shoot Checklist
You don’t have to understand every dial or menu before you can make a thoughtful photograph. Start with a few simple checks. A DSLR gives you room to learn how the camera works, but first decide what matters in the scene and make sure the camera is ready to capture it.
A pre-shoot routine helps prevent small problems from distracting you. Prepare your camera, identify your subject, and scan the edges of the frame before you shoot. These are photography tips for beginners DSLR users can practise on every outing.
Check your DSLR before you start shooting
A short equipment check can prevent small problems from interrupting a good moment. Before you head out, confirm the battery is charged and the memory card has space. Check that the lens is securely attached and free of visible smudges. If it needs cleaning, use a suitable lens cloth rather than rubbing it with clothing.
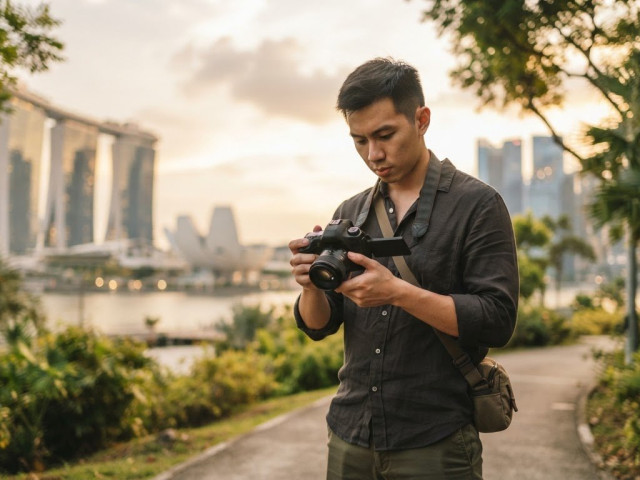
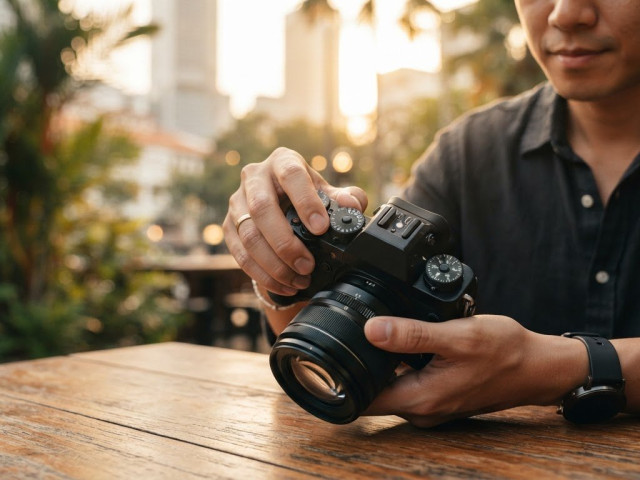
Adjust the strap so it sits comfortably and won’t swing into your way. Hold the camera with one hand on the grip and the other supporting the lens. This gives you a steadier starting position and makes it easier to bring the viewfinder to your eye.
Decide what you want the photograph to show
Before raising the camera, name the main subject in a few words: a person’s expression, a pattern of shadows, or a bright flower against green leaves. This pause gives your photo a clear purpose. You can then decide where to stand and what to leave out, rather than trying to fit everything into one frame.
Look beyond the subject, too. A bright sign, a branch that seems to grow from someone’s head, or a cluttered edge can pull attention away. Take a step to either side, lower or raise the camera, or move closer to simplify the background. The viewfinder shows a bounded slice of the scene, so check all four edges before pressing the shutter.
If you’re curious about how the parts inside your camera work together, the Digital single-lens reflex camera overview offers useful background. You don’t need to study the mechanics before taking pictures. Let curiosity support your practice, not delay it.
- Battery: Check the charge before leaving.
- Memory card: Confirm there’s room for new photographs.
- Lens: Make sure it’s attached securely and clean.
- Grip and strap: Adjust both so the camera feels steady and comfortable.
- Scene: Name your subject and scan the frame for distractions.
For guided practice applying these habits, Pictorial’s Basic Photography Course offers hands-on learning. The course is for All age, min. 9, and includes Complimentary camera loan (if needed). You can bring your own camera or use the loan camera, so you can learn the fundamentals without owning a DSLR.
Make Stronger DSLR Photos by Checking Focus, Light, and Framing
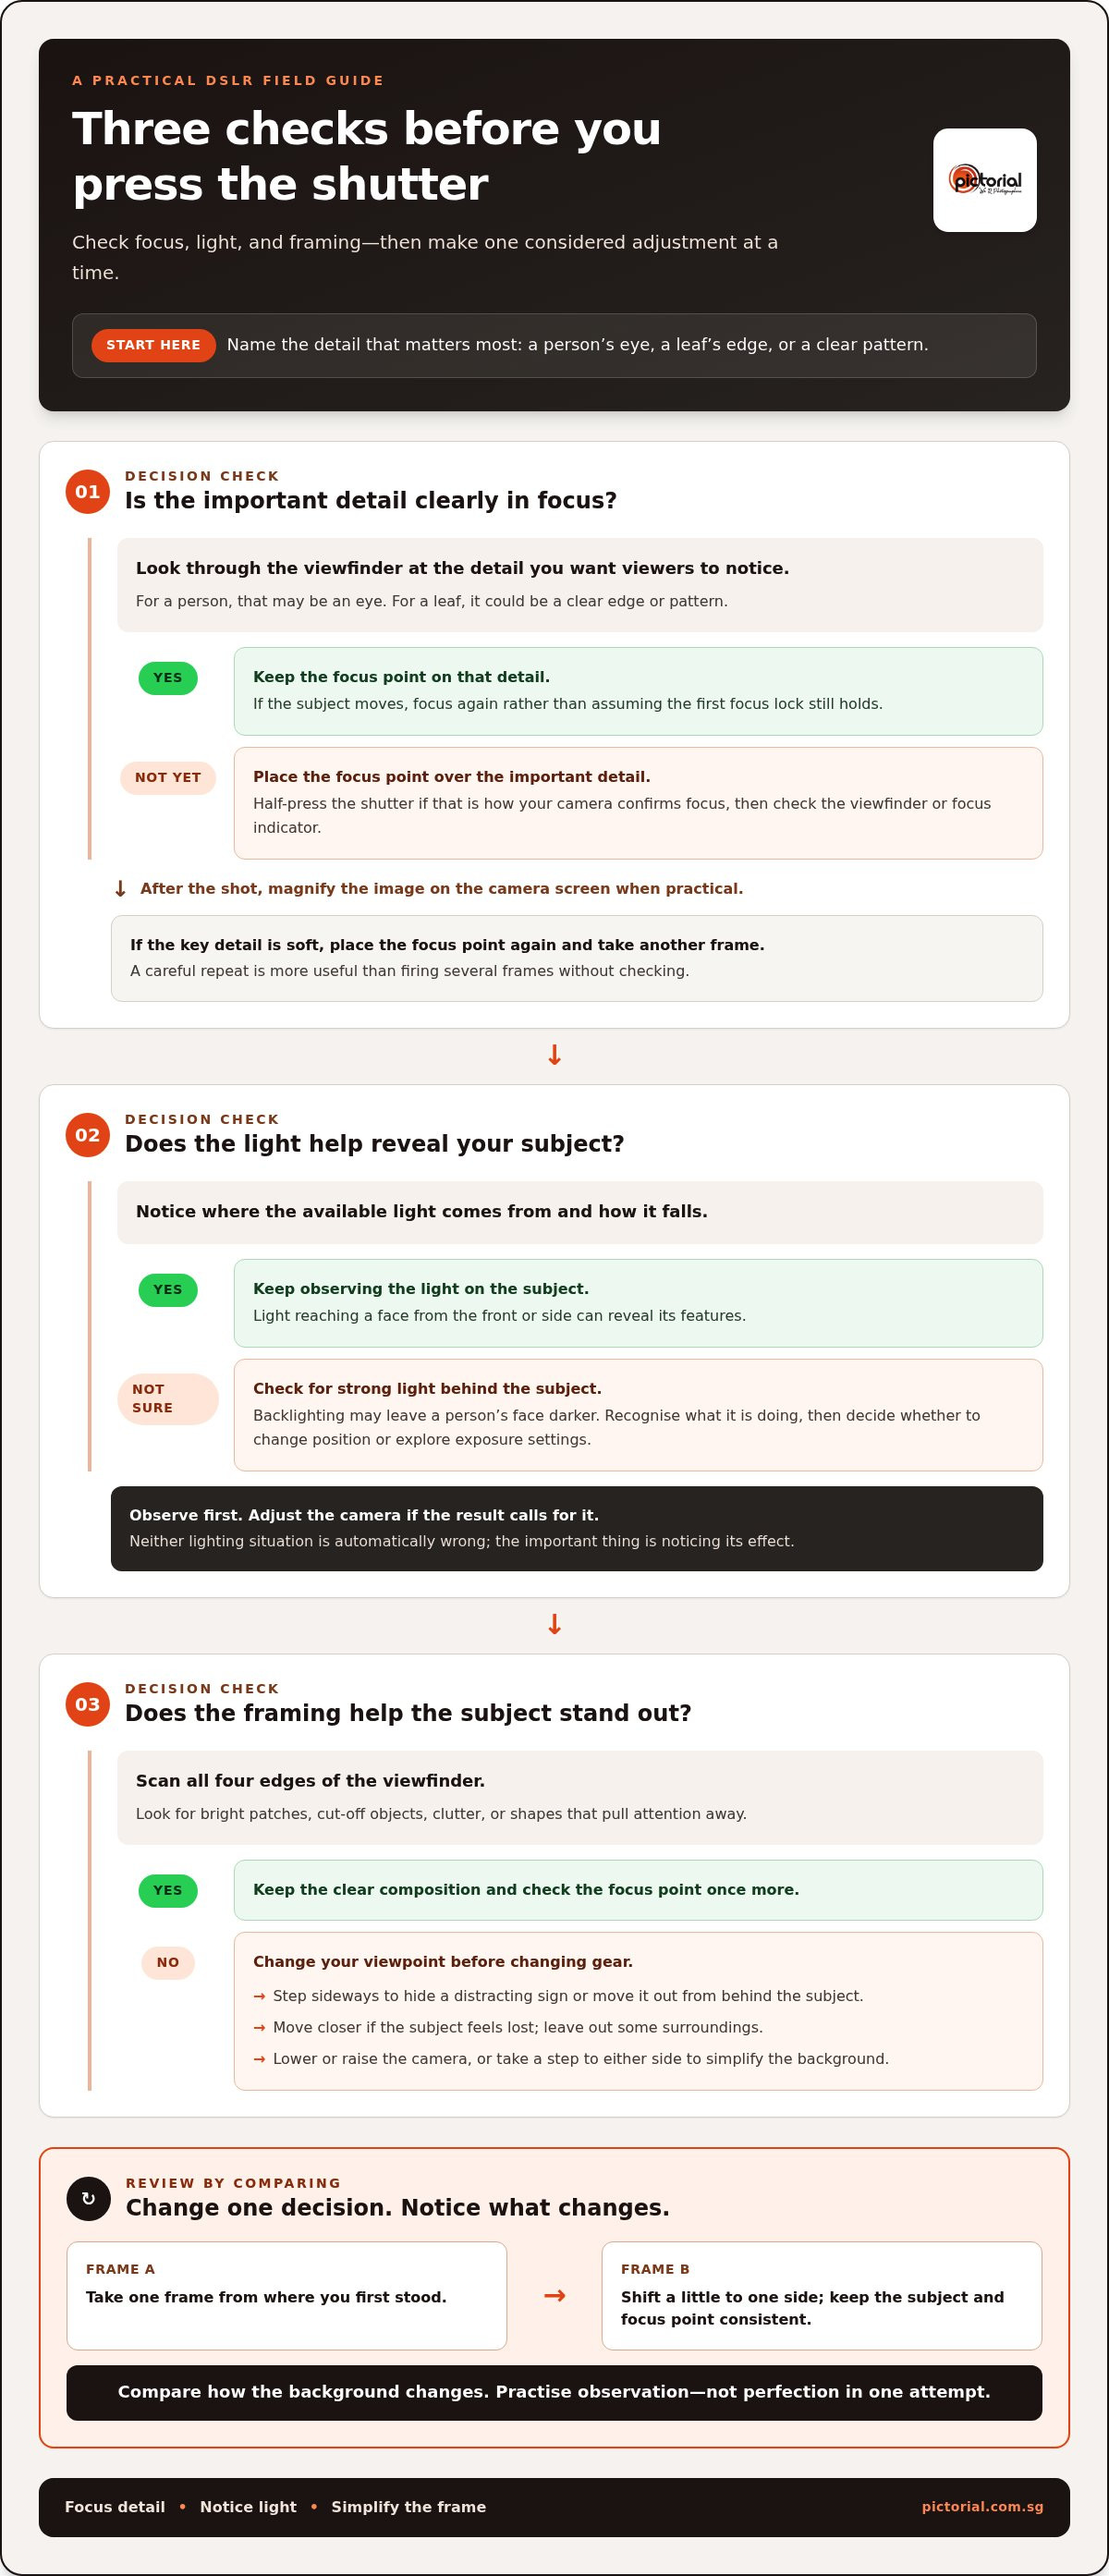
Once you’ve chosen what to photograph, make three quick visual checks: is the important detail sharp, does the light help reveal the subject, and does the frame give it room to stand out? These photography tips for beginners DSLR users can apply with a familiar setup. They complement lessons on autofocus modes, exposure, and shutter speed, but you can use them before learning those controls in depth.
These checks help catch problems before they become disappointing frames. A portrait may be nicely composed but feel unsuccessful if the eyes are soft. A sharp flower can still get lost against a busy background. Address one concern at a time so you can tell which change helped.
Check that the subject is clearly in focus
Place the camera’s focus point over the detail that matters most. For a person, that may be an eye; for a leaf, it might be a clear edge or pattern. Half-press the shutter if that’s how your camera confirms focus, then check the viewfinder or focus indicator. If the subject has moved, refocus rather than assuming the first focus lock still holds.
After shooting, magnify the image on the camera screen when practical. Check the important detail, not just whether the whole frame looks pleasing at a glance. If focus landed in front of or behind your subject, place the focus point again and take another frame. Repeating the shot with care is more useful than firing several frames without checking.
Look at light and background before pressing the shutter
Notice where the available light comes from and how it falls. Light reaching a face from the front or side can reveal its features; strong light behind a person may leave the face darker. Neither situation is automatically wrong, but recognising it helps you decide whether to change position or explore exposure settings. Start by observing, then adjust the camera if the result calls for it.
Small movements can change what the frame includes. If a background sign competes with your subject, step sideways until it’s hidden or no longer sits directly behind them. If the subject feels lost, move closer and leave out some of the surroundings. Check the viewfinder edges for bright patches, cut-off objects, and shapes that pull your attention away.
A clear subject, considered framing, and intentional focus work together to guide the viewer’s eye. Try a simple comparison: take one frame from where you first stood, then shift a little to one side and make another. Keep the subject and focus point consistent, and notice how the background changes. You’re practising observation, not chasing a perfect result in one attempt.
Pictorial’s Basic Photography Course provides hands-on practice applying these choices. It is for All age, min. 9, and helps you connect what you see through the viewfinder with the decisions you make before each shot.
Choose a DSLR Setup for the Scene Without Chasing New Gear
It’s easy to assume a new lens will solve a photograph that feels too busy or too distant. Often, you can learn more by working with the lens already on your camera. A familiar setup lets you practise framing and viewpoint without adding unfamiliar controls. These photography tips for beginners DSLR learners can use are about making deliberate choices with the equipment they have, not building a larger kit.
Work with the lens already on your DSLR
If your lens zooms, try its wider view, then its tighter view, and notice what changes in the frame. A wider view can include more surroundings; a tighter view can give the subject more space in the composition. You can also move closer or farther away. Your position changes how large the subject appears in relation to nearby and distant background details.
For example, if a tree branch seems to overlap a person, shift sideways and check the viewfinder again. A small change in viewpoint may separate the shapes more effectively than changing lenses. Pick one lens for a practice walk and explore a few framing choices before switching equipment. Keeping the setup familiar makes it easier to see how your decisions shape the image.
Use this comparison as a starting point, not a set of rules. The best framing depends on what you want the picture to include.
| Kit-lens view | Try it for | Notice |
|---|---|---|
| Wider | A subject with its surroundings | Whether extra background helps tell the story or adds clutter |
| Middle | A balanced view of subject and setting | How the subject sits within the scene |
| Tighter | A detail or a less busy view | Which distractions disappear from the edges |
Match your camera support to the situation
For ordinary handheld photographs, hold the grip firmly with one hand and support the lens with the other. Keep your elbows close to your body and settle your stance before taking the picture. A steady hold helps limit camera movement, especially when you’re learning to make controlled frames rather than rushing between shots.
If you’re photographing a still subject and need extra steadiness, rest the camera or your arms on a stable surface where it’s safe to do so. This can help reduce movement, but it won’t choose the subject or improve a distracting viewpoint. A tripod or other accessory isn’t required to practise composition.
Try a simple exercise: photograph one subject from where you stand, then take a few steps and photograph it again with the same lens. Compare how the background and surrounding space change. You’ll build a clearer sense of what your current setup can do before deciding whether another lens would genuinely help. Pictorial’s Basic Photography Course offers structured beginner practice with these camera choices. It is for All age, min. 9.
Use This Five-Step DSLR Checklist While You Practise
A repeatable routine turns each outing into useful practice. Rather than trying to remember every camera setting, work through the same five decisions before you take a photograph: observe, simplify, compose, focus, then review. Return to these photography tips for beginners DSLR users can practise, whether the camera is in Auto or you’re beginning to explore its controls.
Follow the checklist before each photograph
Move through the steps in order, but keep them light. The point is to notice one thing at a time, not to slow down every photograph or make the process feel like a test.
- Observe: Pause and identify the main subject. Notice what first draws your eye and what the scene is doing.
- Simplify: Look for distracting elements. Try shifting your position or excluding part of the scene rather than including everything.
- Compose: Decide where the subject should sit in the frame and check the edges. Leave enough space around it to support the picture you have in mind.
- Focus: Place the focus point over the detail that matters. Take the photograph once you’re satisfied that the subject is clear.
- Review: Check the result, then make one deliberate adjustment if needed. You might change your position, framing, or focus point before taking another frame.
Keep the exercise small. Take a short set of photographs of the same subject, changing just one decision between frames. For instance, keep your position and focus consistent while adjusting the composition, then compare the results. If you change several things at once, it becomes harder to tell which choice affected the image.
As you grow more comfortable with the routine, you may want to move beyond Auto and understand how camera controls shape the result. A beginner guide to manual camera control can help you explore that step at a manageable pace. You don’t need to switch modes all at once. Practise one control when you’re ready and keep the visual checklist as your anchor.
Review your photographs to choose the next practice goal
After your practice set, choose one image where the subject reads clearly and one that feels less successful. Describe what you can see, not what you think of yourself as a photographer. Perhaps the subject is easier to recognise in one frame, or a background shape competes less with it. That comparison points to a choice you can repeat or adjust.
Pick one skill for your next outing, such as keeping the focus point on the subject or simplifying the edges of the frame. A single goal gives your attention somewhere useful to go. For more ideas on building a steady routine, explore this practical guide to improving photography skills.
A consistent checklist makes each practice set easier to learn from.
Build DSLR Confidence with Practice and Personal Guidance
Confidence grows when you practise a few useful decisions regularly, not when you collect more equipment. Bring the same camera on your next outing and choose one thing to work on, such as keeping a moving subject in focus or noticing how light changes across a scene. Repeating a focused exercise helps camera choices feel less like guesswork and gives you a clearer sense of what to practise next.
It’s also normal to reach a point where taking more photographs doesn’t explain why one frame works better than another. An instructor can help you connect camera concepts to what you see through the viewfinder, then practise those choices outdoors in changing light and real surroundings. Specific feedback helps turn practice into clearer decisions about where to stand, what to include, and when to take the photograph.
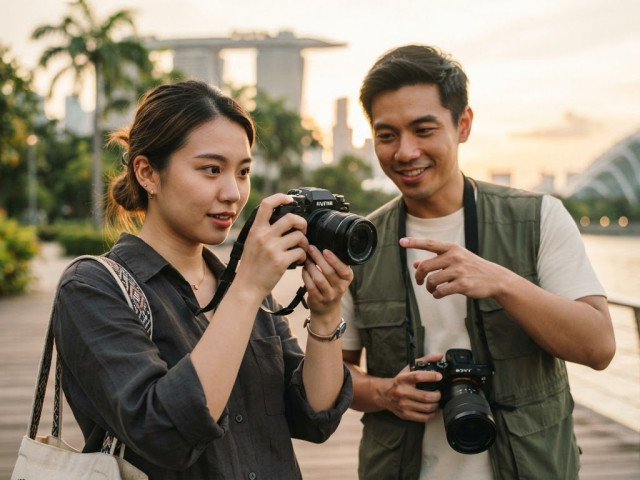
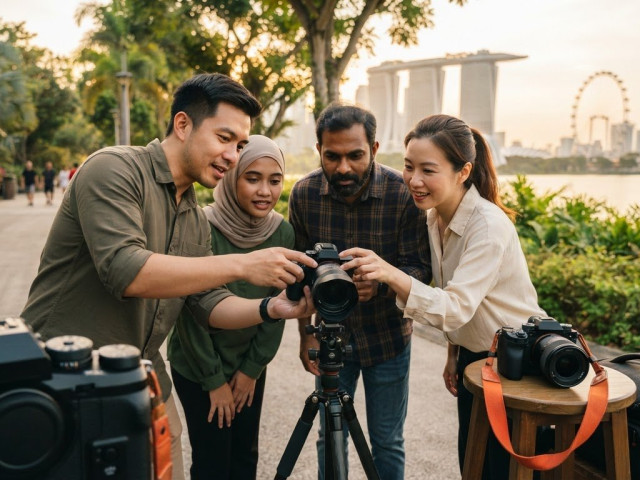
Pictorial’s photography classes have a maximum of three participants and include practical outdoor guidance. In a small group, learners have room to try a technique, look at the result, and ask questions as they work through the process. Bring your own camera or use a complimentary loan camera while practising photography tips for beginners DSLR users can apply in everyday situations.
Know when a beginner course could help
Self-guided practice is valuable, but structured lessons can help you connect fundamentals and apply them consistently. Pictorial’s Basic Photography Course is for beginners and includes 3 sessions, 2 hours each. 9. A clear learning structure gives you time to practise a concept, notice what changes, and build on it.
Take a low-pressure next step
You don’t need to own a DSLR to start learning. The course includes Complimentary camera loan (if needed), so you can take part even if you’re still deciding which camera to use. It also includes a Certificate of Completion. Guided learning gives you a practical setting to build familiarity with the camera and its controls.
Before choosing a course, try a simple practice routine: photograph a subject, review the result, and write down one decision you’d change next time. If you’d like guidance working through those choices outdoors, the Basic Photography Course offers structured practice. Keep making photographs with the camera you have, and use guided learning to build on what you discover.
Keep Your Next Photo Simple and Intentional
Your next step doesn’t need to be a major project. Take your camera out, choose one subject, and give yourself time to make a few deliberate decisions. The photography tips for beginners DSLR learners practise most often become useful habits: look closely, make a choice, and learn from the frame you make.
If you’d value guidance as you build those habits, Pictorial’s Basic Photography Course is for All age, min. 9. Founded in 2005 and led by professional photographer Keith, Pictorial has taught more than 20,000 students. Hands-on learning can help turn your questions into practical next steps, one photograph at a time.
Keep practising with the camera you have. Each thoughtful frame is a chance to see a little more clearly and grow at your own pace.
Frequently Asked Questions
Is a DSLR difficult for a beginner to use?
No, you can start using a DSLR without understanding every menu or setting. Begin in Auto, then learn one control at a time, such as how autofocus selects a subject. For example, photograph a stationary object and check whether the camera focused where you expected. Small experiments make the controls easier to understand, and you can keep using Auto while you build confidence.
Can I take good DSLR photos with a kit lens?
Yes, a kit lens is enough to practise composition, focus, and light. Try photographing a cup on a table, first with more of the room in view, then with a tighter frame that removes distracting details. If your lens zooms, compare its wider and tighter views. You can learn a lot by noticing what each version includes before considering another lens.
What should I photograph first when learning DSLR photography?
Start with a subject that stays still, such as a piece of fruit, a houseplant, or an object on a desk. A stationary subject gives you time to explore the viewfinder and inspect the result without needing to react quickly. Try photographing it in different light, such as near a window and farther from it, and observe how the mood and visible detail change.
How often should a beginner practise with a DSLR?
Practise regularly, even if each session is short. One focused outing a week can give you a manageable rhythm: choose a subject, make a handful of photographs, and review them afterwards. Give each session a single aim, such as photographing in shade or making a clear picture of a moving person. If you can’t go out, practise at home with available light.
Do I need editing software to take better DSLR photos?
No, editing software isn’t necessary for learning to make stronger photographs. Start by improving decisions you make before taking the picture, such as choosing a useful viewpoint or waiting for a cleaner background. You can review images on your camera or computer without editing them. Software may help with later adjustments, but it can’t replace learning to notice what you want the photograph to show.
Can I learn DSLR photography without owning a camera?
Yes. Pictorial’s Basic Photography Course includes Complimentary camera loan (if needed), so you can practise without bringing your own DSLR. The course is for All age, min. 9. During a lesson, notice how the instructor handles the camera and try the controls yourself. That hands-on experience can help you understand what feels comfortable before deciding whether to use or buy a camera of your own.
Is a DSLR still worth learning to use in 2026?
Yes, especially if you already own one or have access to one. A DSLR can still teach lasting fundamentals such as focus, lens choice, and framing, and those ideas apply across camera types. If you’re deciding what to learn on, consider the camera you can practise with consistently rather than assuming you need a newer system.

Disclaimer
© Pictorial | All Rights Reserved.