
Learn Photography Composition Through Framing, Balance and Practice
A stronger photograph often starts with moving your feet, not changing your camera settings. Composition is how you arrange what appears in the frame to guide attention and shape the feeling of a photo. To learn photography composition, practise noticing lines, balance, depth, framing and negative space, then choose what best suits the scene.
If composition feels like a set of rules to memorise, you’re not alone. The rule of thirds is a useful starting point, but it’s a guide, not a formula. Notice how different choices affect a photograph and how small changes in viewpoint can make a subject stand out.
We’ll look at leading lines, foreground and background, balanced and more dynamic arrangements, and ways to simplify a busy frame. Most importantly, you’ll find practical ways to practise, so composition becomes less about guessing and more about making deliberate choices as you shoot.
Key Takeaways
- Use lines in a scene to guide attention towards your subject and give the image a clear path for the eye to follow.
- Balance visual weight rather than aiming for perfect symmetry, and use foreground details to create a stronger sense of depth.
- Try placing your subject near a rule-of-thirds intersection, then decide whether a centred composition better fits the moment.
- Remove distractions when they weaken the image, or use negative space to give a subject room to stand out.
- Build your eye through practice: change your position, orientation and framing, then notice how each choice changes the photograph.
1. Leading lines
What are the basic rules of photography composition? Choose a clear main subject, arrange elements to guide the viewer’s eye, and remove distractions that compete for attention. Use tools such as leading lines and the rule of thirds as guides, not fixed formulas. The best choice depends on what you want the photograph to show.
A leading line is an edge, path or repeated shape that draws attention through a frame. A pavement edge can point towards a person, while a row of trees can lead to a distant building. Before taking the photo, trace the line with your eyes and notice where it ends. When it leads to the main subject, it can create a clear visual route and add interest.
Frames within a photograph can strengthen that route. A doorway, window, tunnel or gap between branches can surround the subject and separate it from nearby objects. For example, photograph a street scene through an open doorway, with a person in the brighter space beyond. The doorway draws attention to the subject, while the street supplies lines that lead the eye deeper into the image.
Diagonal lines often feel more active than horizontal or vertical lines. A railing crossing from a lower corner towards a person can create movement and depth. The Diagonal Method uses lines extending from each corner at 45 degrees, giving you a way to examine how shapes divide the frame. Triangles can also organise a scene: three people, or a person and two nearby objects, may form a triangle that holds the composition together.
Look for lines made by light as well as solid objects. Low-angle sunlight can cast sharp building shadows across a pavement. As the sun moves, the shadows shift and create different paths through the same scene. Place a person where a shadow points, or use parallel shadows to lead towards a bright doorway. Check the edges of the frame too, so a dark strip doesn’t pull attention away.
Perspective changes how leading lines appear to converge. Stand in the centre of a covered walkway and its ceiling edges may narrow towards a person in the distance. Move to one side, and the lines cross the frame differently. To learn photography composition, compare viewpoints: take one frame at eye level, then lower the camera and move closer to the path. Notice whether the lines strengthen the subject or lead out of the picture.
Try a simple field exercise: find a path, fence or building edge, then make three frames. In the first, let the line lead directly to your subject. In the second, place the subject where two lines meet. In the third, let a line enter the frame but stop before the subject. Comparing the images shows how direction, framing, diagonals and perspective shape the viewer’s attention.
2. Balance and foreground, middle-ground and background
How do composition techniques differ for portraits, landscapes and street photography? In a portrait, balance the person’s visual weight with their gaze, pose or open space. For a landscape, use foreground, middle ground and background details to lead through the scene. In street photography, balance people against signs, buildings or passing objects without letting busy details overwhelm the moment.
Balance is about how elements hold attention across the frame, not about matching both sides exactly. Imagine a small, bright red umbrella on one side and a larger, muted building on the other. The umbrella may carry more visual weight because its colour contrasts strongly with its surroundings. A visually heavier element often needs less space to keep the photograph from feeling lopsided.
Symmetry is one straightforward way to create balance. A person standing beneath the centre of a covered walkway can anchor repeating pillars on both sides. Exact symmetry may feel still or formal, while a small difference, such as one open doorway, adds tension. Juxtaposition creates another kind of balance: place a tiny figure beside a large wall, or a bright object against a dark background, to make scale or contrast part of the photograph’s meaning.
Negative space can counterbalance a prominent subject without adding another object. A person near the left edge may feel balanced by open sky to the right, especially if they’re looking into that space. Compare the areas and their visual weight rather than counting objects. A vivid sign, dark tree or large face can attract more attention than a broad, pale wall.
How do foreground, middle ground and background create depth? A foreground object gives the viewer a nearby reference, the middle ground holds the main subject, and the background shows what lies beyond. For example, a railing in front, a cyclist midway down a path and buildings behind create layered distance in a flat photograph.
Try shifting position to make those layers clearer. At a park, lower the camera until nearby grass enters the bottom of the frame, keep a friend on the path, and include trees behind them. If the foreground hides the subject, step sideways or raise the camera. Each layer should describe distance, place or scale, rather than crowd the frame.
What are the best free photography composition courses or resources in Singapore? Start with free online composition tutorials, then practise their ideas in familiar places, such as a neighbourhood walkway or park. A useful exercise costs nothing: photograph one scene with a centred subject, then shift the subject and compare how the empty space changes the balance.
For portraits, landscapes or street scenes, review the frame’s visual weight before pressing the shutter. Notice the brightest, darkest and largest elements, then adjust your position or framing until each one supports the subject.
3. Rule of thirds
The rule of thirds gives you a quick way to place a subject without automatically centring it. Imagine dividing the frame into a three-by-three grid, with two equally spaced horizontal and two vertical lines. The four intersections are useful places to position a focal point. For a portrait beside a window, placing the person’s eyes near an upper intersection can leave room for the view.
Some cameras can display a thirds grid in live view, making the guide easier to use while framing. If your camera offers this option, turn it on and compare the grid with the scene. For a landscape at Marina Barrage, you might align the horizon with a horizontal gridline, then place a person near one of the lower intersections. The grid helps organise the frame, but it doesn’t decide what matters most.
Try the same approach with different scenes. For a close-up of a flower, position its centre near an intersection and leave space in the direction its stem bends. For a moving cyclist, place them off-centre with open space ahead. That space gives the viewer’s eye somewhere to travel and makes the cyclist’s direction easier to read. Keep the subject’s visual weight in mind, since a bright object can attract attention even when it sits away from a gridline.
The rule works alongside other geometric guides, rather than replacing them. Diagonals can lead the eye towards a subject, while repeating rectangles in a building can create order. In a photograph of a person beneath an HDB block’s repeating windows, the thirds grid can position the person, and the building’s shapes can supply structure. Choose the guide that supports the scene’s main idea, not every guide at once.
Sometimes the rule of thirds adds nothing. A centred subject can suit a symmetrical scene, such as a reflection with matching trees on both sides of a pond. Moving the subject off-centre may weaken the mirror-like effect. A close portrait may also need the face near the middle, especially when surrounding space distracts from the expression. Treat the grid as a starting point, then check whether the placement serves the photograph.
For a practical comparison, photograph the same subject twice. First, place it near a grid intersection; then centre it. A coffee cup on a table works well because its shape stays still as you change the framing. Compare how the empty areas, background objects and subject’s visual weight affect each image. The better frame is the one that makes your point clear, whether it follows the guide or breaks it.
4. Filling the frame, negative space and minimalism
Filling the frame means giving the main subject enough room to become the photograph’s clear point of attention. Move closer to a market vendor arranging fruit, for example, until the vendor’s hands, face and produce dominate the image. Check the edges before taking the photo. A stray sign or bright plastic bag can pull attention away from the moment. Filling the frame doesn’t mean removing every background detail; keep details that help explain the subject.
Negative space is the open area around or beside a subject. Use it to create scale and context: a lone person beneath a broad sky appears small, while the same person photographed close feels more prominent. At East Coast Park, leaving the sea and sky around a kite flyer can suggest openness and distance. The person and kite form positive space, while the less detailed surroundings form negative space. Both parts shape the image.
Negative space can also balance patterns or symmetry. Imagine a row of identical chairs filling the left side of a frame, with an empty wall on the right. That open area gives the repeated shapes room to register instead of turning the photograph into visual noise. In a symmetrical scene, a centred doorway can create order, while open space around it makes the structure feel calmer. Shift your position before deciding how much of the pattern to include.
Thinking of empty space as an intentional interval helps you see it as purposeful, not as something missing. In a photograph of a single cup on a table, the clear tabletop around it can slow the viewer’s attention and make the cup feel deliberate. Leave enough room for that pause, but keep the edges purposeful. If a bright object enters the open area, it may compete with the subject rather than support it.
Try this simple technique with a still subject. First, frame it tightly so its details fill most of the image. Then step back and include its surroundings. Finally, move the subject to one side and leave open space opposite it. Compare how each version changes scale, mood and attention. A leading line, such as a table edge, can guide the eye towards the subject through that open area.
Minimalism is useful when extra objects weaken a photograph’s message. Before taking a picture of a flower, move until a plain wall replaces distracting branches behind it. Keep the colour, shape or shadow that adds meaning, and remove details that compete. A simpler image still needs balance: give the flower breathing room, check the frame’s edges, and decide whether the remaining negative space supports the feeling you want.

5. Learning composition through practice
Reading about composition can help you name what you see, but the camera teaches through choices you make on location. Pick a familiar place, such as a HDB corridor or neighbourhood park, and photograph one subject from different positions. Move closer, step back, and change your height. Compare how each picture changes the foreground, background, and sense of distance.
Give each outing a simple focus instead of trying every technique at once. On a landscape walk at MacRitchie Reservoir, look for a foreground detail that connects to the distant view. At a bus stop, watch how a person’s movement changes the scene. A narrow focus helps you notice whether the composition supports the subject or distracts from it.
Orientation also changes how a picture feels. Hold the camera horizontally when the scene’s dominant lines or movement travel across the frame, such as a cyclist moving along a path. Turn it vertically when the subject rises through the image, perhaps a person beneath a tall building. If you’re unsure, make both frames and compare where the eye travels.
For moving subjects, find a promising background before the action arrives. At a sheltered walkway, position yourself where the roof edges create a clean shape behind pedestrians. Wait for someone to enter the frame, then capture the moment when their movement and the surrounding lines work together. This turns waiting into an active composition choice, rather than hoping for a lucky picture.
Returning to the same location builds familiarity. Revisit a street corner near Tiong Bahru at different times of day and observe how the light changes the background, shadows, and available viewpoints. You’ll start to see where people enter the scene and where you can stand without blocking the picture. The time of year also affects the light, so notice how the same spot changes across visits.
After each outing, review your images and choose one frame that feels clear and one that feels crowded. Ask what first caught your attention, whether the main subject has room to move, and whether anything at the bottom or edge distracts. Then return to the same subject and change one decision, such as your position or orientation. Comparing frames shows which choice made the difference.
Keep a short field note with each selected image. Write down where you stood, what the light did and what you wanted the viewer to notice. For a landscape, note whether the foreground connects to the view; for a street picture, record what moment made the composition work. These notes make practice repeatable and help you make more deliberate choices next time.
Practise composition with practical photography lessons
Pictorial: Photography Starter Session
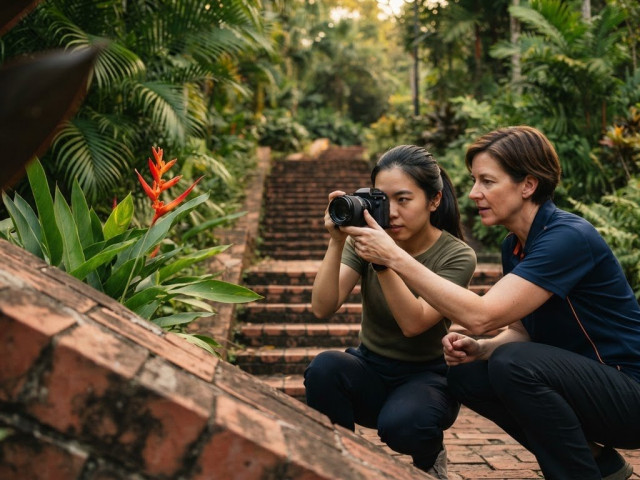
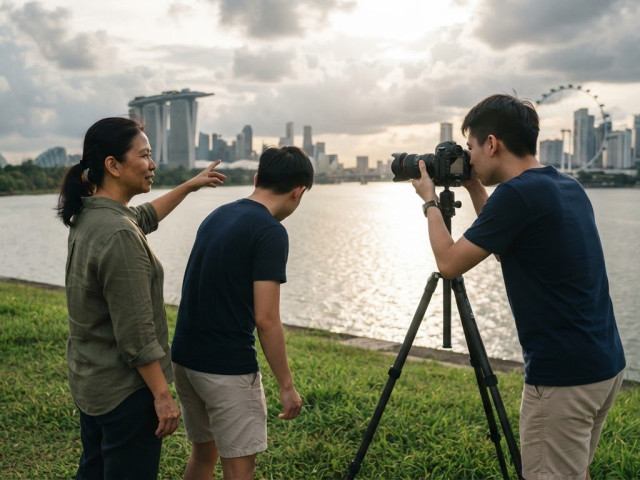
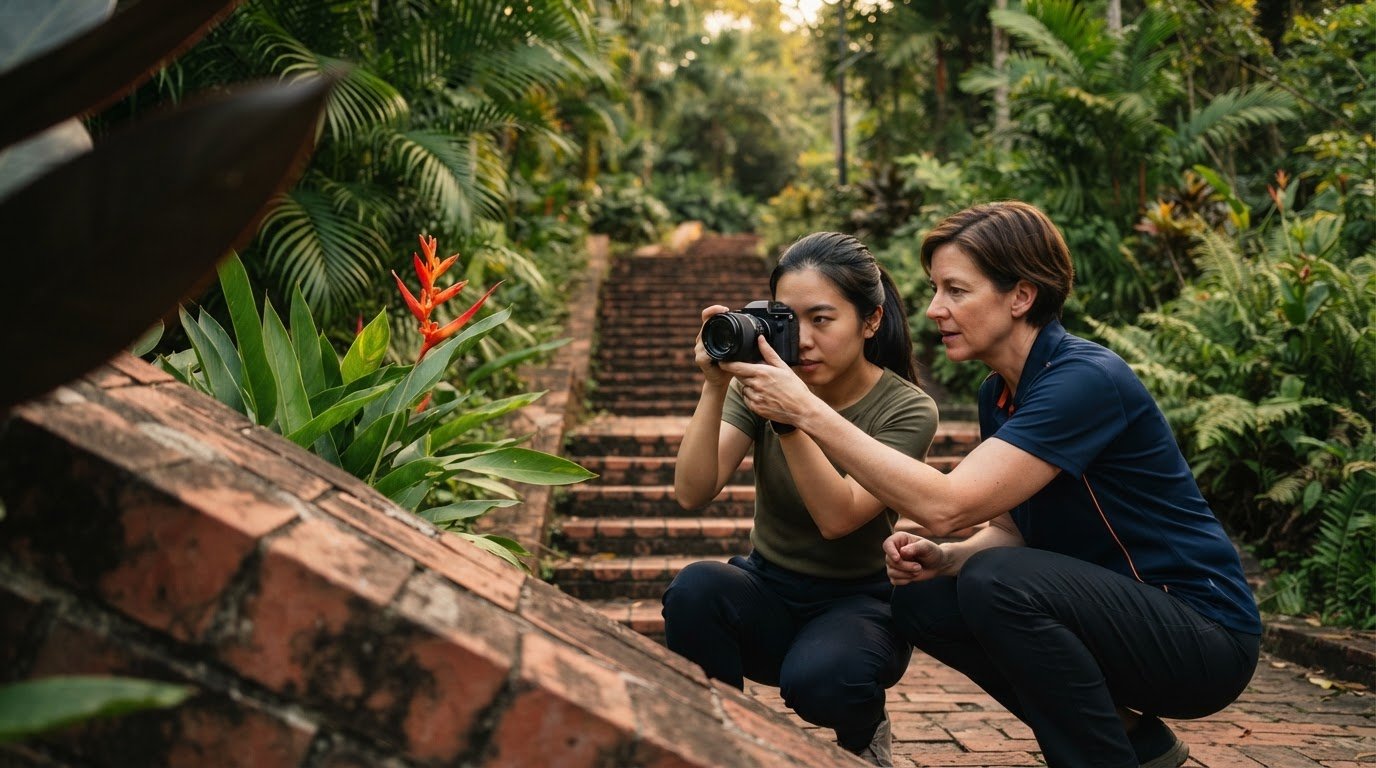
Pictorial’s Photography Starter Session is a practical next step when you want guidance applying composition ideas in the field. Practise framing and choosing a viewpoint during outdoor shooting, with personalised guidance in a small group of up to three participants. Bring your own camera or use a complimentary loan camera provided by the school.
This session suits beginners who understand the basic ideas but want help turning them into deliberate choices while taking pictures. Practise noticing how foreground details, background distractions and changing positions affect a frame. If you’d like to build your photography skills with hands-on guidance, explore Pictorial’s Photography Starter Session online.
Keep developing your eye
Composition becomes personal as you notice which choices feel true to the scene. As you learn photography composition, pay attention to the images you return to, then ask what draws you back. That habit can help you develop a visual voice instead of relying on a single rule for every photograph.
Choose a subject that matters to you and make a small series of pictures around it. A familiar walk, a daily routine or changing light near home can give you room to experiment without an elaborate plan. Review the pictures later and keep the frames that express what you noticed. Each outing gives you another chance to make a deliberate choice.
If you’d like guidance as you continue, contact Pictorial to discuss your photography learning goals.
Keep looking, keep practising, and let your next photograph begin with a choice you make for yourself.
Frequently Asked Questions
What is Composition?
Composition is the set of choices that determines how a photograph’s contents work together. It includes what you include, what you leave outside the frame and how the viewer encounters the subject. For example, showing a hand reaching for a dish can make a meal feel inviting, while a tighter view can emphasise texture. Your choices should support the feeling or idea you want to communicate.
How does the rule of thirds work in photography?
Use the rule of thirds as a placement guide when a centred subject feels static or leaves the frame without direction. For a person looking across a room, place them to one side and leave space in front of their gaze. This gives the viewer a reason to look into the scene. A camera grid can help you test the placement, but review the whole frame before deciding.
How can leading lines improve a photo composition?
Leading lines can make a busy scene easier to read by giving the eye a clear route. In a photograph of a food stall, a counter edge might guide attention from the foreground towards the vendor. Check where the line begins and ends: if it points towards a bright sign instead, change your position or framing. Lines work best when they direct attention to the subject rather than compete with it.
How do framing, symmetry, and patterns work in composition?
Framing uses elements around a subject to set it apart, while symmetry and patterns create visual order through repeated shapes. For example, a person seen through an arch can stand out against a row of similar arches. Look for interruptions, such as one open window or a person breaking the pattern. That difference can become the focal point. Keep enough of the repeating structure visible for the viewer to recognise it.
How do I use negative space and balance in a photograph?
Begin by deciding what deserves attention, then notice whether nearby empty areas help or weaken that focus. A single plate on a plain table can feel deliberate, while a small plate surrounded by unrelated items may seem lost. Take a test frame, then shift your position to remove distractions or change how much open space appears. Judge balance by the attention each element attracts, not by counting items.
When should I break the rule of thirds or other composition rules?
Break a guide when following it makes the photograph less clear or expressive. A centred building can suit a formal architectural study, while an off-centre placement may better show its relationship to the surrounding space. Before pressing the shutter, ask what the scene needs: calm, tension, scale or direction. Then choose the arrangement that supports that purpose, even if it doesn’t match a familiar guideline.
What are practical composition exercises for beginner photographers?
Try a single-object exercise at home. Photograph a spoon on a table from standing height, chair height and near table level, keeping the spoon in view each time. Compare how the tabletop and surrounding objects change its role in the image. Then choose the frame that best shows its shape or use. This exercise trains you to notice how viewpoint changes meaning, even when the subject stays still.

Disclaimer
© Pictorial | All Rights Reserved.