
Photography as a Hobby in Singapore for New Photographers
A good hobby photograph starts with noticing, not owning the most advanced camera. Photography as a hobby in Singapore can mean making pictures for your own enjoyment, exploring familiar streets, observing changing light, or finding a fresh angle on everyday scenes. Start with a phone or camera and build your skills through practice.
It’s natural to feel unsure about camera choices and technical settings at first. This guide explains what hobby photography involves, how to choose a comfortable camera, and how aperture, shutter speed, ISO, and composition shape a photograph. You’ll also find themed-shoot ideas, from patterns and colours to local street scenes. Start with what you have, take time to look, and let each photograph teach you something useful.
Key Takeaways
- Start with a camera that feels comfortable to carry and handle; a kit lens is enough while you learn.
- Use aperture, shutter speed and ISO to shape light and the look of a photograph, adjusting one setting at a time.
- Build stronger compositions by choosing a clear subject and paying attention to the space and lines around it.
- Give a photo outing a simple theme, such as colours, patterns or everyday street scenes, to practise looking with purpose.
- If you’d like practical guidance, a beginner photography session can help you practise camera basics with hands-on support.
Choosing a new or second-hand camera
For a first camera, prioritise comfortable handling over a long specification list. Hold the body, adjust its controls, and notice whether its grip suits your hand. Weight matters on a walk through Singapore, especially if you plan to carry the camera for hours. A camera that feels awkward can discourage regular practice, even when its features look appealing.
A kit lens is enough to begin. Use it to practise framing food at home, photographing buildings, or following movement in a park. Learn which focal lengths you enjoy before buying extra lenses or accessories. If you’re unsure whether photography will become a lasting hobby, consider a second-hand camera. Borrowing one first can also help you compare models and controls before deciding what to buy.
Before choosing a used camera body, test its basic functions in person where possible. Take a few photographs, review them on the screen, and check that the buttons and lens controls respond. Use a strap around your neck or wrist to reduce the chance of dropping the camera. Choose an SD card that suits it: an unsuitable card can slow operation or risk file corruption.
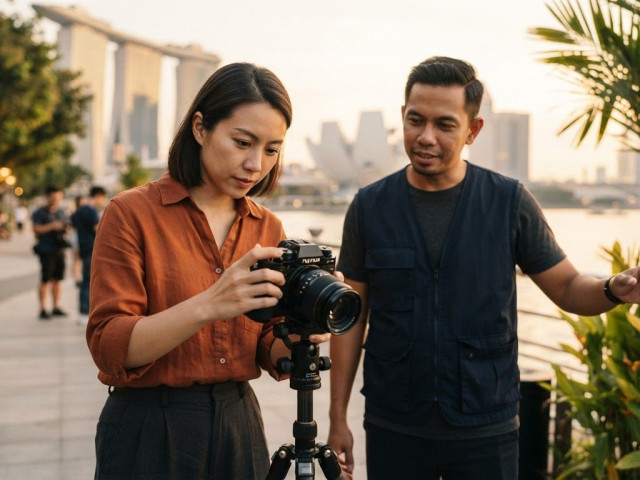
Keep your first setup simple. A tripod can help with steady night scenes, self-portraits, or long exposures, but it isn’t essential for everyday practice. For photography as a hobby in Singapore, a camera you’ll carry often is usually more useful than a complicated setup left at home.
For casual photography in parks, attractions, and public spaces in Singapore, permit requirements depend on the site and activity. Public access does not automatically mean every organised or commercial shoot is permitted.
When photographing people in public, be respectful: avoid intrusive close-ups and give anyone who objects space. Be especially considerate around children and private moments.
Drone photography involves separate aviation and location considerations. Don’t assume you can fly a camera drone wherever you can take a handheld camera. Choose a suitable flying location and follow the applicable rules before operating one.
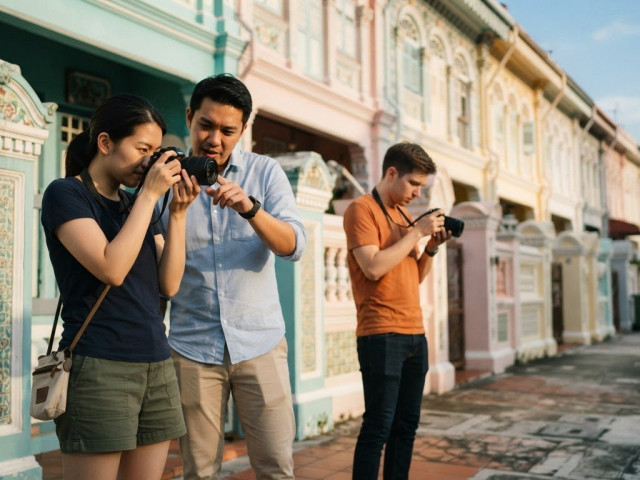
Practise in places with varied subjects, such as a street, park, or sheltered walkway. Try a simple exercise: photograph the same subject from three viewpoints, then compare the results.
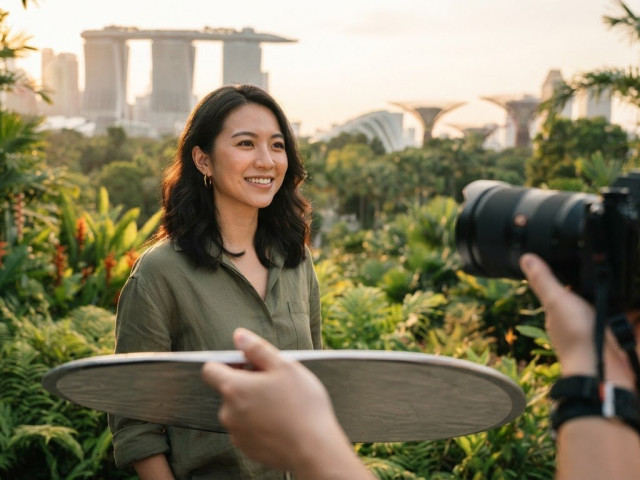
In Singapore, early morning and late afternoon often provide softer outdoor light than midday. Weather and cloud cover also change the light, so use a sheltered spot if rain interrupts your outing.
Aperture, shutter speed and ISO
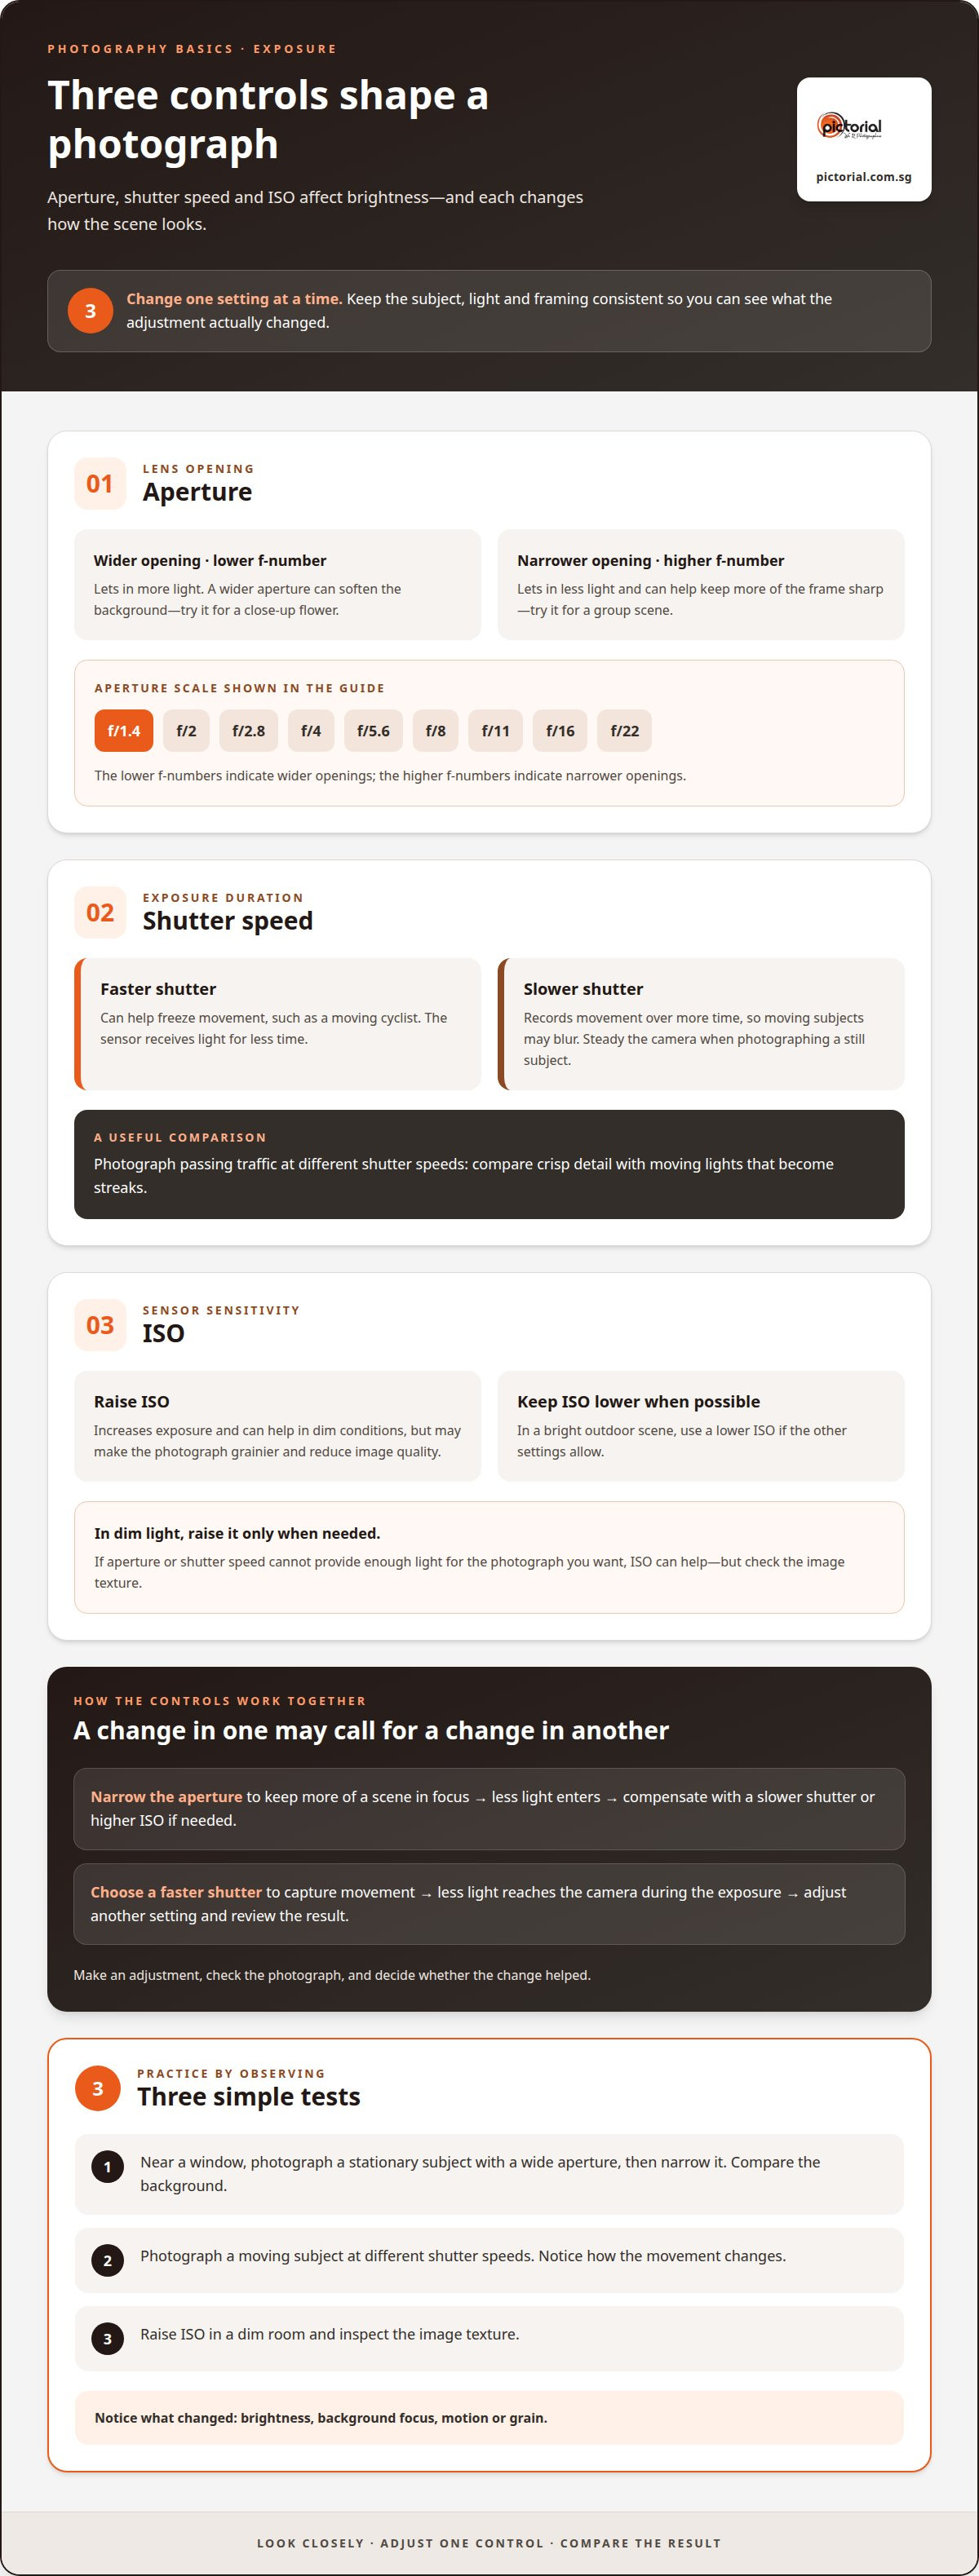
Three controls shape a photograph’s brightness and appearance. Aperture is the opening in the lens, shutter speed controls how long light reaches the sensor, and ISO affects the sensor’s sensitivity. Try changing one setting at a time while photographing the same subject. The differences are easier to see when the light and framing stay consistent.
Aperture also changes how much of a scene appears in focus. A wider opening lets in more light and uses a lower f-number. A narrower opening lets in less light and uses a higher f-number. The scale runs from f/1.4, f/2, f/2.8, f/4, f/5.6, f/8, f/11, f/16 to f/22. For a close-up flower, try a wider aperture to soften the background. For a group scene, a narrower aperture can help keep more of the frame sharp.
Shutter speed controls the duration of an exposure. A faster shutter can help freeze a moving cyclist, while a slower shutter records movement over more time. That movement may appear blurred, so steady your camera when using a slower setting to photograph a still subject. Compare photographs of passing traffic: one might show crisp detail, while another turns moving lights into streaks.
ISO affects exposure, but raising it involves a trade-off. Higher ISO increases exposure and can help in dim conditions, yet it can make a photograph grainier and reduce image quality. In a bright outdoor scene, keep ISO lower if the other settings allow. Indoors, raise it only when aperture or shutter speed cannot provide enough light for the photograph you want.
Think of the settings as choices that affect one another. If you narrow the aperture to keep more of a scene in focus, less light enters the camera. You may need a slower shutter or higher ISO to compensate. If you choose a faster shutter to capture movement, the camera receives less light during the exposure. Adjust another setting, review the result, and decide whether the change helped.
Practise with a stationary subject near a window. Take one photograph with a wide aperture, then narrow it and compare the background. Next, photograph a moving subject at different shutter speeds. Finally, raise ISO in a dim room and inspect the image texture. Note which setting changed brightness, background focus, motion, or grain. This exercise builds control through observation rather than guesswork.
Composition techniques
Composition is how you arrange subjects and space within a frame. Before taking a photograph, decide what deserves attention. In a busy hawker centre, that might be a cook’s hands, a bright bowl, or steam rising from a pot. Move until the background supports the subject instead of competing with it.
The rule of thirds is a practical starting point. Imagine two horizontal and two vertical lines dividing your frame. Place a face, building edge, or horizon near one of those lines rather than directly in the centre. For a portrait beside a window, position the person toward one side and leave space in the direction they’re looking. Then take a centred version and compare the mood.
Leading lines guide the viewer through a photograph. Look for a footpath, railing, row of tables, or tiled corridor that points towards your subject. Keep the line visible from the foreground into the scene. If it leads out of the frame, shift your position so it directs attention back to the main detail.
Frames within a scene can add depth. Photograph a friend through an open doorway, or use a gap between leaves to surround a distant building. Check that the edges don’t cut awkwardly across the subject. A frame should separate the main subject from nearby distractions, not hide important details.
Negative space gives a subject room to stand out. Photograph a single flower against an uncluttered wall, or leave open sky around a rooftop. Empty space isn’t wasted when it strengthens the image’s mood or makes the subject easier to notice. Move closer if clutter fills the corners, or change your angle to simplify the background.
Try these adjustments during one short walk:
- Change height: Photograph a street scene at eye level, then crouch to include paving stones in front.
- Shift your position: Move sideways until a lamp no longer appears to grow from someone’s head.
- Check the edges: Look for cut-off signs, bright objects, or stray branches that pull attention away.
- Compare distance: Take a wide view of a market stall, then step closer to isolate one texture or detail.
Symmetry can create a calm feeling, especially in a doorway, stairwell, or row of columns. Stand square to the scene and align its central features. For a less formal result, place the subject off-centre and balance it with a smaller detail elsewhere. Compare both photographs: the stronger arrangement depends on whether you want order or movement.
Composition improves through deliberate comparison. Choose one subject and make a frame, then alter only your viewpoint or the subject’s placement. A careful second photograph often reveals more than several frames taken from the same spot.
Examples of hobby-themed shoots
A theme gives each outing a clear purpose and makes ordinary scenes easier to notice. Choose one idea before leaving home, then create a small series around it. Familiar neighbourhoods, markets, parks, and homes across Singapore offer plenty of subjects without elaborate plans.
Try a colour walk. Pick red, green, or yellow, then photograph that colour in different settings. A red sign, a chilli dish, and a passing bus could form one collection. Keep the colour as the main visual link while changing distance and angle. This exercise trains your eye to find patterns in busy surroundings.
For a texture shoot, look closely at surfaces. Photograph rain on a window, rough walls, woven baskets, or reflections on a metal railing. Move closer for detail, then step back to show where each texture appears. Soft natural or available light can reveal small ridges and reflections without extra equipment.
Food photography can turn a meal at home into a simple project. Arrange fruit, kopi, or a family dish near a window. Take one frame from above, another from table height, and a close-up of one ingredient. Notice how plate edges, utensils, and background objects affect the scene. Keep the food as the clear subject.
Architecture offers another useful theme. Choose one block, covered walkway, or station entrance, then photograph repeated shapes and lines. Include a wide view for context and closer frames of signs, shadows, or patterned tiles. A short series can show how one place shifts from open space to small details.
A home shoot is a relaxed way to practise. Photograph someone gardening, repairing an object, sketching, or preparing a meal. Focus on their hands and tools, then include a wider frame showing the activity. Ask the person to continue naturally, and photograph pauses as well as movement.
To practise with other photographers, look into local groups such as Shutter Journey and the Photographic Society of Singapore. Photography groups often arrange outings where members can practise and learn from one another.
Give each photo walk one simple assignment:
- Find repeating circles in shop signs, plates, or bicycle wheels.
- Make a sequence showing one street corner from several viewpoints.
- Photograph changing light on the same building during an outing.
- Tell a small story through three frames: a place, an action, and a detail.
After the outing, choose a few photographs that best express the theme. Compare what drew your attention, then plan the next shoot around something you missed. Reviewing your work makes each walk purposeful and helps your personal style develop through practice.
Exposure and the exposure triangle
Exposure describes how light or dark a photograph appears. Three controls shape it: aperture, shutter speed, and ISO. They work together, so changing one can affect the others. A bright window behind a person, for example, can leave their face too dark. Adjusting exposure means balancing the scene’s light with the detail you want to preserve.
Start with the subject and the effect you want. For a moving cyclist, choose a shutter speed that keeps the action clear. For a portrait, select an aperture that separates the person from the background. Then set ISO to help the camera record enough light. This gives each control a purpose instead of treating the settings as unrelated numbers.
Imagine photographing a shaded plant beside a bright window. If the leaves look too dark, you can brighten the exposure, but check the window too. A brighter setting may lose detail in the pale area. Move the plant away from the window, change your angle, or adjust exposure to favour the leaves. The best choice depends on which part of the scene matters most.
Use your camera’s preview as feedback, not as the final judge. Check the subject’s face, bright areas, and dark corners after each frame. A screen can look different from the final image, so inspect the photograph in consistent light. If your camera displays a histogram, use its graph to spot tones pressed against either edge. This can reveal lost highlight or shadow detail.
In a dim room, raising ISO increases exposure but can make the photograph grainier and reduce image quality. Before raising it, consider whether you can open the aperture or steady the camera for a slower shutter. Each option changes the image differently: a wider aperture affects background focus, while a slower shutter can record movement as blur.
Practise with the same stationary subject near a window. Take a frame, then change one exposure control and compare the result. Note whether brightness, motion, or background detail changed. Next, photograph a moving subject and decide whether sharp movement or visible blur better suits the scene. These comparisons teach you to make deliberate adjustments as the light changes.
Singapore’s changing daylight offers useful practice. Photograph the same doorway in bright sun and under cloud, then compare the subject and background. If one area loses detail, adjust your position or exposure. Review the frames together and note which setting change helped. This small habit turns trial and error into a repeatable learning process.
Build exposure skills with guided photography lessons
Pictorial: Photography Starter Session
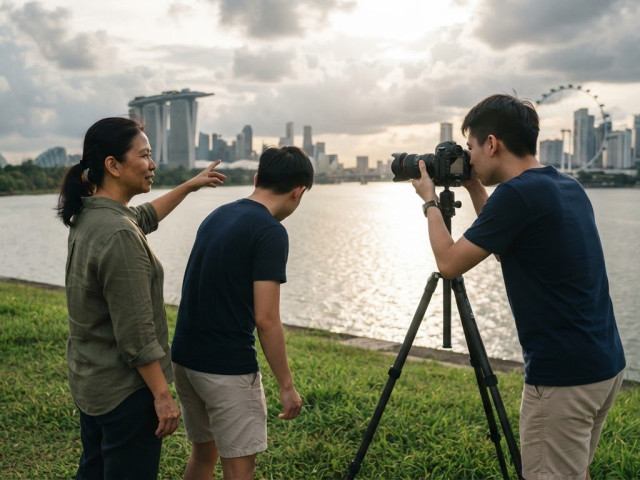
Pictorial’s Photography Starter Session is a practical next step if you understand the basics but want guidance applying them outdoors. Group classes are limited to three participants, with personalised guidance as you practise camera controls and shoot. Bring your own camera or use the complimentary camera loan if needed, so you can focus on learning rather than choosing equipment first.
The Photography Starter Session suits learners who want to practise balancing aperture, shutter speed, and ISO in real scenes. If you already have a foundation, the Intermediate Photography Course may be a suitable next step. For phone users, Mobile Photography Essentials focuses on making stronger photographs with a mobile device.
Explore Pictorial’s Photography Starter Session to take your next practical step in photography.
Make Your Next Photo Project Personal
Let curiosity guide your next step. Pick a subject you already care about, then return to it regularly. A familiar place, a family recipe, or capturing a child’s early milestones at Children of Tomorrow Pre-school Singapore can become a photo project that grows with your eye. Keep a short note beside each photograph about what you noticed and what you might try differently next time.
With steady practice, photography as a hobby in Singapore can feel less like a technical test and more like a personal way of seeing. You don’t need to make a perfect image every time. Give yourself room to experiment, review your choices, and follow the subjects that keep drawing your attention.
If you’d value a guided next step, Pictorial offers learning options for different stages and interests.
Keep looking closely. Each outing gives you another chance to make a photograph that feels like your own.
Frequently Asked Questions
What Is Hobby Photography?
Hobby photography means making photographs for personal interest rather than a paid assignment. You might document a favourite recipe, notice changing light on your commute, or build a series around a familiar object. The purpose is exploration: choosing what to photograph, making decisions, and learning from the results. Everyday routines and places can provide subjects for photography as a hobby in Singapore without requiring a special occasion.
What does it cost to start photography as a hobby in Singapore?
The starting cost depends mostly on what you already own and what you want to photograph. A phone or existing camera lets you begin without buying new equipment immediately. Later costs may include a camera, storage for image files, or accessories that solve a specific need. Practise with your current device first, then identify its limitations before spending on additional equipment.
What camera and lens should a beginner buy for photography in Singapore?
Choose a camera you can carry comfortably and operate without fumbling through menus. A standard kit lens is a sensible starting point, letting you practise with varied subjects before deciding which focal length you prefer. Try the camera in your hands and check how easily you can change settings. If buying second-hand, test the controls and take sample photographs before committing.
Are smartphones sufficient for beginner photography in Singapore?
Yes, a smartphone is enough to learn to notice light, choose a subject, and frame a scene. Photograph the same subject from different distances, then compare how the background changes. A phone makes it easy to practise during everyday errands without carrying extra equipment. If you later want more direct control over exposure or interchangeable lenses, explore a dedicated camera.
How can beginners learn photography and improve their skills in Singapore?
Build a routine around one small exercise at a time, such as photographing reflections or making a sequence about a daily activity. Review your images and choose one decision to improve on your next outing. For practical instruction, Pictorial offers the Photography Starter Session, Intermediate Photography Course, and Mobile Photography Essentials. Its courses teach hands-on technique and understanding, guided by the approach Pure Photography, No Editing.
What are the best times and seasons for outdoor photography in Singapore?
Early morning and late afternoon often offer softer outdoor light than midday. Weather and cloud cover also affect the light, so use a sheltered spot if rain interrupts your outing.
Disclaimer
© Pictorial | All Rights Reserved.