
How to Practice Photography Daily and Build Camera Skills
More photos don’t automatically make better practice. A practical way to learn how to practice photography daily is to choose a small exercise, such as limiting yourself to twelve photos for the day, and think about framing, light and timing before each shot. The limit turns routine picture-taking into deliberate choices.
If you’re still getting comfortable with your camera, it can be hard to know what to photograph or which settings to try. You don’t need an exciting location or a perfect idea to begin. Ordinary neighbourhood scenes offer plenty to notice and practise.
This article shows you how to build a simple daily habit with familiar colours and subjects, repeat camera techniques until they feel natural, and use creative prompts when inspiration runs low. You’ll also learn how setting a photo limit can help you slow down and make each frame count.
Key Takeaways
- Make practice easier to sustain by using a camera or phone you already have and choosing a small, repeatable exercise.
- Look for colour and interesting details in familiar neighbourhood scenes instead of waiting for a special location.
- Repeat one camera technique at a time so you can focus more on the scene and less on the controls.
- Use simple subject prompts to get past the “nothing to photograph” feeling and spark fresh ways of seeing.
- Try a daily photo limit to slow down, consider each frame and make more deliberate choices.
1. Building photography skills through regular practice
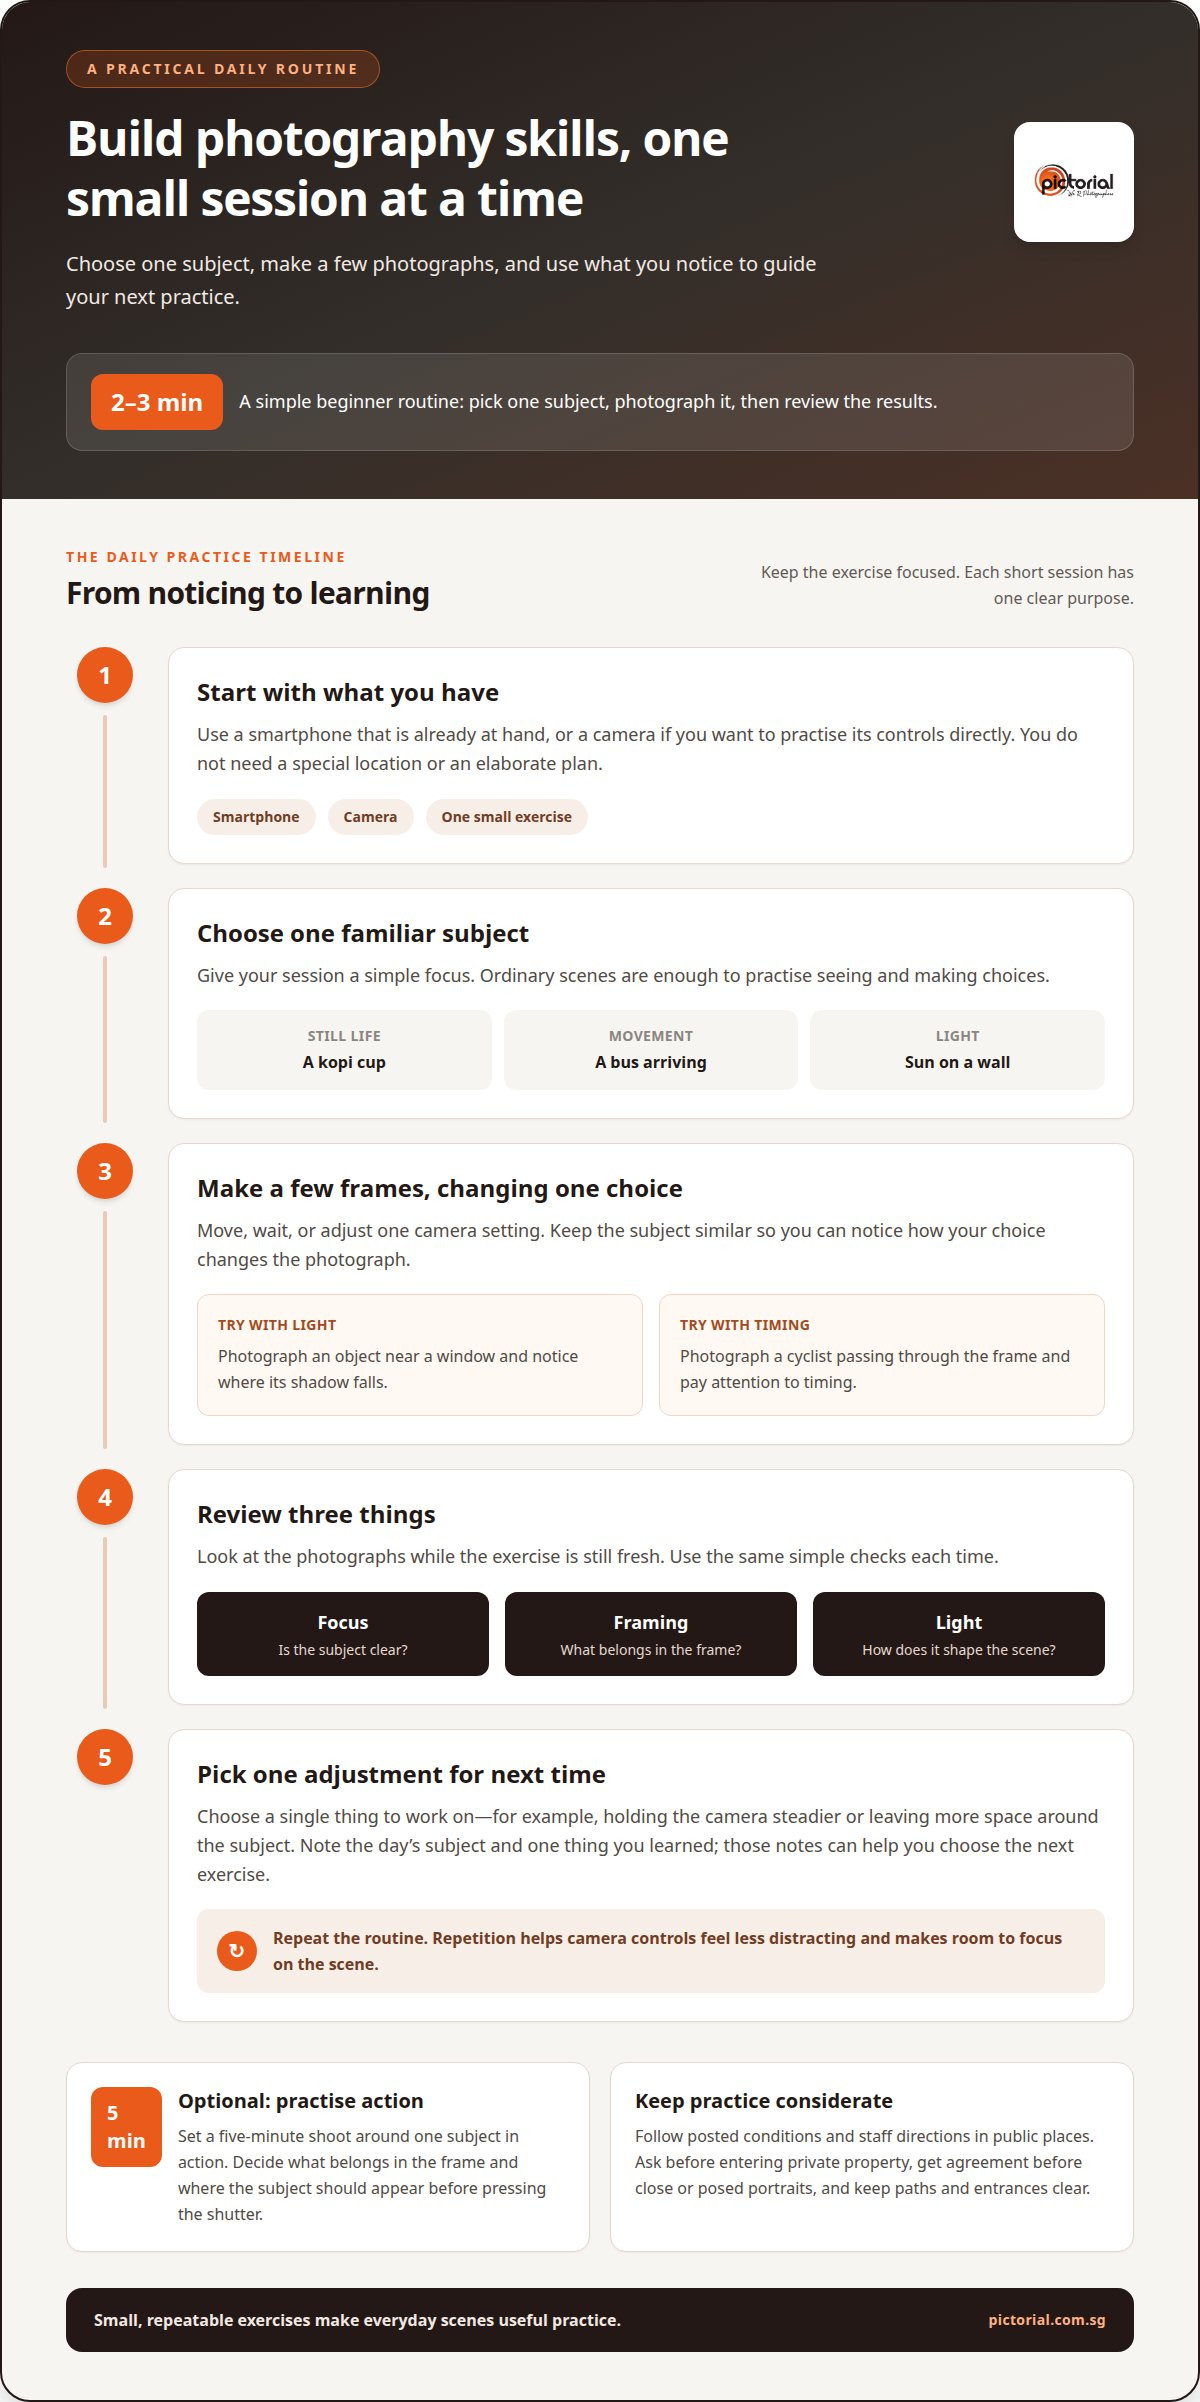
To learn how to practice photography daily, make each exercise small enough to repeat. Use a smartphone that’s always at hand, or a camera to practise its controls directly. Choose one subject, such as a kopi cup, a bus arriving, or sunlight on a corridor wall. Take a few frames, then notice how the results change when you move or wait.
A simple beginner routine takes just 2-3 minutes each day. Pick one subject, make a few photographs, and review them for focus, framing, and light. Choose one thing to adjust next time, such as holding the camera steadier or leaving more space around the subject. This gives each short session a clear purpose without turning photography into a long assignment.
Keep each practice session focused. One day, photograph an object near a window and notice where its shadow falls. Another day, try a moving subject, such as a cyclist passing through the frame, and pay attention to timing. These exercises develop different skills: seeing light, choosing a viewpoint, and anticipating movement. Repeating one type of exercise helps you understand the effect of your choices.
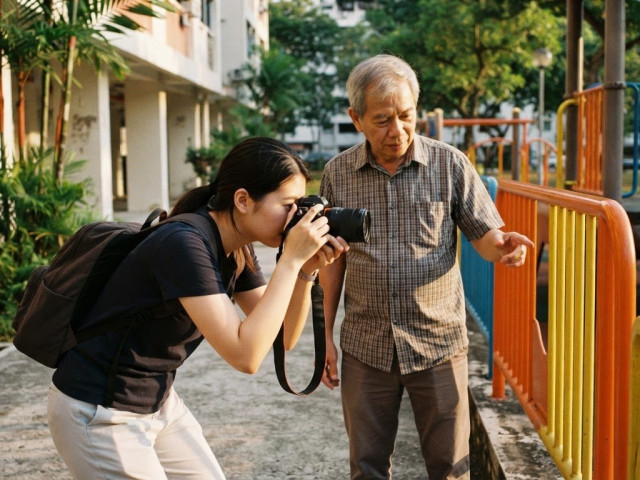
In Singapore, practise in places open to the public, follow posted conditions and staff directions, and ask before entering private property. Get a person’s agreement before taking close or posed portraits. Keep paths and entrances clear, especially in busy markets and transport stations. These steps help you practise considerately without assuming that every public-looking space is open to photography.
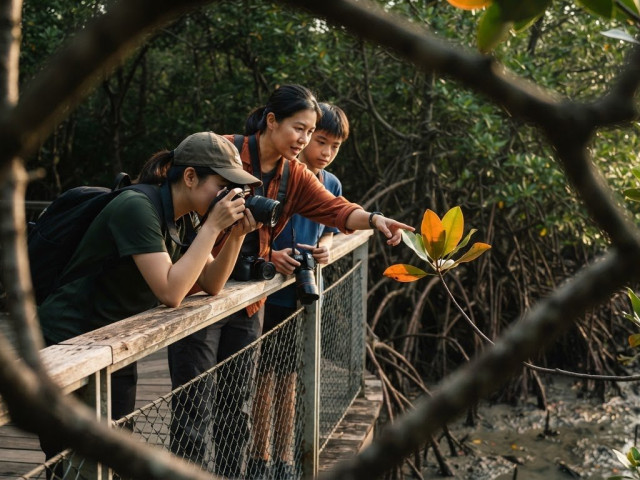
Outdoor practice also means staying aware of your surroundings. Check for traffic before framing a street scene, and step aside rather than stopping in a crowded walkway. Keep your camera and bag clear of kerbs, stairs, and wet ground. If rain interrupts your plan, use a sheltered public spot or photograph a nearby detail instead. Choosing a safe position gives you time to focus on the image.
Use a time limit to practise making decisions. Set a five-minute shoot around one subject in action, such as people moving through a sheltered walkway. Before pressing the shutter, decide what belongs in the frame and where the subject should appear. A short limit encourages quick observation. Reviewing the results afterwards helps you see which choices worked.
Regular practice matters more than a perfect location or an elaborate plan. Even photographers who have pressed the shutter a million times still need practice; each session offers another chance to notice light, composition, or timing. Keep a simple record of the day’s subject and one thing you learned. Over time, those notes make your progress visible and help you choose the next exercise.
2. Finding colour in everyday neighbourhood scenes
A familiar street offers fresh practice when you look for colour relationships instead of unusual subjects. On a walk past HDB blocks, notice a dominant colour, such as a blue wall, then look for a smaller contrasting accent, such as a red umbrella. The pairing gives your frame a clear visual anchor.
Practise at home with a smartphone or camera you already own. Place an everyday object, such as a green mug, near a window. Then move it against a different background and notice how the colours and shadows change.
Singapore’s neighbourhoods offer approachable subjects: wet-market produce, shophouse façades, flowering plants, tiled corridors, and shop displays. Choose one location and look for details that suggest its character instead of trying to photograph everything at once. A row of fruit, a sign reflected in glass, or laundry against a block can each become the focus of a small visual study.
Try this colour-finding sequence: choose a main hue, scan the scene for a smaller contrasting colour, then shift your position until both appear clearly. If a bright yellow sign dominates, include a small patch of purple flowers or a darker doorway for balance. Change your angle or step closer to keep distractions near the edges out of the frame. The goal is to make a deliberate choice, not collect every colour you see.
Shop windows can add layers to neighbourhood photographs. Stand at an angle and look for street reflections over objects inside the shop. A passing bus reflected in the glass, for example, can appear alongside shelves or hanging lights. Adjust your position until the reflection supports the subject instead of obscuring its key details.
Build a neighbourhood series by revisiting a few locations and photographing what changes. A market stall might show different produce, light, or activity from one visit to the next. Use a consistent approach, such as including one dominant colour in every frame, to connect the photographs. A series can suggest daily routines and the area’s character, not just show its buildings.
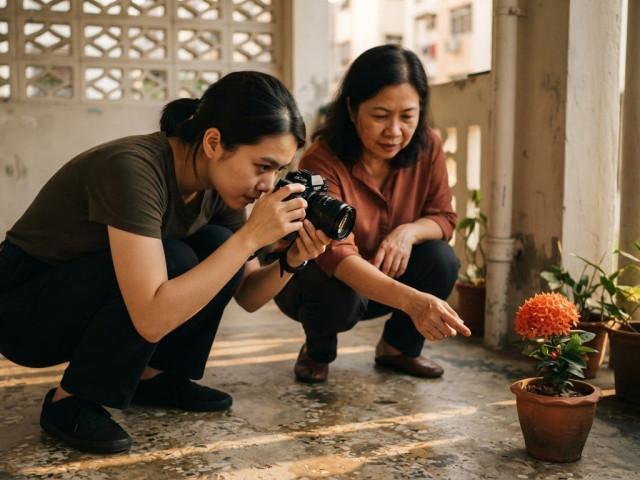
Light can change the look of familiar colours. Photograph the same potted plant beside a window in morning light, then take another frame under indoor lighting. Notice whether the leaves look warmer, flatter, or more defined. Compare the images and identify which background and light separate the plant from its surroundings most clearly. Repeating this exercise helps you practise finding colour without new equipment or distant locations.
3. Making camera techniques automatic through repetition
Repeated practice makes camera controls feel less distracting, leaving you more attention for the scene. Choose a familiar subject, such as a cup on a table, and practise changing one setting while keeping your framing steady. Notice how the adjustment changes the photograph. Repeating the exercise in different light helps you connect the control with its effect.
Beginners can practise aperture, shutter speed, and ISO every day. Choose one setting to explore, take a photograph, and review the result. For example, change the aperture while photographing a plant and observe how the background looks. Keep the subject and viewpoint similar so the setting is the main difference.
Use a repeatable sequence instead of changing several controls at once. First, decide what matters in the frame, such as a person’s movement or a flower’s detail. Next, adjust the setting that supports your aim. Take the photograph, then check whether the subject looks as intended. This process connects a camera choice to a visible result.
Shutter speed offers a clear exercise with moving subjects. Photograph a person walking through a sheltered area, then review whether the movement looks frozen or blurred. Try the same exercise with passing traffic from a safe position away from the road. The aim is not a perfect result, but to connect a setting change with the appearance of motion.
To practise ISO, photograph the same object in a bright spot and a dimmer part of a room. Compare the images and notice how the camera responds as you adjust ISO. Keep the framing consistent, perhaps with a mug beside a window. A familiar scene makes it easier to focus on exposure instead of searching for a new subject.
Aperture practice can also help you guide attention. Place a subject in front of a cluttered background, such as a potted plant against a shelf. Change the aperture and see how the background looks. Then move the plant or change your viewpoint. Comparing the results shows how camera settings and composition can work together.
Repeat the technique with different everyday scenes, such as a food stall display, a bus arriving, or rain on a window. After each session, note which setting you changed and what changed in the photograph. If the result misses your intention, repeat the exercise with a small adjustment. This creates a useful learning loop without a complicated setup.
As familiar controls become easier to use, you can respond more readily to changing light and movement. Practise a technique until you can make the adjustment without interrupting your observation. Then explore another control. Repetition builds practical camera skills gradually, and reviewing each example helps explain why a setting worked for that photograph.
4. Using daily photo prompts to develop creativity
A prompt gives each practice session a starting point when ideas feel thin. Write 30 easy-to-find subjects on slips of paper, such as a doorway, shadow, cup, bicycle, or leaf. Draw one subject each day and photograph it that day. The challenge is to make a familiar subject interesting through your viewpoint, framing, and attention.
Daily composition exercises can strengthen your framing. Choose one subject, such as a kopi cup, and photograph it from above, at eye level, and close to the table. Place it in the centre, then near the edge of the frame. Compare how each choice changes the balance and the empty space around the subject.
For a single-location challenge, take 10 photos from one spot. Change the angle, height, or direction rather than moving your feet. Then walk 100 paces and repeat the exercise from the new position. This makes it easier to notice how distance and viewpoint affect the relationship between foreground, subject, and background.
Prompts can direct your attention to a compositional idea. Try photographing leading lines along a sheltered walkway, or frame a subject through a doorway in a shophouse. Check the edges before pressing the shutter: a bright sign or passing person can draw attention away. Shift your position until the main subject reads clearly.
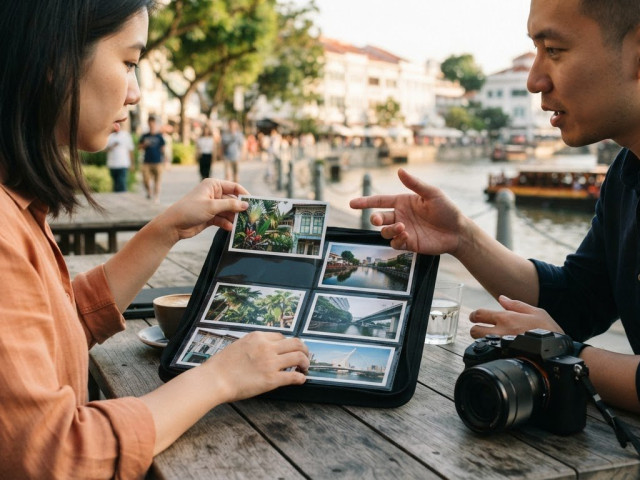
To review a daily project, compare each image with the prompt and note one choice that worked. Record the subject and a short observation, such as “the low angle made the HDB corridor feel longer.” This gives you a practical record of your decisions, instead of relying only on whether you liked a photograph.
Keep your review focused on what you can change next time. Check whether the subject is easy to identify, the frame feels balanced, and distracting details compete for attention. Choose the strongest response to the prompt, then compare it with an earlier attempt at a similar subject.
Over time, comparisons reveal your usual framing choices and where you could experiment. If a doorway prompt leads to several centred compositions, try placing the doorway off-centre next time. Each prompt becomes a small creative challenge, while your notes turn daily photographs into a record of how your way of seeing develops.
For a subject-prompt exercise, choose a subject each day and photograph it. Keep the prompt in view, but don’t decide in advance what the finished image should look like. Let the subject suggest an approach: its shape might invite a close crop, while its setting might offer a useful frame or line. If the first image feels predictable, pause and find another way to relate the subject to its surroundings. A small shift in viewpoint can give a familiar object a different mood.
Return to a prompt later and see whether your choices have changed. Compare distance, angle, light, and background, then note what you would test in a future session. The aim isn’t to make every photograph unusual. It’s to practise looking closely, staying curious, and making deliberate choices even with a familiar subject.
5. Using a daily photo limit to encourage intentional shooting
A photo limit changes the question from “What else can I shoot?” to “What deserves a frame?” Try limiting yourself to twelve photos daily. This exercise takes its cue from a standard roll of 120 film, so each exposure asks you to make a choice before pressing the shutter.
There’s no single daily duration every photographer needs to follow. Keep your session short enough to fit your routine; a suggested exercise is photographing children for 2-3 minutes each day. A brief window can still give you a subject to observe, a moment to anticipate, and a frame to consider.
Before each shot, pause and decide what you want the photograph to show. At a crowded hawker centre, for example, choose whether to focus on a serving of food, a cook’s hands, or activity around a stall. Check the edges for distractions, then choose your timing and viewpoint. This pause makes shooting deliberate rather than automatic.
For a more film-like challenge, limit yourself to 24 to 36 takes and avoid previewing images until you get home. Without instant feedback, pay closer attention to exposure, focus, and composition before each exposure. The aim isn’t to make every photograph perfect. It’s to practise trusting your observation and decisions.
A limit also makes it easier to review your choices. At home, look through the day’s frames and ask what each was meant to show. Notice whether the subject is clear, the background competes, and you chose a useful moment. If several frames feel alike, consider what changed and whether another angle would have added something.
Keep the exercise manageable. If twelve photos feels restrictive at first, use the limit for a defined outing, such as photographing a familiar street or market. Don’t spend every frame on the first interesting subject. Save some for changes in light, a new viewpoint, or a moment that develops as you watch.
Over time, a photo limit can reveal patterns in your shooting. You may notice that you press the shutter quickly when a scene catches your eye, or wait for clearer separation between subject and background. Use that observation to choose a focus for your next session. The number of frames matters less than the attention you give each decision.
A smartphone is a readily available tool for daily photography practice, making it easier to use small openings in a 24-hour day. The author shoots most days, but not every day, for his Picture of the Day project; consistency need not mean turning every day into an assignment. Time constraints can also become a chance to practise thinking quickly and making quality work on the go.
Try a timed exercise: use a five-minute shoot to capture a scene with subjects in action. The short window encourages you to notice movement, anticipate a moment, and make choices without lingering over every frame. For another constraint, spend a day shooting only in black and white. Without colour, you can focus on light, tone, texture, and shape, giving the outing a distinct purpose while keeping practice manageable.
Pictorial
Pictorial offers hands-on photography courses in Singapore for learners who want guidance alongside self-directed practice. If you’re unsure how to use ISO, aperture, or shutter speed, practical instruction helps connect camera settings with the results you see. Outdoor shooting lets you practise with real subjects and changing light.
The Photography Starter Session is a practical introduction to camera basics, while Mobile Photography Essentials focuses on practising with a phone. Choose guided learning if you’d benefit from support building a routine and understanding your photographs.
Contact Pictorial to discuss taking the next step in your photography practice.
Keep Your Photography Practice Moving
Make your practice personal by choosing a subject you enjoy returning to. Let your photographs raise new questions: what changes when you shift your viewpoint, wait for different light, or frame less of the scene? That curiosity can keep a daily habit useful long after the first exercises feel familiar.
If you’re wondering how to practice photography daily with more direction, guided learning can help you connect camera choices with what appears in the frame. Pictorial offers the Photography Starter Session, Intermediate Photography Course, and Mobile Photography Essentials for learners who want practical guidance.
Keep noticing and experimenting, and let each photograph suggest what to try next.
Your eye develops through the attention you bring to ordinary moments. Start with the next one you notice.
Frequently Asked Questions
How can smartphone users build photography skills through daily practice?
Use your phone to explore one feature or visual choice at a time. For example, photograph the same bowl of fruit vertically, then horizontally, and compare which frame suits its shapes better. Tap different parts of the screen to see how focus and brightness respond. Keep the image that communicates your intention clearly, and note which choice helped you achieve it.

Disclaimer
© Pictorial | All Rights Reserved.