
Taking Better Holiday Photos in Changing Light and Weather
Better holiday photos don’t depend on perfect weather; they depend on noticing the light. For taking better holiday photos, first observe whether natural light falls on your subject from the front, side or behind. Cloudy conditions can work well for portraits, while the soft, warm light shortly after sunrise or before sunset can bring out detail and colour.
It’s easy to expect a phone or camera to do all the work, especially when the light changes or rain interrupts your plans. A few simple choices make photography more manageable: choose equipment that suits your trip, adjust your position as the light shifts, and move closer when a subject looks lost in the frame. This guide covers practical ways to frame people and details, find depth in a scene, and make the most of everyday moments, even when conditions aren’t ideal.
Key Takeaways
- Read the light before taking a photo: cloudy skies can suit portraits, while early or late daylight often gives scenes a softer feel.
- Choose a phone or camera that fits your trip and how you want to use your photos; keep the lens clean for clearer results.
- Move closer to make a subject stand out, and leave space in the frame for a person or animal to look or move into.
- Photograph small, everyday details alongside landmarks to preserve more of the feeling of a holiday.
- Use lines that lead towards a single point to draw the eye into a scene, and look for foreground, middle ground and background to add depth.
1. Photography in different weather and light conditions
Notice where daylight falls before raising your phone or camera. Light reaches a subject from the front, side or back, and each direction changes the effect. Front light reveals faces clearly, while side light brings out texture in a stone wall or cloud. Backlight can leave a friend’s face dark, so shift your position until light reaches their features.
For landscapes, look for the sun when it sits low and off to one side. Softer light creates longer shadows, helping hills, paths and buildings feel more defined. Include something close, such as a railing or patch of grass, in the foreground. That detail gives the eye a way into the scene instead of leaving the image flat.
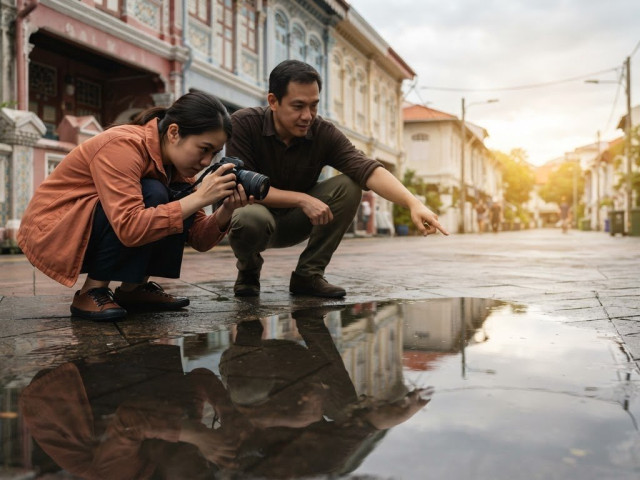
Golden hour, shortly after sunrise or before sunset, gives scenes soft, warm light. If your group is visiting a Singapore waterfront, use that time to photograph a friend with the skyline behind them. Cloudy weather can also work well for portraits because clouds soften harsh sunlight. On a bright day, place the person in shade near a sunlit patch of ground; their face stays softer, while reflected light can add sparkle to their eyes.
When photographing people, landmarks or cultural sites at home or overseas, follow posted signs and staff instructions, and ask people before making them the focus of a portrait. Rules and expectations differ between locations, so look for photography restrictions at the entrance before composing your shot.
Bright sunlight can create strong highlights and dark shadows, especially around midday or at 2 or 3 pm. There isn’t one best setting for every scene: keep ISO low when possible, and use a faster shutter for moving people. If highlights look washed out, tap the bright area on your phone and lower exposure slightly. Check the screen before taking another frame.
For night scenes, steady the camera or phone against a stable surface, such as a table, railing, tree or rock. Take 10 shots without changing position; small differences can leave one image sharper. Keep your elbows close if no support is available, and ask your group to pause briefly. In Singapore, shopfront lights and passing headlights can add colour without requiring a flash.
Back up holiday photos during your trip instead of relying on one device. At the end of each day, sort images into folders by date or place, then copy your favourites to a separate storage option. A phone can hold thousands of photos, but a full device is awkward to manage while travelling. Use clear folder names, such as “street scenes” or “family portraits”.
2. Choosing between a phone and a larger camera
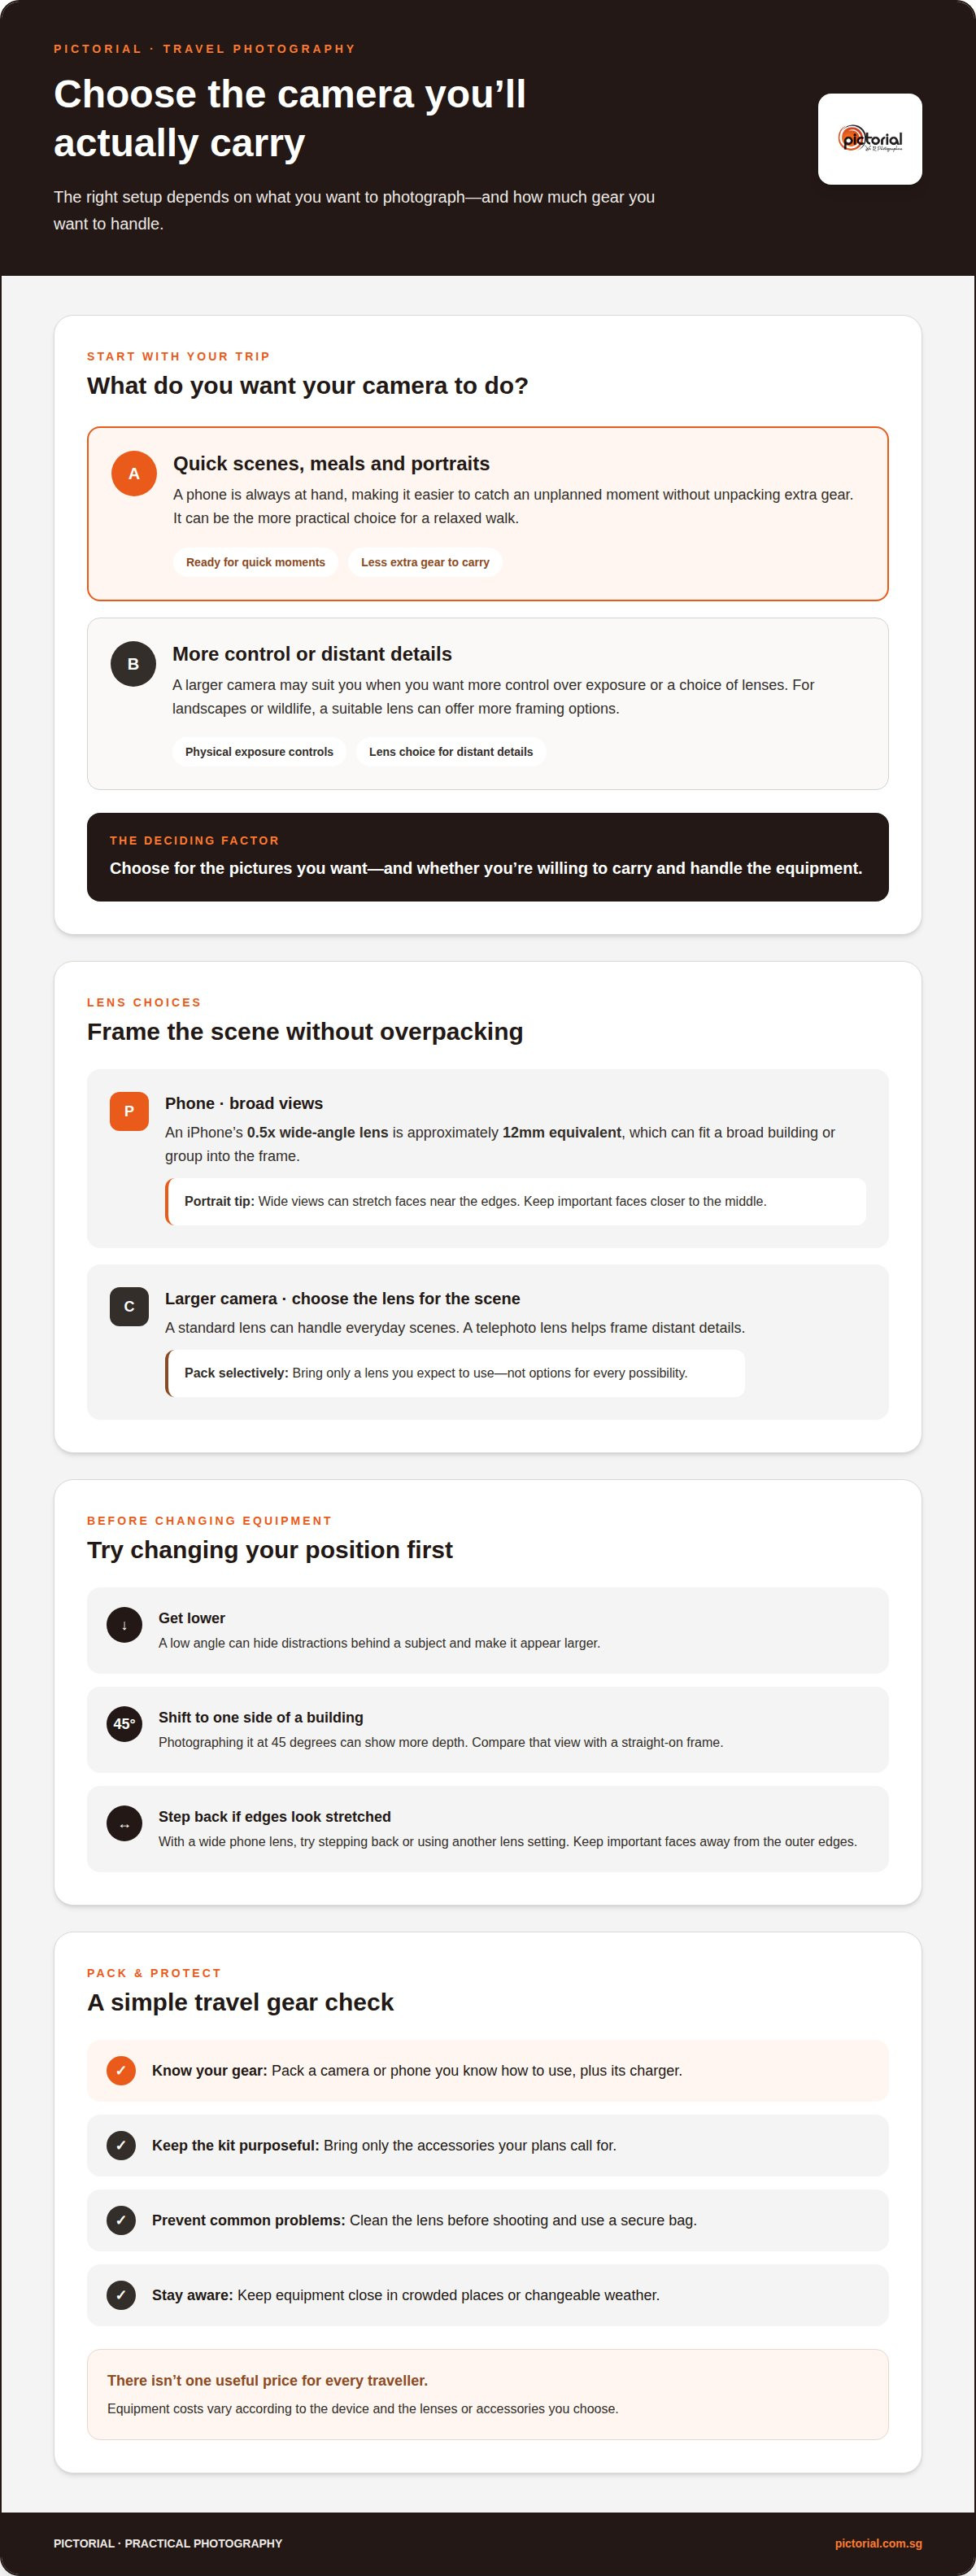
Choose equipment for the pictures you want, not the biggest camera bag. A phone suits travel days when you want a camera ready for quick scenes, meals and portraits. It’s always at hand, so you can catch an unplanned moment without unpacking extra gear. A larger camera may suit you when you want more control over exposure or a choice of lenses. Before packing, consider what you’ll photograph and whether you’re willing to carry and handle the equipment.
Phone lenses can cover different views without adding weight. On an iPhone, the 0.5x wide-angle lens is approximately 12mm equivalent, which helps fit a broad building or group into the frame. Wide views can also stretch faces near the edges, so keep portraits closer to the middle. For a larger camera, a standard lens can handle everyday scenes, while a telephoto lens helps frame distant details. Pack only a lens you expect to use, rather than carrying options for every possibility.
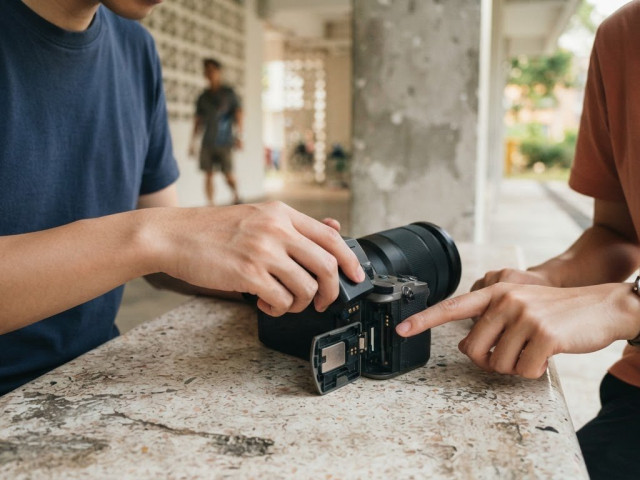
A larger camera gives you physical controls that can help you adjust settings as a scene changes. It also demands more attention: you’ll need to carry it, keep it secure and make time to use it. For a relaxed walk, a phone may be more practical. For a trip focused on landscapes or wildlife, a camera with a suitable lens may offer more framing options. The best equipment is the one you’ll have with you when a picture appears.
For travel photography, pack a camera or phone you know how to use, its charger, and only the accessories your plans call for. Equipment costs vary according to the device and any lenses or accessories you choose, so there isn’t one useful price for every traveller. Avoid common problems by cleaning the lens before shooting, using a secure bag, and keeping equipment close in crowded places or changeable weather.
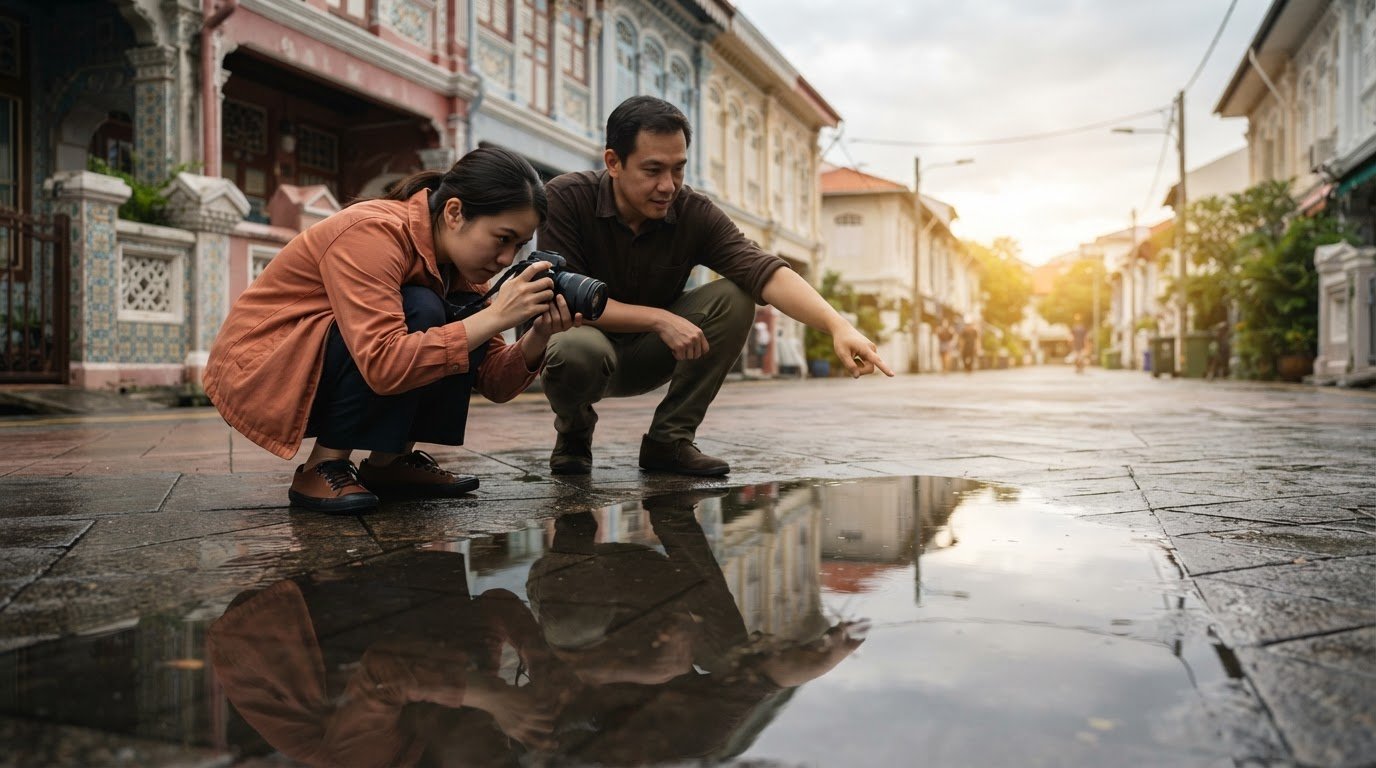
Try changing your position before changing equipment. A low angle can hide distractions behind a subject and make it appear larger. For a building, move to one side and photograph it at 45 degrees to show more depth. Then compare that view with a straight-on frame. If a wide phone lens makes the edges look stretched, step back or use another lens setting, keeping important faces away from the outer edges.
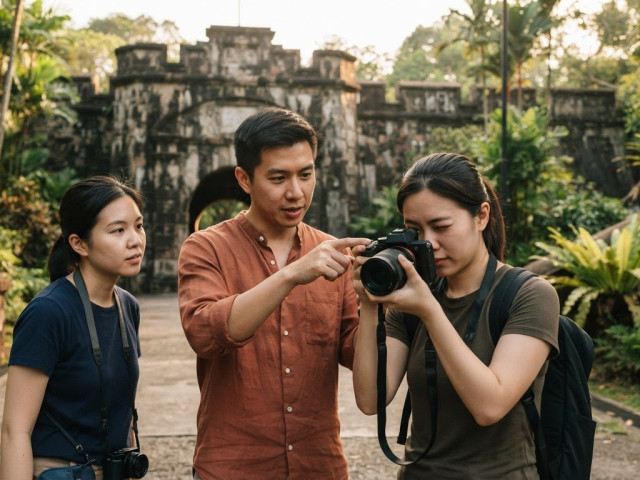
Use a simple test before leaving your accommodation: take a picture of a doorway, a person and a distant sign. Check whether the lens choice, framing and focus suit each scene. If you mainly shoot with a phone and want guided practice with its camera, mobile photography lessons can help you build confidence with those everyday choices.
For quick scenes, pack a phone and its charger; for more control or distant details, bring a larger camera with only a lens you expect to use. In Singapore, the cost varies according to the device, lenses and accessories you choose.
3. Filling the frame and getting closer to subjects
A subject can disappear in a holiday picture when too much empty space surrounds it. Before shooting, decide what should catch someone’s eye, then move or reframe so that person, object or detail becomes prominent. At a Singapore street market, for example, fill more of the frame with a vendor’s hands preparing food instead of letting a busy stall compete for attention. Keep enough background to show where the moment happened.
Moving closer usually gives a subject more presence than zooming in or cropping later. Digital zoom and heavy cropping can make details look pixelated, especially when the subject takes up only a small part of the original picture. Take a step forward, check the edges and frame the shot again. If you can’t move safely, use the available view and accept a wider scene rather than sacrificing clarity through excessive cropping.
Check what appears directly behind your subject before pressing the shutter. A sign, pole or bright patch can seem to grow from someone’s head or draw attention away from their face. Shift your position a little to the left or right, or ask your friend to move one step. In a crowded spot, wait for a clear gap behind them instead of trying to remove every distraction later.
Place people or important objects away from the centre when the surrounding space helps tell the story. Position a friend on one side of the frame, for example, and leave open space towards the street they’re looking at. This makes their direction of attention clear. The subject should still stand out, so avoid placing it against a background with equally bright colours or busy patterns.
Leading lines guide the viewer from the edges towards the main subject. A walkway, row of railings or line of market stalls can draw the eye through the picture. Stand where the lines point towards the person or landmark you want to feature. If they lead out of the frame instead, change your position or angle until they support the subject rather than compete with it.
For a moving subject, leave space in front of its direction. If a child runs from left to right, place them towards the left side of the picture, leaving room to move into the frame. The same approach works for a cyclist or a bird in flight. Take a short sequence as the subject moves, then choose the image with the clearest expression and background.
Try three versions of one scene: a wide view, a closer view and a detail. In a garden, the wide frame might show the path, the closer frame a person among the flowers, and the detail a hand touching a leaf. Comparing the images helps you see which framing best expresses the moment, rather than assuming one striking view tells the whole story.
4. Capturing ordinary details and sensory memories
Landmarks show where a trip happened, but ordinary details help you remember how it felt. Photograph a well-used backpack beside a hotel bed, a train ticket in your hand, or a family member resting during a flight. These images add personal context to the main attractions. A close-up of a favourite snack can also bring back its colour, texture and place in the day.
Look for small scenes before tourists gather around a famous view. In a café, you might frame cups on a table beside a rain-speckled window. At a market, capture a vendor arranging fruit or a friend choosing lunch. Include one clue to the location, such as a sign or distinctive stall, so the detail stays connected to the trip.
Let more than sight guide what you photograph. Think about sounds, textures and routines you may want to remember: people crossing a station, rain patterns on a pavement, or the worn handle of a suitcase. A still image can’t record a scent or sound, but a specific object or gesture can help bring the moment back. Include enough context to make the detail meaningful later.
Wildlife photography takes preparation. Some compact cameras can take around one second to focus before capturing an animal, which may be enough time for it to move. Aim at the place where you expect the animal to appear and press the shutter halfway to pre-focus. When a bird lands on a branch, finish pressing the shutter without waiting for the camera to focus from scratch.
Pre-focusing works best when the subject’s path or position is predictable. At a pond, focus on the water’s edge where a bird might land; on a garden trail, choose a clear patch where a butterfly might pause. Keep the camera steady and avoid changing your distance after focusing. If the animal moves elsewhere, refocus rather than expecting the original setting to remain sharp.
Decisive moments often happen between planned poses. Watch for a child noticing a fountain, a friend laughing at a meal, or a traveller checking a map. Get the camera ready before the action begins, then follow the subject and capture a short sequence. For a passing dolphin, taking 50 pictures rather than just one can give you more chances to catch its movement and expression.
Don’t wait for an obvious landmark to make a picture worth keeping. At the end of the day, review your images and notice which ordinary details feel most personal. A quiet scene, such as shoes left by a hotel door after a long walk, may tell more about your holiday than another distant view. Keep these small observations alongside the grand scenes.
5. Composing with a single vanishing point
A single vanishing point gives a scene a clear sense of direction. Find parallel lines, such as a corridor’s floor edges or a covered walkway in Singapore, and stand so they appear to meet in the distance. Place that meeting point where it supports the subject, rather than automatically at the frame’s centre. Keep the camera level, then check whether the lines guide the eye naturally through the picture.
The rule of thirds offers a simple way to position important parts of a composition. Imagine two horizontal lines and two vertical lines dividing the frame into nine equal squares. The four intersections are useful positions for a person, building or the brightest part of a sunset. Turn on your phone’s grid if available, place the main subject near an intersection, and compare the result with a centred frame.
A grid is a guide, not a rule for every holiday picture. For a symmetrical scene, such as a straight path leading towards a distant doorway, a centred vanishing point can make the balance feel deliberate. For a friend standing beside that path, place them off-centre and let the walkway draw the eye towards the distance. Keep the horizon straight so the scene doesn’t appear tilted.
Look at the sky before framing a landscape. If bright, empty sky takes up most of the picture, lower the camera slightly or move closer to the foreground. A strip of sky can show the weather or sunset colour, while more land reveals texture and detail. In a park, include a patterned path or tree canopy to make the lower part of the frame engaging.
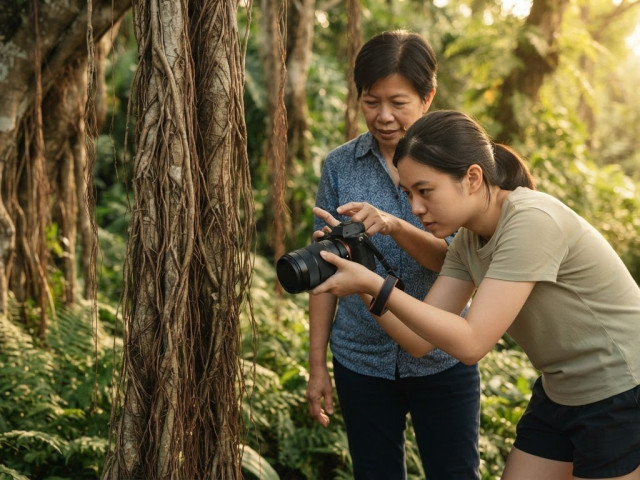
Create depth by arranging the scene in layers. Include a clear foreground detail, a middle-ground subject and a background that provides context. For example, frame a person beside a garden railing, with greenery behind them and distant buildings beyond. These layers help the viewer move through the image. Make sure the foreground object adds meaning instead of blocking the main subject.
Before taking the picture, check the frame from edge to edge. Look for a cut-off roof, bright sign or branch touching someone’s head. Shift your position until the main lines and subject work together. At sunset, take one frame with more sky and another with more foreground; changing light can make each balance feel different.
Practise framing and perspective with guided photography learning.
Pictorial
Pictorial helps you practise the choices behind stronger holiday photographs, from reading light to framing a scene. Its photography courses offer practical outdoor guidance in groups limited to three participants, with a complimentary camera loan if needed. You can work through camera fundamentals and try them in real surroundings, whether you’re learning with a phone or camera.
For structured guidance, consider the Photography Starter Session, Mobile Photography Essentials or Complete Photography Course. Choose the format that fits your experience and the skills you want to build, then practise those ideas on your next trip.
Contact Pictorial to discuss your next step.
Keep noticing what matters on your next trip
A photograph becomes more personal when you choose what deserves attention instead of trying to record everything. On your next outing, pause before raising your camera and decide what you want to remember about the place. That small intention can guide your choices and make taking better holiday photos feel less like a technical challenge and more like a way of seeing.
To continue developing your skills with guidance, Pictorial offers the Photography Starter Session, Intermediate Photography Course and Mobile Photography Essentials. Each gives you a way to practise and build confidence at your own level.
Keep experimenting, stay curious, and let your next pictures reflect what mattered to you.
Frequently Asked Questions
How can I improve my photography skills?
Improve by practising one skill at a time and reviewing what each frame teaches you. During a walk, photograph the same subject from several distances, then compare which view communicates the moment best. Make a brief note of what you changed, such as your focus point or camera position. This turns taking better holiday photos into a repeatable practice rather than a matter of luck.
What is the best time of day for travel photography?
Early morning and late afternoon often offer softer light, but the best time depends on the scene and your plans. Visit a location when you can stay long enough to notice how the light changes, rather than squeezing every photo into a brief stop. At a busy attraction, an earlier visit may also give you more room to choose your viewpoint and include fewer people in the frame.
How can I take sharper holiday photos with a smartphone?
Tap the main subject on your screen to set focus before taking the picture, then hold still as you press the shutter. Keep both hands on the phone and tuck your elbows close to your body for support. In a dim restaurant, rest your hands on the table and ask your subject to pause briefly. Review the image at full size to spot softness while you still have time to take another.
What composition techniques make travel photos more interesting?
Try symmetry, repeated patterns and negative space to give a picture clear visual structure. A row of lanterns can make a strong pattern, while a single person against an uncluttered wall can create a sense of scale. You can also frame a distant view through an archway or doorway. Step sideways to see whether the frame adds context or hides important details.
How do I take better photos of people and portraits while travelling?
Give people a simple action instead of asking them to hold a stiff pose. Invite a companion to walk, browse a stall or look towards a view while you photograph them naturally. Watch their expression between actions, when their attention shifts and their shoulders relax. A short conversation can also make a portrait feel more personal. Keep the background simple enough not to compete with their face.
What is the best way to photograph landscapes, beaches, and city skylines?
Choose a viewpoint that gives the scene a clear centre of interest, such as a rock on a beach or a distinctive building in a skyline. For water, include a recognisable shoreline or nearby object to show scale. At a city viewpoint, move until buildings separate instead of overlapping into one shape. Take a horizontal and vertical frame, then compare which best suits the scene’s strongest lines.

Disclaimer
© Pictorial | All Rights Reserved.