
Practical Photography Workshop in Singapore for Beginners
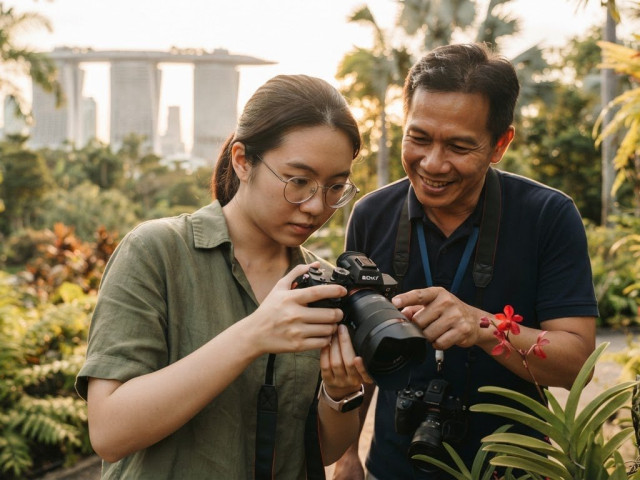
The trainer matters as much as the camera. A practical photography workshop in Singapore should give beginners time to practise aperture, shutter speed and ISO, and see how changing one setting affects a photograph. Look for a trainer who explains these controls clearly and guides you as you shoot.
It’s understandable to feel unsure when camera settings, composition and phone features all seem like things to master at once. Hands-on practice makes them easier to grasp: try a technique, notice what changes and ask questions as you go.
This guide explains what to look for in workshop content, shooting practice, beginner-friendly smartphone guidance and a trainer’s professional experience. You’ll also learn how to decide whether a short workshop or a longer course better suits the way you want to build your photography skills.
Key Takeaways
- Learn how aperture, shutter speed and ISO work together so you can make deliberate adjustments while shooting.
- Look for practice with exposure, composition and lighting, not just explanations of photography terms.
- Choose smartphone instruction that gives you structure and feedback as you practise using the camera in your phone.
- Consider a trainer’s professional photography experience and ability to explain techniques clearly to beginners.
- Compare workshop content, hands-on shooting time and intended skill level to find a learning format that suits your goals.
Camera controls: aperture, shutter speed and ISO
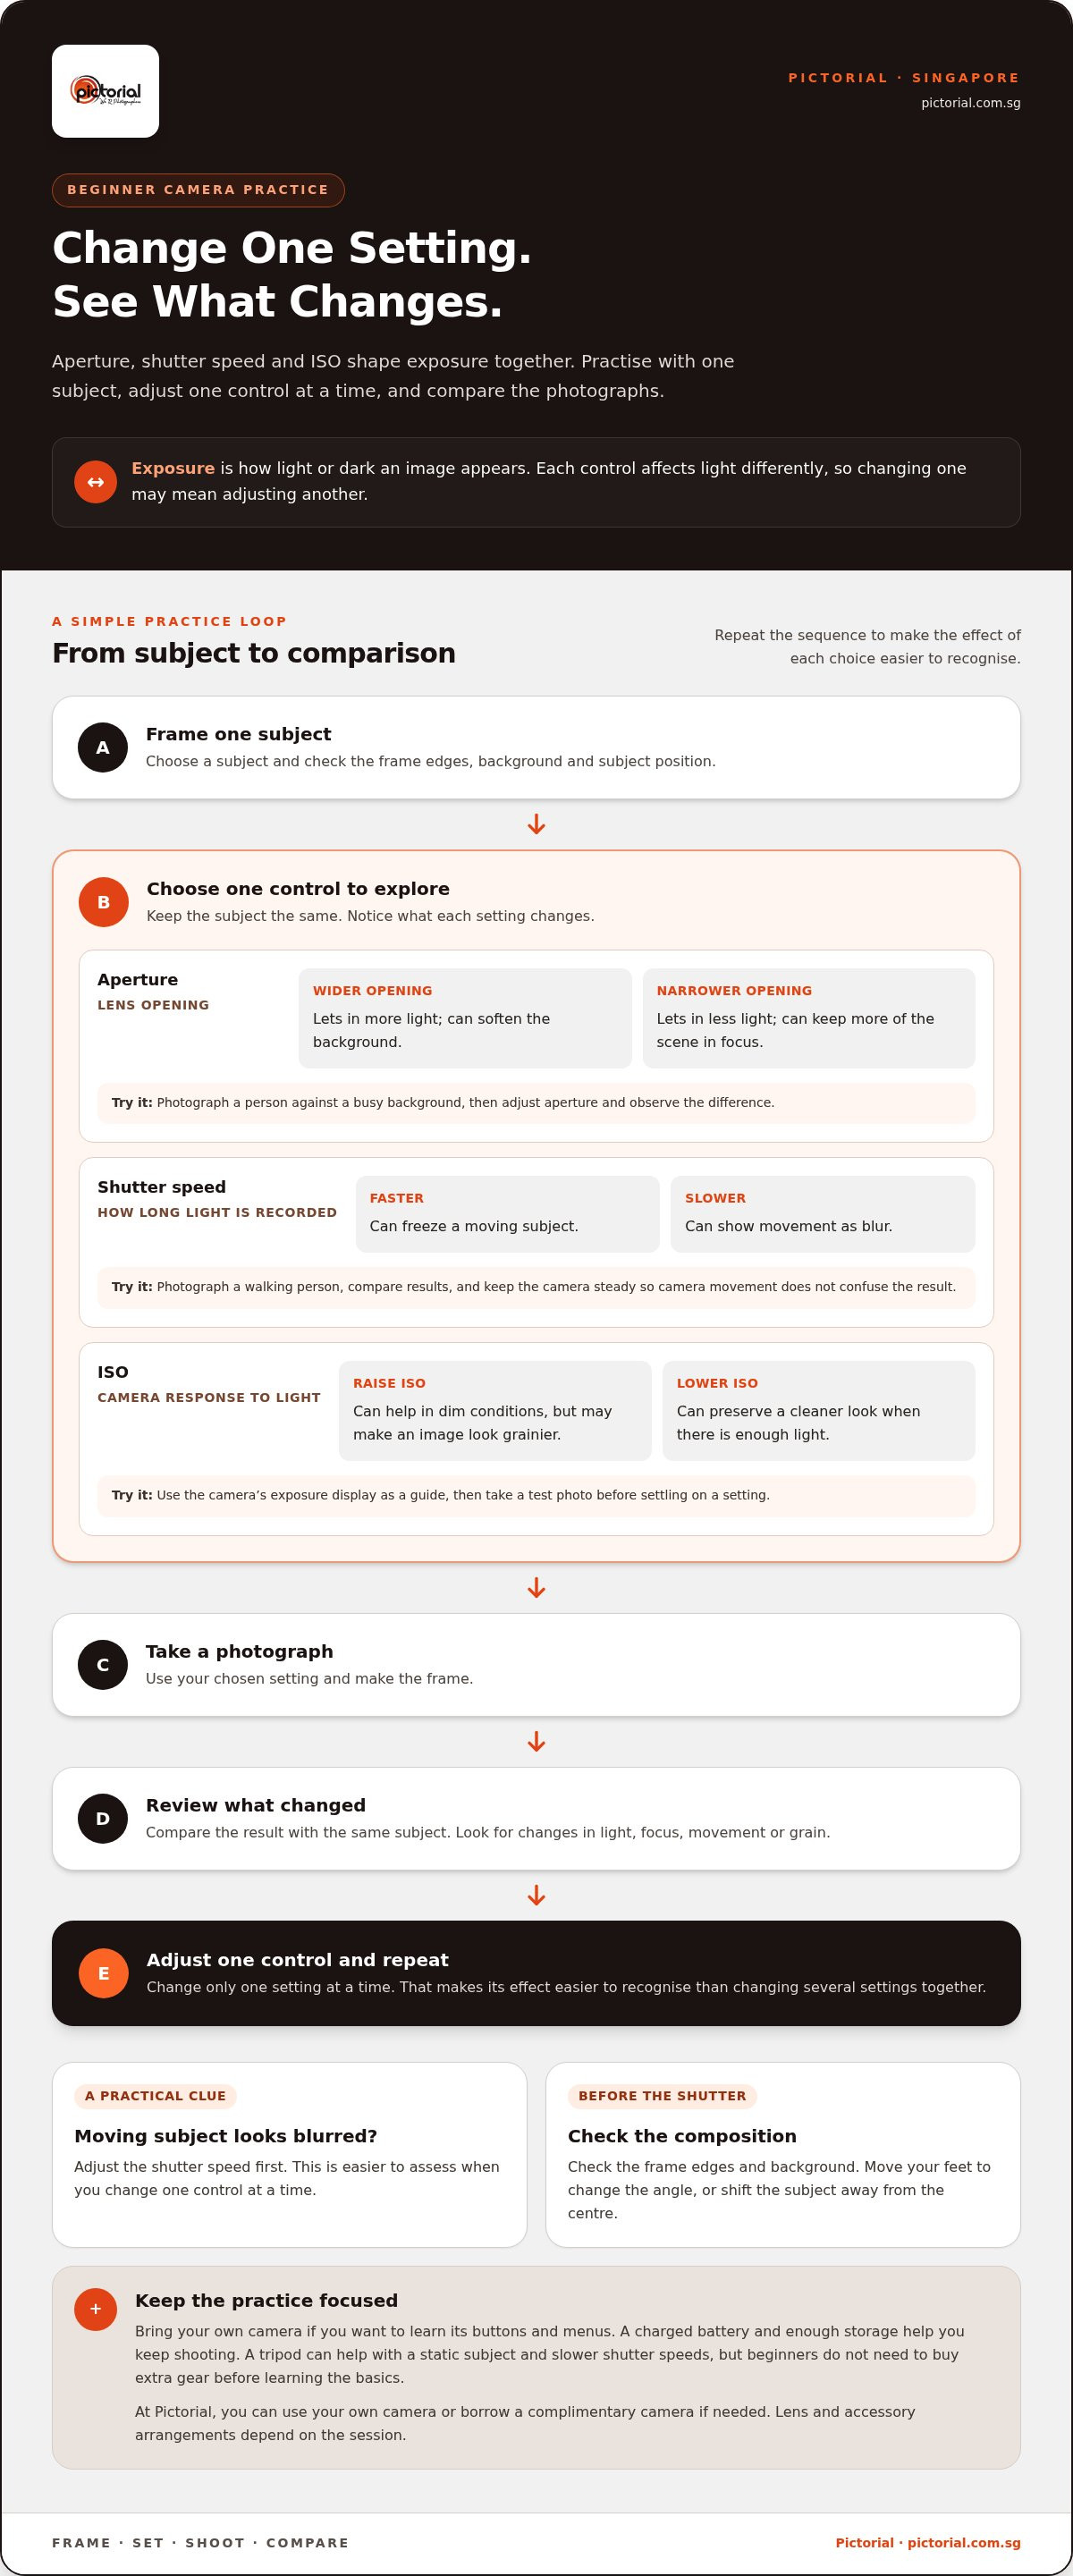
A beginner digital camera course should explain how aperture, shutter speed and ISO shape exposure together. Exposure describes how light or dark an image appears. Each control affects light differently, so changing one may require adjusting another. Practise with the same subject, then compare the results.
Aperture controls the lens opening. A wider opening lets in more light and can soften the background. A narrower opening lets in less light and can keep more of a scene in focus. Photograph a person against a busy background, then adjust the aperture and observe the difference.
Shutter speed controls how long the camera records light. A faster shutter can freeze a moving subject, while a slower one can show movement as blur. Photograph a walking person, review the result, then change the shutter speed and compare. Keep the camera steady so camera movement doesn’t confuse the result.
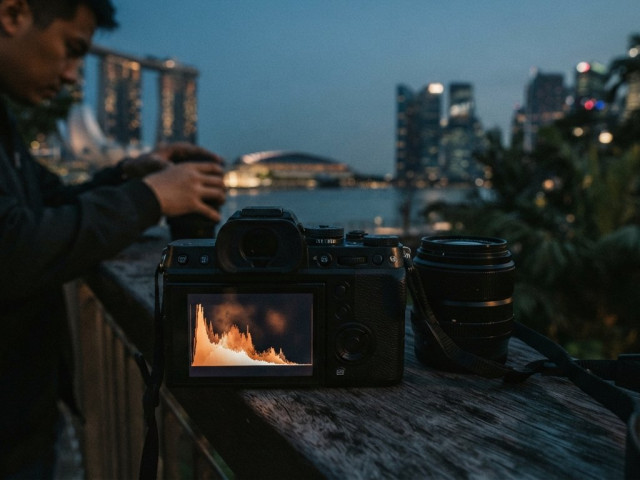
ISO controls how strongly the camera responds to light. Raising it can help in dim conditions, but may make an image look grainier. Lowering it can preserve a cleaner look when there’s enough light. Use the camera’s exposure display as a guide, then take a test photo before settling on a setting.
Hands-on camera practice works best as a short sequence: frame a subject, choose a setting, take a photo and review it. Change one control at a time. If a moving cyclist looks blurred, for example, adjust the shutter speed first. This makes the effect easier to recognise than changing several settings together.
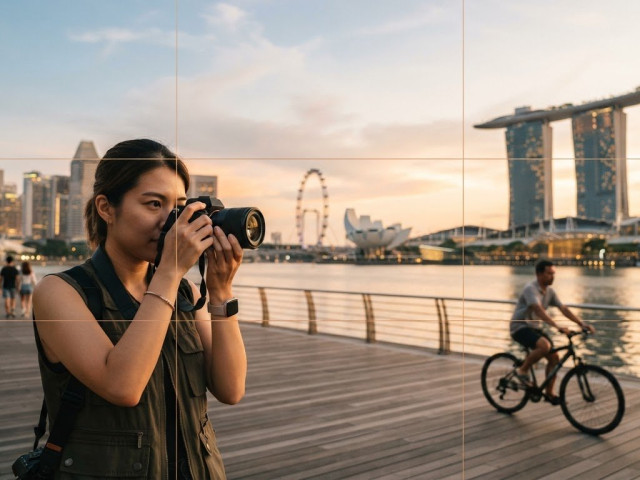
Camera operation and composition go hand in hand. Before pressing the shutter, check the frame edges, background and subject position. Move your feet to change the angle, or shift the subject away from the centre. These simple choices can clarify what the viewer should notice, even before you adjust exposure.
The right camera equipment depends on the workshop and practice task. Bring your own camera if you want to learn its buttons and menus. A charged battery and enough storage help you keep shooting. A tripod can help when practising with a static subject and slower shutter speeds, but beginners don’t need to buy extra gear before learning the basics.
Photo editing is a separate step from camera operation. Workshops commonly address image selection, editing and preparation at a high level. During practice, compare the original image with a simple crop or brightness adjustment. This helps you see what editing can refine, while keeping attention on choices made before capture.
Before booking, read the workshop’s stated terms for cancellations, refunds and rescheduling. These explain the conditions and process for changing or cancelling your place.
At Pictorial, you can use your own camera or borrow a complimentary camera if needed. A loaner can help you practise even if you don’t have personal gear; lens and accessory arrangements depend on the session.
Photography concepts: exposure, composition and lighting
Practical photography workshops commonly cover exposure, composition, lighting and camera technique. Beginners develop these skills by shooting, observing how an image changes, asking questions and reviewing photographs during the session. A useful lesson connects each idea to a visible result. For example, compare two frames of the same scene and consider which choices make the subject easier to notice.
Exposure is the overall brightness of a photograph. To understand it, compare a scene with bright highlights and dark shadows, such as a person standing beside a sunlit window. Notice whether facial detail remains visible or the window becomes a blank patch of white. Then adjust your position or exposure settings and take another frame. Comparing the images shows how light affects detail across the photograph.
Composition is how visual elements are arranged inside the frame. Start by identifying the main subject, then look for objects that compete for attention. To photograph a coffee cup, move closer or change your angle to remove a distracting sign behind it. This simple step makes the subject clearer without extra equipment or editing.
Framing also guides the viewer’s eye. Place a person near a doorway, for example, and use the doorframe to direct attention towards their expression. Check the edges before shooting: a bright object or cropped hand can pull attention away. Try a second composition by shifting your position rather than moving the subject. Comparing both frames helps develop deliberate visual judgement.
Lighting changes a subject’s shape, colour and mood. In natural light, photograph the same face facing a window and then standing side-on. The first position gives more even illumination; the second creates stronger shadows. Outdoors in Singapore, a covered walkway can soften harsh daylight. A workshop may also use a controlled setting to show how changing light direction affects shadows.
During a practical exercise, take a short sequence: choose one subject, frame it, inspect the light and adjust your position. Shoot again, then compare the images for brightness, background distractions and subject placement. This review turns abstract terms into repeatable decisions. You should be able to explain why one frame feels clearer, not simply say that you prefer it.
For guided practice that connects composition and lighting with real shooting, explore beginner photography workshop practice.
A photography workshop can introduce studio lighting, while a longer course can help you practise techniques over time.
Beginner-friendly smartphone photography
A smartphone lets you practise photography foundations without making camera controls the first obstacle. You can work on framing, focus, exposure and light with a device you already know. A hands-on lesson adds structure and feedback. For example, photograph the same subject from two angles, then compare which frame gives it greater visual emphasis.
Beginner-friendly workshops introduce simple techniques through guided shooting and review. Look for opportunities to practise tapping to focus, adjusting exposure on screen and holding the phone steady. Try photographing a cup beside a window: focus on its rim, adjust brightness, then take another frame. Comparing the results shows how each action affects the image.
Composition matters just as much on a phone as it does on a camera. Before taking a photograph, check the background and frame edges. If a bright sign competes with a person’s face, change your position or angle. Take another photograph and compare the subject’s prominence. Direct practice builds visual decision-making more effectively than memorising rules.
Lighting offers another useful exercise. Photograph a face near a window, first facing the light and then turned slightly sideways. The change reveals how light direction affects shadows and detail. Outdoors in Singapore, compare a shaded walkway with a spot under direct sunlight. Review both images on the phone screen and notice which setting keeps the subject’s features clearer.
Photography workshops in Singapore may take place in studios, outdoor locations or controlled environments, depending on the lesson. For a phone photography session, the venue shapes what you can practise, from window light indoors to changing daylight outdoors. Plan your journey using the workshop’s venue details and your preferred transport, such as MRT, bus or walking. The specific address determines the most practical route.
Some sessions suit beginners, while others are for intermediate participants who understand basic framing and want more guided feedback. Beginners benefit from step-by-step practice with focus, exposure and composition. Intermediate learners can use the same subject to test new angles, light and visual choices. Learning alongside others can also reveal different ways to photograph one scene.
Use a repeatable practice routine: choose a subject, check the background, tap where you want to focus, adjust brightness and take the photo. Review it before moving on. Ask what draws your eye first, then change one choice and shoot again. This makes your phone a practical learning tool and helps you explain why one image communicates more clearly.
For useful feedback, bring a few photographs you’ve taken on your phone. A trainer can discuss specific choices, such as a cluttered background or strong side light. Then focus your next attempt: simplify the frame, change your position or turn the subject towards softer light. Small, deliberate changes build confidence with smartphone photography.
Trainer’s professional photography experience
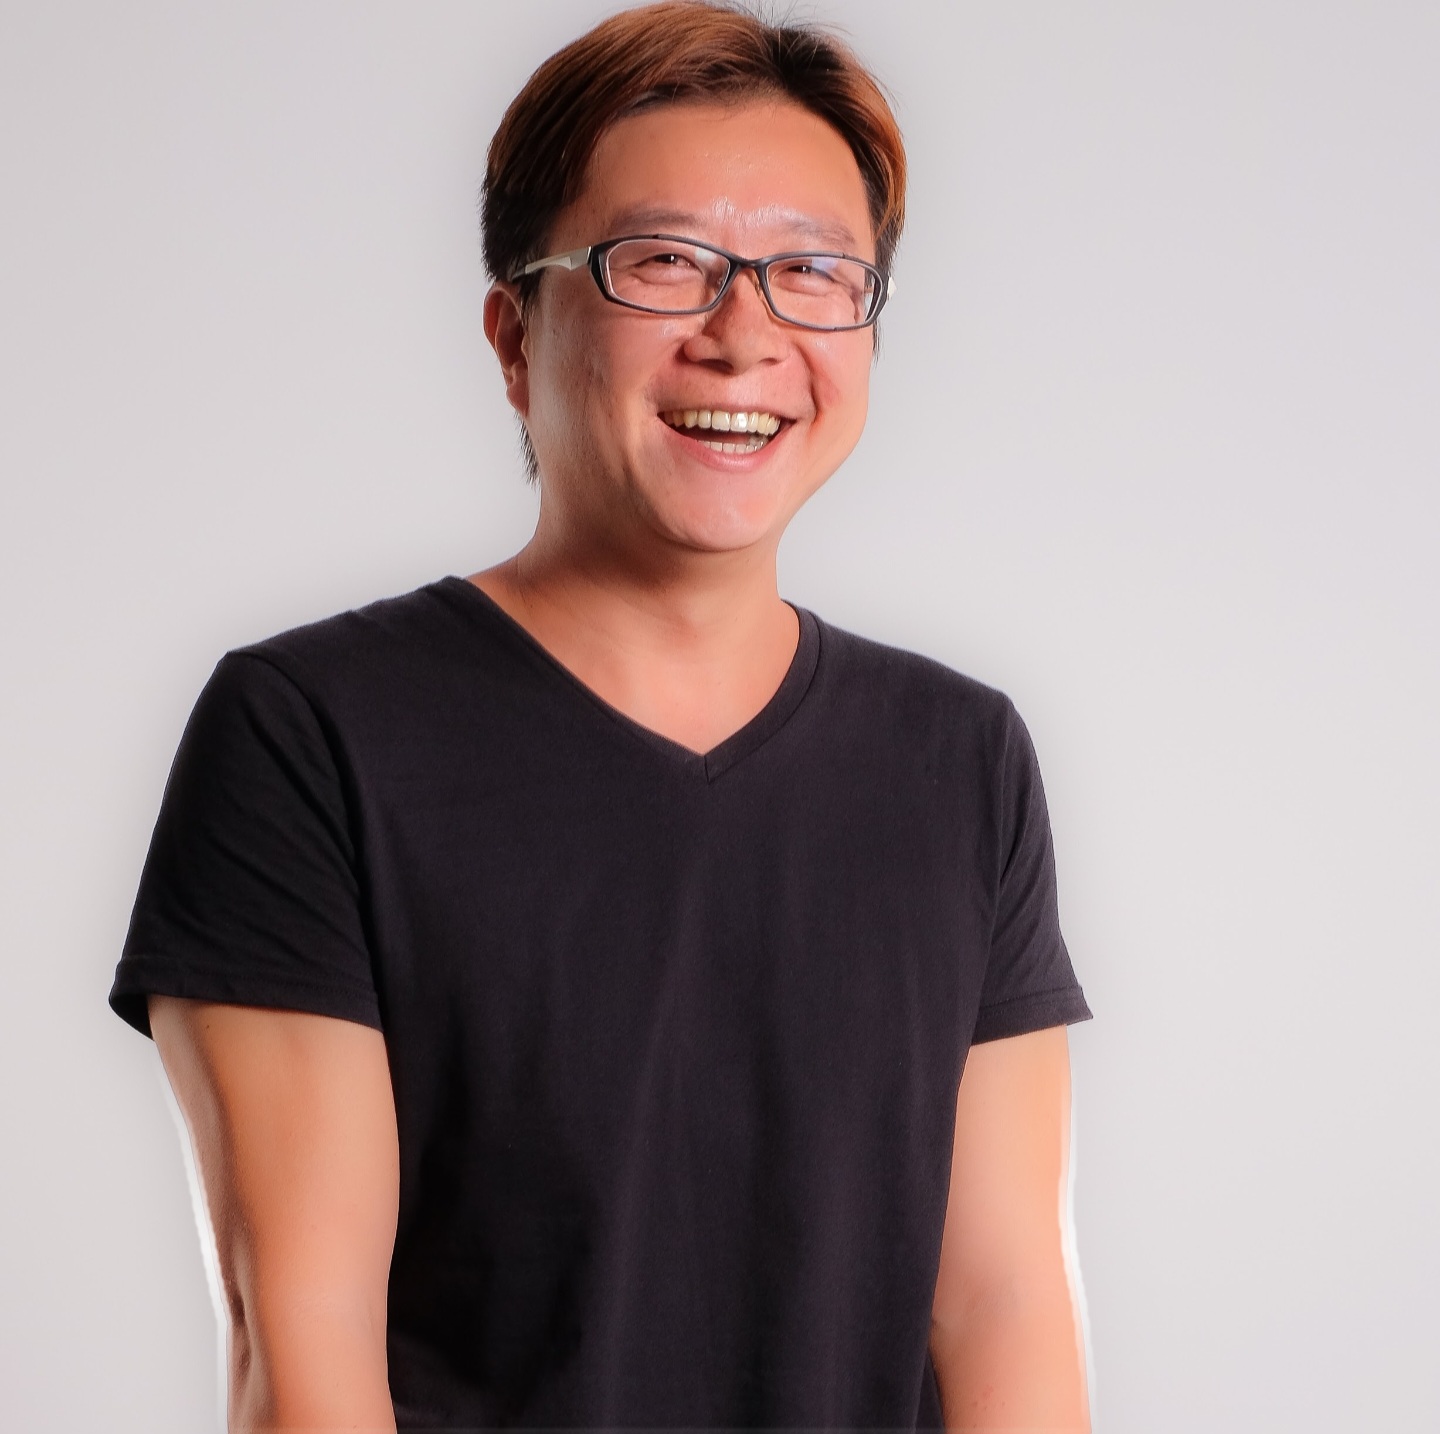
A trainer’s working experience can make technical ideas easier to connect with real assignments. For example, a commercial photographer may explain how to keep product details clear, while corporate photography calls for useful portraits and workplace images. John Yuen, a Singapore course trainer, has over 30 years of experience as a practising commercial and corporate photographer. That background offers a concrete example of how professional practice can inform instruction.
Experience alone doesn’t show how well someone teaches beginners. Notice whether the trainer breaks a task into clear steps, demonstrates a technique and gives participants time to try it. If a photograph looks too dark, a helpful instructor can guide the learner through possible causes, such as light direction, exposure settings or subject position. The goal is to build understanding, not just offer a quick correction.
Teaching experience can also support a more considered learning pace. For instance, a trainer who has taught photography can recognise when a beginner needs a camera demonstration before trying a new composition. During an outdoor exercise, look for feedback tied to the image: “Move left to separate the subject from that sign” gives a clear action and reason. That kind of guidance helps turn knowledge into repeatable practice.
Class size, instructor experience and reviews are useful comparison points, but each answers a different question. Check the group size to understand how much individual guidance may be possible, the trainer’s work history to see whether it fits your interests, and reviews for specific descriptions of teaching and practice. A detailed comment about clear explanations is more useful than general praise.
When reading reviews, look for repeated, concrete observations rather than a single broad claim. Comments about a trainer explaining focus, allowing time to practise or helping participants understand a difficult image describe the learning experience. Treat professional experience and teaching skill as related, not identical: a strong portfolio shows photographic knowledge, while clear demonstrations show how that knowledge is shared.
Before choosing a course, match the trainer’s experience to what you want to photograph. Someone interested in corporate portraits may value relevant commercial work; a learner focused on everyday scenes may benefit more from patient guidance on observation and composition. Consider the trainer’s approach, too: do they explain why a change works, or only tell you which setting to use?
Use a simple review process: identify your goal, read comments for specific teaching examples, and compare them with the trainer’s background. If you want to learn a particular technique, consider whether the trainer has relevant experience and can explain it in beginner-friendly steps. This makes your choice more grounded than relying on a star rating alone.
Choosing a workshop based on content and hands-on practice
Choose a workshop by matching its subject and shooting time to your learning goal. A clear plan tells you what you’ll practise, not just what you’ll hear.
Workshop Content Options
Singapore workshops may focus on natural light, controlled studio lighting, composition, portrait techniques, studio workflow or documentary approaches. A short workshop can introduce a technique, while a longer course can build skills cumulatively. Before choosing, compare the stated topics, intended experience level and time for shooting. Image selection, editing and preparation are usually covered only at a high level, so focus on the capture skills you want to practise.
Ask what you’ll actually do with the camera during the session. A composition exercise might have you frame the same subject from different positions; a portrait lesson could explore how light changes a face. These exercises give you images to compare and turn broad ideas into repeatable choices.
Outdoor and Studio Practice
Workshops offering hands-on outdoor or studio practice usually describe the setting and the techniques participants will try. Outdoor shooting suits practice with natural light and changing surroundings; a studio or controlled environment helps isolate lighting choices. Choose based on the images you want to make and whether you learn best by responding to a real scene or adjusting one element at a time.
Check that the session includes time to shoot, observe, ask questions and review images. After making an outdoor portrait, for example, compare how open shade and direct sunlight affect contrast. Changing light direction can also reveal how shadows shape a subject. The setting gives each technique a practical context.
Workshop descriptions also help distinguish a focused introduction from longer, cumulative learning. Singapore photography workshops can run from a few hours to a few days. Match that format to your goal: a brief session can introduce one subject, while a longer course allows skills to build over time. Look for a defined topic, practical shooting time and feedback on your images.
Use this simple selection sequence:
- Name your goal: Choose a subject such as portraits, natural light or documentary photography.
- Compare the practice: Look for time to shoot and review images, not just demonstrations.
- Match the level: Choose a session that suits your current experience and desired depth.
A practical photography workshop in Singapore is a stronger fit when its subject, setting and hands-on exercises all support the skill you want to develop. A studio can help you study controlled lighting; an outdoor session lets you respond to changing natural light. The clearest choice is the one that gives you room to practise the decisions you want to make independently.
Explore beginner photography workshop practice
Pictorial: Photography Starter Session
Pictorial’s Photography Starter Session offers a practical introduction to camera skills. Classes are limited to a maximum of three participants, with hands-on outdoor practice and personalised guidance. Use your own camera or a complimentary camera loan if needed, and practise core controls such as ISO, aperture and shutter speed.
Choose the Photography Starter Session for a guided introduction before moving into broader photography learning. If you mainly want to take better pictures with a phone, Mobile Photography Essentials is the more relevant fit.
Visit pictorial.com.sg to explore the learning options or contact Pictorial.
Take your next step with confidence
Your next step is to choose the kind of photography you want to practise and find a learning path that matches. A practical photography workshop in Singapore can help turn curiosity into a habit of noticing, trying and refining your choices. You don’t need a finished style before you begin. Start with a subject that interests you and build from there.
Pictorial’s Photography Starter Session offers an entry point for beginners, while the Intermediate Photography Course suits learners ready to develop further. If you prefer working with a phone, Mobile Photography Essentials focuses on mobile photography. Each course offers a different way to continue, depending on your experience and what you want to explore next.
Take your time choosing. A clear goal makes it easier to select a session that feels useful and manageable.
Every photograph you make is a chance to learn. Keep looking and practising, and let your confidence grow with each frame.
Frequently Asked Questions
Who will you be learning from?
You’ll learn from Keith, a professional photographer with 35 years of real-world experience and work with Sony, Nikon, Fujifilm and Olympus. That experience connects camera technique with practical photography situations. As you compare workshop options, look for clear demonstrations and feedback that explains how to improve a particular shot. For example, useful guidance might show how changing your position can make a subject stand out from its background.
What are the dates, duration, and locations of photography workshops in Singapore?
Dates depend on the course schedule, with group classes running Monday to Sunday at 11 AM-1 PM or 2 PM-4 PM. Private sessions are scheduled daily from 8 AM-7 PM. The Photography Starter Session is one session, 3 hours total; standard sessions are 2 hours each. Workshops take place in Singapore and may include practical outdoor shooting. Check the schedule for the course you’re considering to plan your session.
Are there age, equipment, or experience requirements for photography workshops in Singapore?
Age requirements vary by course: Photography Starter Session, Mobile Photography Essentials and Basic Photography Course have a minimum age of 9 years; Complete Photography Course, 11; Intermediate Photography Course, 15; and Advanced Photography Masterclass and Comprehensive Photography Course, 18. Beginners are welcome. You can use your own camera or borrow a complimentary camera. For example, bring your camera if you want to practise with its familiar controls.
Disclaimer
© Pictorial | All Rights Reserved.