
Photography Course for Beginners in Singapore
The best photography course for beginners in Singapore is one that teaches the skills you want to use, whether that means understanding camera settings, taking better phone photos or learning through hands-on practice. Beginner lessons commonly introduce aperture, shutter speed and ISO, then show how these controls shape a photograph. You don’t need to arrive knowing the technical terms.
It’s understandable to feel unsure about which photography course for beginners in Singapore to choose, especially when camera equipment and photography terms are unfamiliar. Start with your goal: learn to control a camera, improve phone photos or build a broader foundation. Focused instruction and time to practise help make the concepts easier to apply.
This guide explains what beginner courses cover, how instructors can make technical ideas easier to grasp, and what to consider when choosing a format. You’ll also see how different options suit different photography goals, so you can choose a practical next step with confidence.
Key Takeaways
- Learn how aperture, shutter speed and ISO work together, and how shutter speed affects motion and depth of field.
- Use exposure, composition and available light to make more deliberate photographs.
- Find simple ways to improve smartphone photos by paying attention to framing, focus and light.
- Know what to look for in an instructor, including clear explanations and time to practise with guidance.
- Choose a beginner course around your goal, whether you want to learn camera controls, improve mobile photography or build broader skills.
Camera controls, shutter speed and depth of field
Beginner lessons should turn camera controls into choices you can see in a photograph. Practising with a still subject, a moving subject and a phone helps you connect each setting to its effect.
Beginner Camera Settings
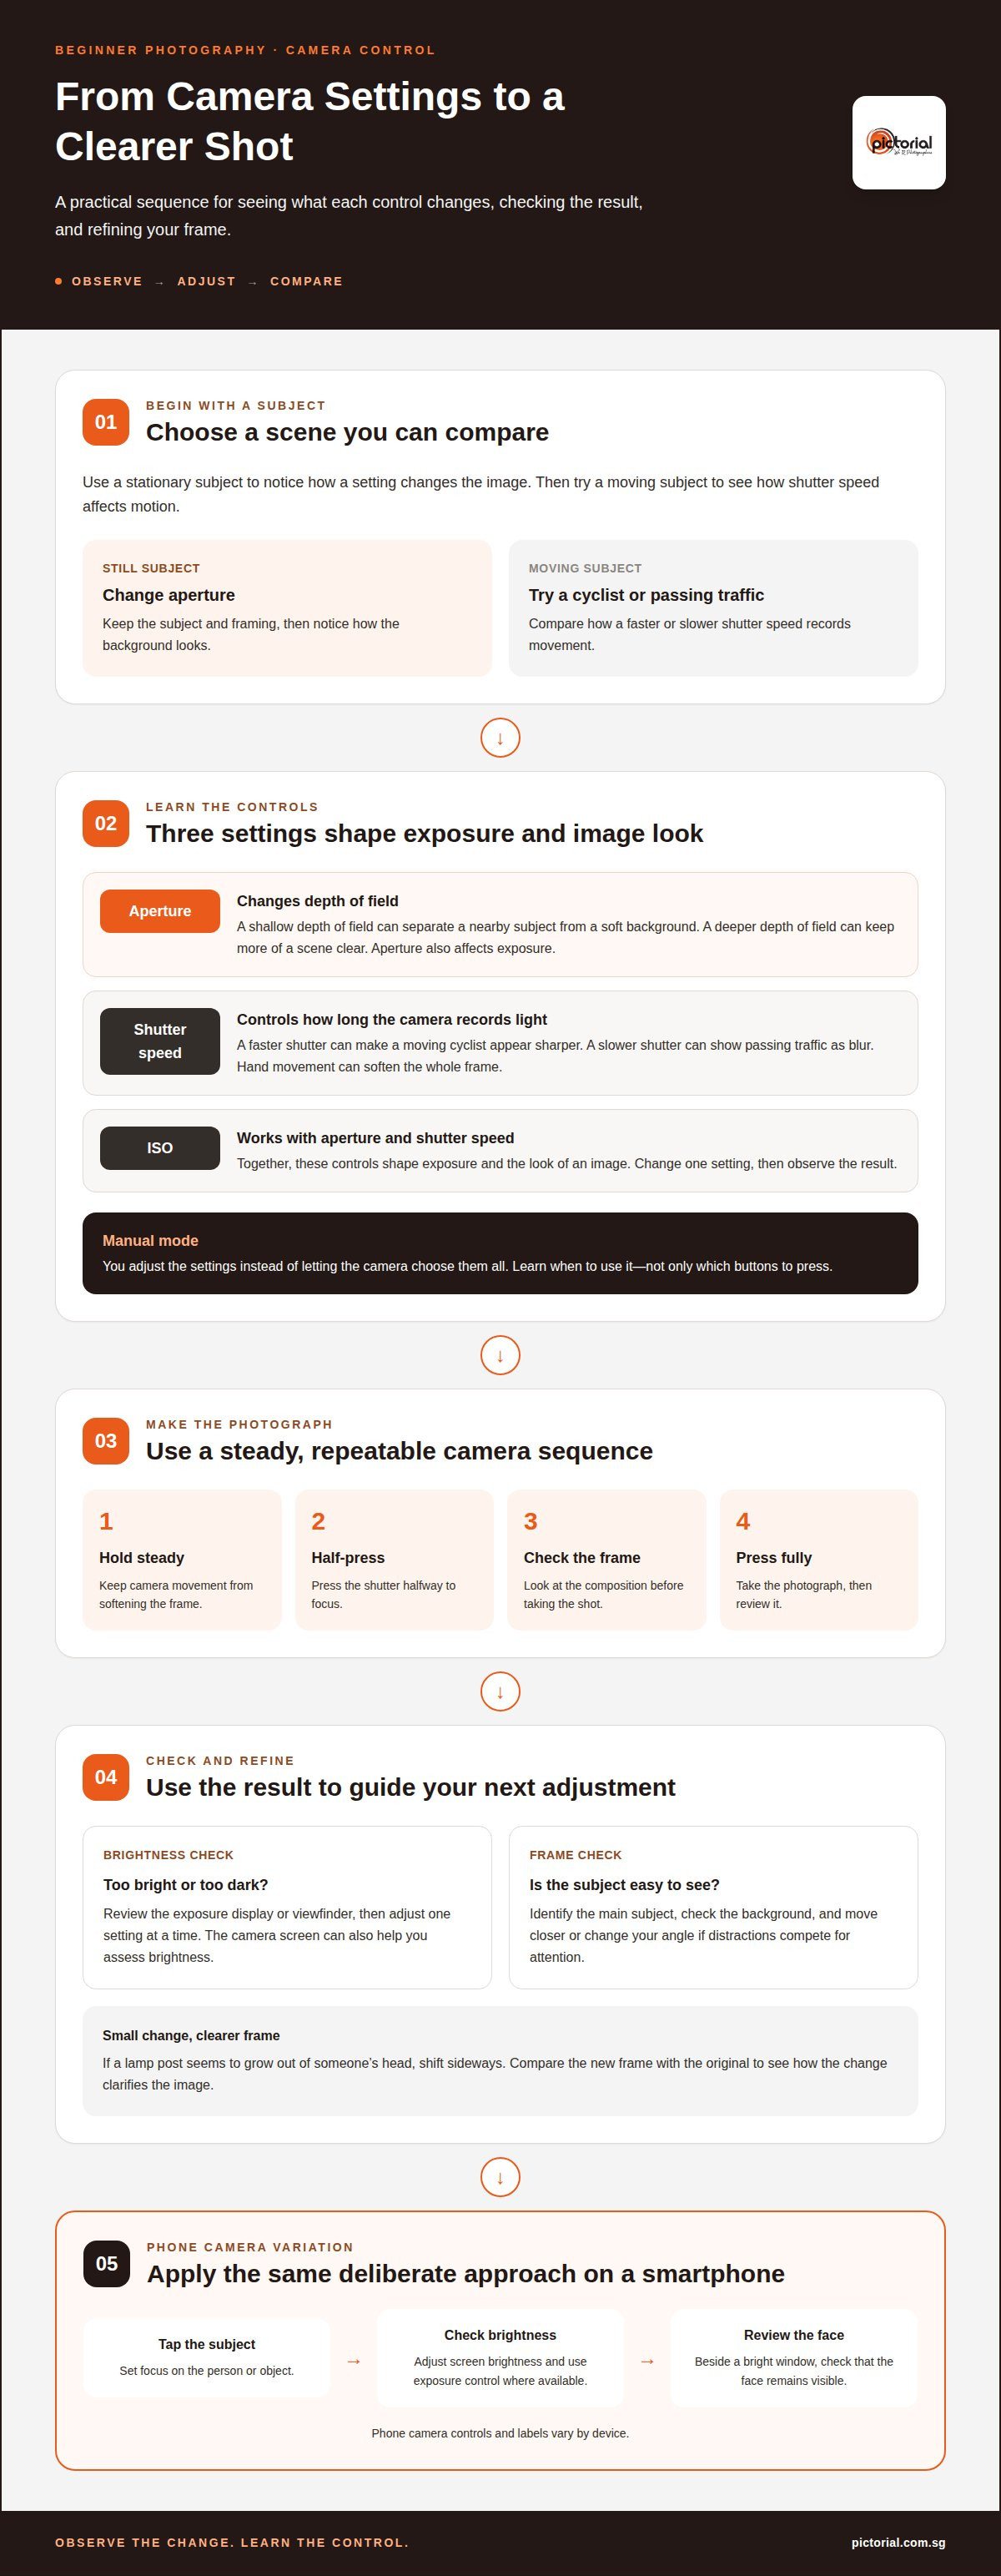
Start with aperture, shutter speed and ISO, which shape exposure and the look of an image. In manual mode, you adjust these settings instead of letting the camera choose them all. A useful lesson shows what changes when you adjust one control, then asks you to observe the result. With a stationary subject, change the aperture and notice how the background looks.
Look for instruction that explains when to use manual mode, not just which buttons to press. The camera’s screen or viewfinder can help you assess brightness as you adjust settings. A beginner photography course in Singapore can help connect these controls with practical shooting, so settings feel like tools rather than a list to memorise.
Shutter Speed and Depth of Field
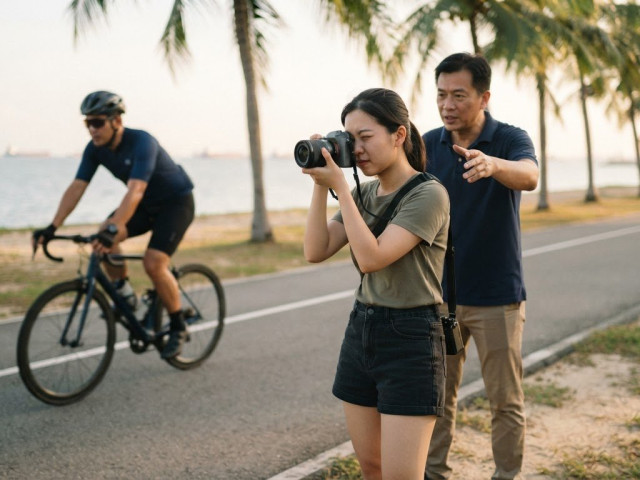
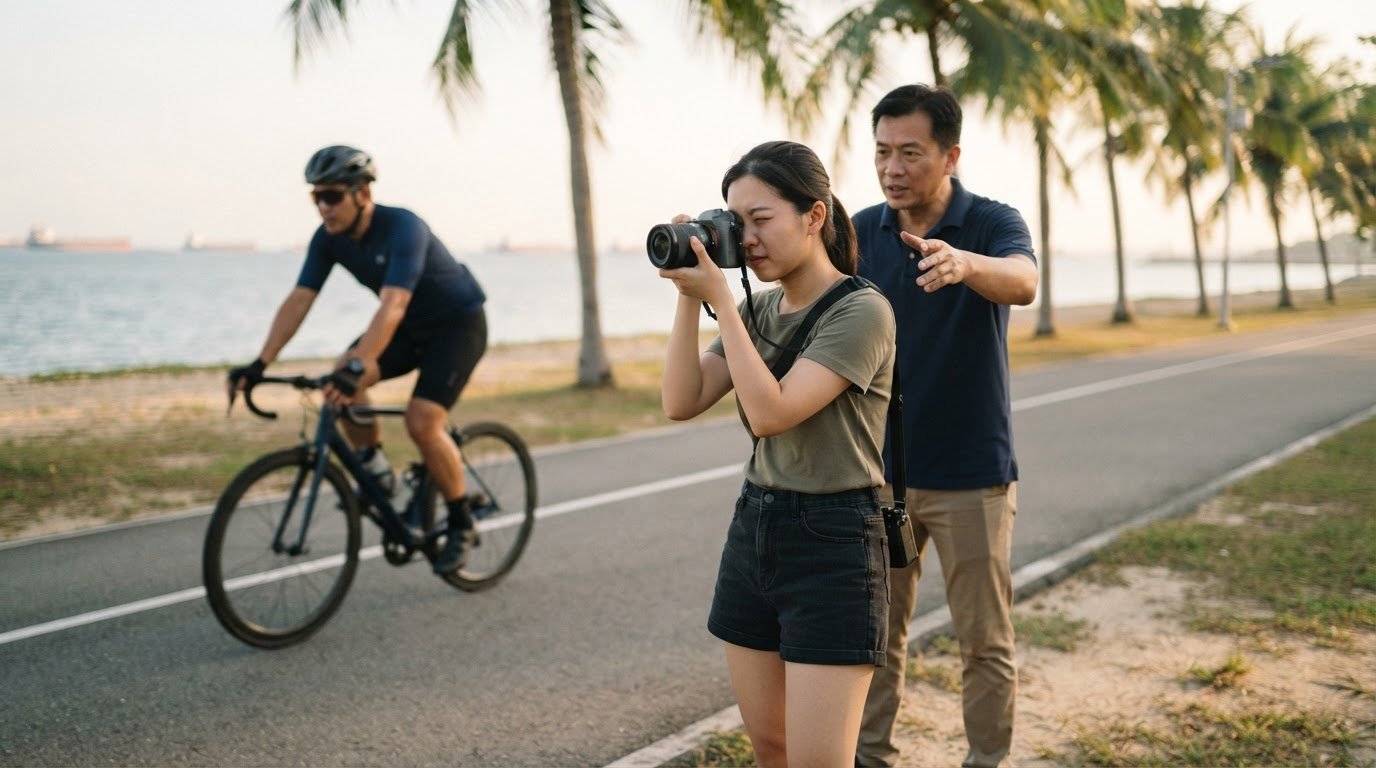
Shutter speed controls how long the camera records light. A faster shutter can make a moving subject, such as a cyclist, appear sharper. A slower shutter can show movement as blur, such as passing traffic. Camera steadiness matters too: movement from your hands can soften the whole frame.
Aperture affects depth of field, or how much of the scene appears in focus. A shallow depth of field can separate a nearby subject from a soft background. A deeper depth of field can keep more of a scene clear. Lessons should let you compare both effects with the same subject and framing, then explain the difference.
Learning to use a digital camera also means practising the physical steps: hold it steadily, half-press the shutter to focus, check the frame, then press fully. Start with a stationary object before photographing movement. If the image looks too bright or dark, review the exposure display and adjust one setting at a time. This sequence helps you identify what caused the change.
Smartphone cameras offer familiar controls, though their labels and placement vary by device. Practise tapping the subject to focus, adjusting screen brightness, and using the exposure control where available. For a portrait beside a bright window, tap the face and check that it remains visible. These steps help you use the phone’s camera deliberately instead of relying only on automatic choices.
Composition guides where a viewer looks, so connect camera operation with choices inside the frame. Before pressing the shutter, identify the main subject, check the background, and move closer or change your angle if distractions compete for attention. For example, shift sideways to stop a lamp post from seeming to grow out of someone’s head. Compare that frame with the original to see how a small movement can clarify the image.
Photography foundations: exposure, composition and lighting
Strong photographs depend on more than camera settings. Exposure, composition and lighting work together, whether you’re photographing a meal indoors or a street scene outdoors.
Exposure Fundamentals
Exposure describes how bright or dark an image appears. A beginner lesson should show how aperture, shutter speed and ISO affect brightness, then connect each adjustment to a visible result. For example, if a café portrait looks too dark, adjusting exposure can brighten the face while also affecting background detail or image texture.
Look for practice that asks you to compare versions of the same scene. Photograph a cup near a window, review the result, then adjust exposure and notice what changes in the highlights and shadows. This comparison makes the exposure display useful: it guides a considered adjustment instead of giving you a number to memorise.
Composition Techniques
Composition is how subjects and visual details are arranged within the frame. Practise choosing a clear subject, checking the edges and moving to reduce distractions. For a photograph of a friend beside a busy walkway, one step sideways might remove a sign that competes with their face.
During a shooting excursion, try photographing one subject from several viewpoints. A bench can become the main subject in a wide scene, or a detail in a closer frame. Comparing those images helps you see how distance, angle and background change the story. If you’re considering structured instruction, a basic photography course for beginners can connect these composition techniques with guided practice.
Lighting Fundamentals
Lighting affects a subject’s brightness, colour and visible texture. Start by noticing where the light comes from, then look at its effect on the subject’s face or surface. A person beside a window may have soft light on one side and deeper shadow on the other. Turning them slightly can change that balance without changing the location.
Compare direct sunlight with shade when photographing the same object. Direct light can create stronger shadows, while open shade can give a more even appearance. Notice whether bright areas lose detail, then change the subject’s position or camera angle to manage the contrast. These techniques help you pay attention to light before editing.
Practice is more useful when each outing has a clear purpose. Choose one subject, such as a flower, storefront or friend, and take frames that test exposure, composition and lighting separately. Afterward, compare which frame keeps the subject clear and which distractions remain. This review turns a walk into deliberate practice rather than a collection of unrelated photographs.
In Singapore, a covered walkway can offer a different lighting challenge from an open space in direct sun. Photograph the same object in both settings, then note how the shadows and background change. Repeating that exercise during a weekly shooting excursion helps you recognise light in familiar places and make stronger framing choices.
Beginner-friendly smartphone photography
A smartphone is a useful learning tool because it’s close at hand and quick to operate. Start by opening the camera app, cleaning the lens and choosing the rear camera for a street scene or meal. Then notice what the screen shows before capturing the frame. These simple actions build careful habits without requiring extra equipment.
Focus and exposure controls help you guide the phone’s automatic decisions. Tap the main subject on screen, such as a friend’s face at a café table, and observe how the image changes. Many phones show a brightness control after tapping, though its appearance and position vary by device. Adjust it gently if a bright window makes the subject look too dark.
Learn the camera modes your own phone provides instead of assuming every model works alike. Portrait mode can create a softer background, while a wide lens can include more of a nearby scene. Try each option on the same subject, then compare the edges, background details and facial features. This gives you practical knowledge of what each mode handles well.
Digital zoom can make a distant subject look larger, but it may reduce visible detail. Before zooming in on a sign across a plaza, move closer if the path is clear and safe. Keep the phone steady, frame the sign and check whether surrounding details distract from it. A deliberate position often gives you a clearer composition than repeatedly pinching the screen.
Light changes how a phone records colour and texture. For a bowl of fruit beside a window, turn the bowl until the light reveals its surface without washing out bright areas. In a shaded walkway, compare a frame facing the open space with one facing a wall. These examples help you recognise how light direction and background affect a mobile photograph.
Build smartphone skills with a short practice routine. Choose one subject, take a frame from eye level, then crouch or shift sideways and take another. Review both images for focus, distracting objects and how the subject fills the frame. If your phone offers grid lines, use them to test a balanced layout, then switch them off when they’re no longer helpful.
A beginner-friendly course should include hands-on phone practice, not just demonstrations of app features. Useful lessons let you try focus, brightness, lens choices and framing, then discuss what changed in each image. Bring the phone you use every day, since camera menus differ across models. That way, each exercise connects to the controls you’ll use outside class.
Instructor experience and teaching approach
An instructor’s experience matters most when it helps beginners make clear decisions. Keith Low has been guiding photography learners for over 30 years. That depth of practice can connect technical instruction with choices made while photographing real scenes. For example, a learner can ask why a face looks dark against a bright window and see how an experienced photographer assesses the light.
Look for teaching that explains why to make each adjustment, not just which control to press. If a learner’s subject looks soft, an instructor can help distinguish missed focus from camera movement. The learner can then practise a specific correction and compare the next frame. This step-by-step feedback develops practical skills and creative judgement together.
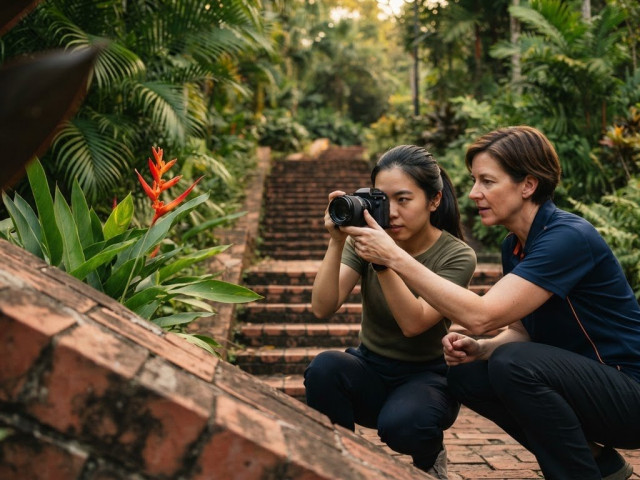
Personal attention helps beginners get useful feedback. With no more than three participants in a class, an instructor can observe each person’s camera handling and respond to individual questions. During an outdoor exercise, one learner may need help framing a subject while another tests how light falls across it. Small-group guidance makes it easier to address those different needs.
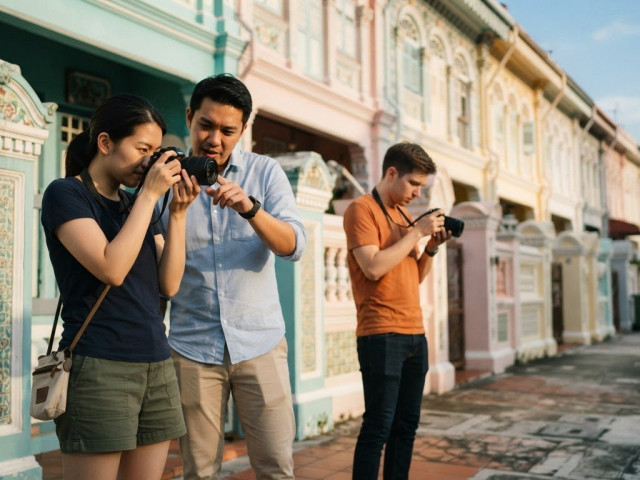
Practical teaching should include time to take photographs, review them and try again. For instance, an instructor might ask learners to photograph the same building from different positions. The group can discuss which angle gives the subject a cleaner outline and which background creates distractions. Reviewing the images turns a creative choice into something learners can see and repeat.
Outdoor practice adds conditions that a classroom demonstration cannot fully reproduce. A learner might photograph a shaded walkway, then move into an open area and observe how the subject changes under stronger light. An instructor can guide the decision to reposition, reframe or adjust exposure. The aim is to build judgement while responding to a real scene.
Useful feedback is specific and tied to the photograph. “Move closer to separate the subject from the background” gives a beginner a clear action to test. “Make it more interesting” doesn’t identify what to change. When reviewing a frame, an instructor can point out one effective choice and one next step, helping the learner stay focused rather than overwhelmed.
Before choosing a class, consider whether its teaching style matches how you learn. A beginner who wants to handle a camera benefits from demonstrations followed by guided practice. Someone developing a personal approach may value discussion about framing and subject choice. In either case, the instructor should welcome questions, explain unfamiliar terms plainly and connect each lesson to photographs learners can study.
Experience provides a strong foundation, but patient explanation makes it useful to beginners. Clear teaching links a camera decision to a visible result, then gives learners room to practise. With practical outdoor guidance and individual attention in a small group, beginners can build confidence through their own photographs rather than relying on theory alone.
Beginner photography course options
Beginner courses differ by schedule, format and the photographs you want to make. Choosing a photography course for beginners in Singapore is easier when you match those details to your routine and learning goal.
Weekend and Evening Schedules
Group courses run Monday-Sunday, 11 AM – 1 PM or 2 PM – 4 PM. Courses with Night Photography also have a 6:30 PM – 8:30 PM slot; private courses have flexible daily scheduling from 8 AM – 7 PM.
Compare session times with your commitments and the kind of practice you want. Daytime outdoor lessons let you work with natural light, while a Night Photography session offers a different setting. Look for a schedule that allows time for hands-on practice, questions and reviewing photographs, not just demonstrations.
Course Duration and Class Size
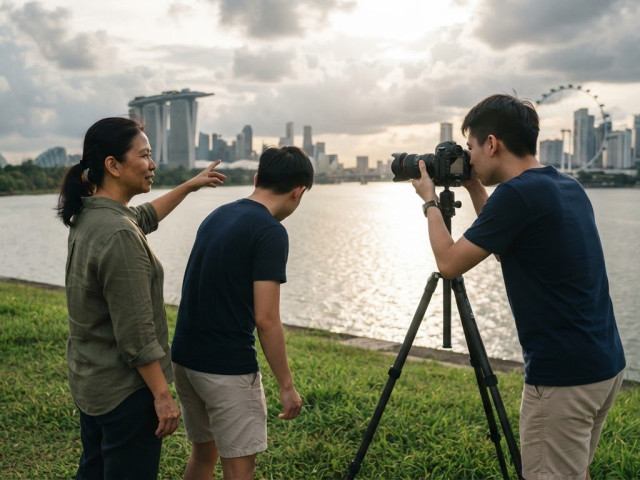
Compare the course length with what you’ll practise: a focused session may suit one clear goal, while a longer course allows more time to build skills. According to Pictorial, tuition includes practical outdoor guidance in small 3-person groups.
Instructor experience also helps shape the learning experience. Keith has more than 35 years of real-world photography experience. Look for lessons that combine demonstrations with practice, feedback and a chance to try a technique again. That structure helps connect instruction with the visual results in your own photographs.
Enrolment requirements and cancellation policies vary by course. Review the registration terms for booking details and the rules that apply if your plans change. A beginner course can suit you even if you haven’t studied photography before.
SkillsFuture Credit is not offered by Pictorial. The National Silver Academy subsidy will end on 31 March 2027; consider that date when looking into subsidy options.
You can use your own camera or borrow a complimentary camera from Pictorial. That makes a camera course accessible even if you don’t own equipment yet. For a phone-focused workshop, consider whether its lessons use the device you plan to take photographs with.
Choose a format that fits your goal. A camera-focused workshop can help you practise manual controls, while Mobile Photography Essentials suits someone who mainly takes pictures with a phone. A photography course for beginners in Singapore can also provide a broader foundation if you want to develop several skills rather than focus on one device or technique.
Before booking, compare the schedule, course format, class size, instructor experience, equipment arrangements and registration terms. For example, someone with a phone and limited weekday availability may prioritise a suitable mobile course and session time. Someone hoping to learn camera controls may value guided practice and feedback most.
Pictorial: Photography Starter Session
The Photography Starter Session gives beginners a practical introduction to camera basics and guided shooting. It suits you if you want to understand core settings before choosing a broader course. Pictorial keeps group classes to no more than three participants, with practical outdoor guidance. You can use your own camera or borrow a complimentary one.
If your main goal is better phone photos, Mobile Photography Essentials may be a closer fit. For a broader foundation, consider the Complete Photography Course. Choosing according to your equipment and learning goal helps you take a useful next step without taking on more than you need.
Explore Pictorial’s course options and book the one that fits your photography goals.
Choose a starting point and keep practising
Your first course doesn’t need to map out every step of your photography journey. It can give you a steady place to begin, with a chance to practise and discover what interests you most. Choosing a photography course for beginners in Singapore is easier when you focus on the pictures you hope to make and the kind of guidance that helps you learn.
Pictorial’s Photography Starter Session is a practical first step into camera photography. If you’re ready to build on existing skills, the Intermediate Photography Course offers a next stage; Mobile Photography Essentials is a better fit for phone photography. Let your current goal guide your choice, then give yourself room to develop through regular practice.
Every photograph gives you something to observe: a framing choice, a shift in light or a moment when a setting worked as intended. Bring that curiosity to your next lesson and keep making pictures at your own pace.
Start with one clear goal, and let each frame help you grow.
Frequently Asked Questions
Who will you be learning from?
You’ll learn from Keith, Pictorial’s lead instructor, who has 35 years of real-world photography experience. He has worked with Sony, Nikon, Fujifilm and Olympus, bringing experience with different camera systems to instruction. If you use a particular brand, bring it along and discuss its controls during practical exercises. A useful instructor helps you understand the choices behind a photograph, not just follow a sequence of button presses.
What beginner photography courses are available in Singapore?
Options include the Photography Starter Session, Basic Photography Course, Mobile Photography Essentials and Complete Photography Course. A photography course for beginners in Singapore is a good fit when its format matches your equipment and goals. For example, Mobile Photography Essentials is designed for phone users, while a camera-focused course lets you practise with a dedicated camera. Pictorial’s courses focus on photographic technique and understanding, with the promise “Pure Photography, No Editing”.
What topics are covered in a beginner photography course?
Beginner lessons cover practical foundations such as ISO, aperture and shutter speed, alongside exposure, composition and lighting. Use these ideas to solve specific problems, such as keeping a moving subject sharp or making a face clearer in a backlit scene. Photograph one subject, change one setting, then compare the results. This helps connect each camera choice with its visual effect.
Are there beginner photography courses in Singapore with hands-on outdoor practice?
Yes. Pictorial’s courses include practical outdoor guidance, with classes limited to three participants for personalised instruction. Outdoor exercises let you apply a technique to real scenes, such as framing a building against a busy background or photographing a subject in shade. You can use your own camera or borrow a complimentary camera. This format suits learners who want hands-on practice and guidance.
Which beginner photography courses in Singapore have the best reviews?
A course’s title alone can’t tell you which has the best reviews. Choosing a photography course for beginners in Singapore is more useful when you consider whether feedback reflects your goals, such as clear instruction, outdoor practice or phone photography. Match those priorities to the course format: Mobile Photography Essentials is phone-focused, while the Photography Starter Session introduces camera photography. Focus on relevant comments rather than a rating without context.

Article by
Keith Low
Photography Mentor & Founder
Disclaimer
© Pictorial | All Rights Reserved.