
Ways to Build Confidence With Your New Camera
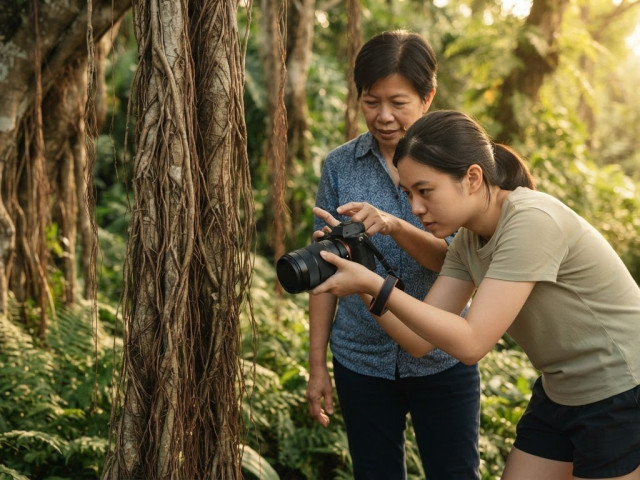
A new camera doesn’t need to feel familiar before you start taking photographs. If you’re feeling overwhelmed by my new camera, begin with a few simple steps: learn how to hold and handle it, practise one setting at a time, and review how each change affects your pictures.
It’s understandable to worry about damaging unfamiliar equipment or getting the settings wrong. You don’t have to master every menu or take a perfect photograph on your first outing. A calm, hands-on approach helps you get comfortable with the camera and keep each practice session manageable.
This guide shares practical ways to feel more at ease handling your camera, build confidence through small exercises, and learn from the photos you take. You’ll also find ways to respond when a setting or result frustrates you, along with a straightforward starting point for learning camera controls. Take it one step at a time, and let each photograph teach you something useful.
Key Takeaways
- Make handling your camera feel less intimidating by creating a simple, deliberate routine before you start shooting.
- Build confidence through small practice exercises, focusing on one choice at a time instead of trying to master everything at once.
- Review your photos to see how changes in settings affect the result, then use what you notice to guide your next shot.
- When frustration rises, pause and simplify the task so you can return to photographing with a clearer focus.
- Start with the core exposure controls, then add other settings as your camera begins to feel more familiar.
Anxiety about damaging expensive camera equipment
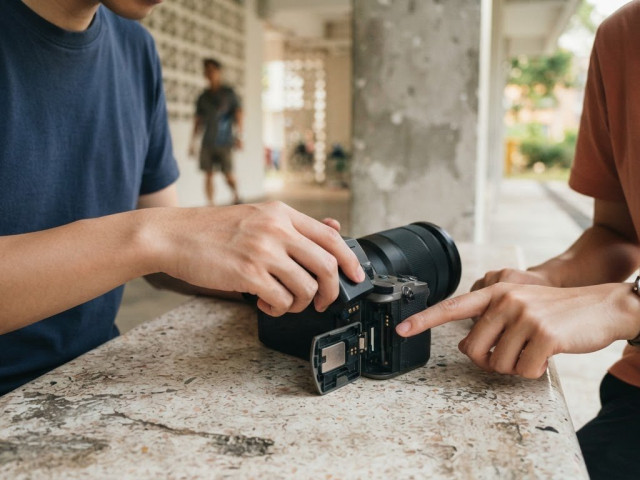
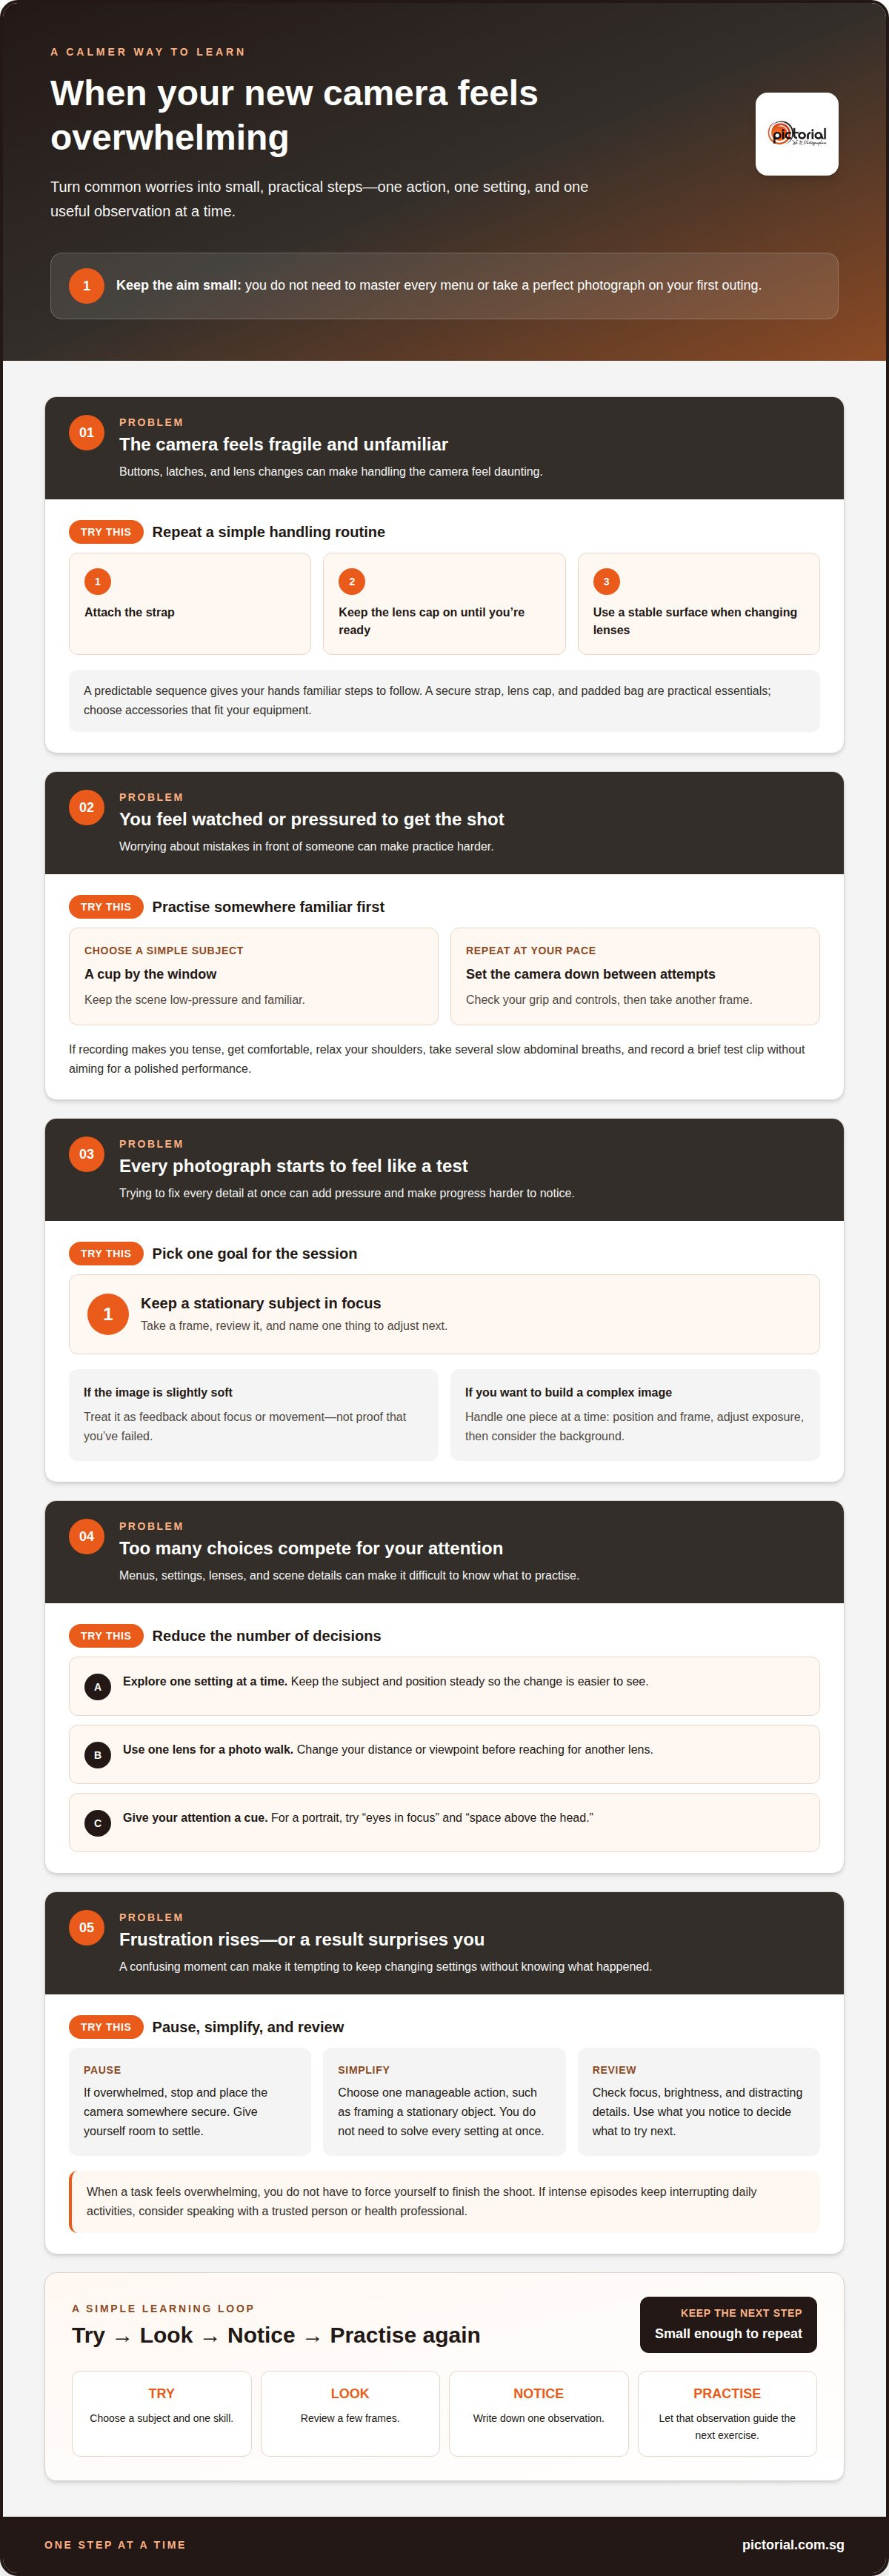
A new camera can feel fragile when every button and latch is unfamiliar. That worry may stop you taking photographs, even in a calm setting. Start with a handling routine: attach the strap, keep the lens cap on until you’re ready, and place the camera on a stable surface when changing lenses. Repeating the same steps gives your hands a predictable sequence to follow.
Camera shyness can also come from feeling watched or worrying that you’ll make a mistake in front of someone. Practise at home first with a familiar subject, such as a cup by the window. Set the camera down between attempts, check your grip and the controls, then take another frame. This quiet practice separates learning the equipment from the pressure of capturing an important moment.
For beginners, a secure camera strap, lens cap and padded bag are practical essentials. In Singapore, accessory costs vary with camera compatibility, materials and bag capacity, so choose items that fit your equipment rather than buying a large kit.
If recording yourself makes you tense, pause to breathe before pressing record. Sit or stand comfortably, relax your shoulders, and take several slow breaths from your abdomen. Then record a brief test clip without aiming for a polished performance. This gives you a low-pressure chance to get used to the camera’s position, screen, and recording controls.
Perfectionism adds pressure by turning each photograph into a test of ability. Choose one goal for a practice session, such as keeping a stationary subject in focus. Take a frame, review it, and name one thing to adjust next. A slightly soft image offers feedback about focus or movement, not proof that you’ve failed. A narrow goal helps you notice progress without judging every detail at once.
A panic attack can feel frightening, especially if it begins while you’re recording or handling unfamiliar equipment. Stop the task, place the camera somewhere secure, and give yourself room to settle before deciding whether to continue. Don’t force yourself to finish a shoot while overwhelmed. If intense episodes keep interrupting daily activities, consider speaking with a trusted person or health professional.
For a simple reset, secure the camera, take a few slow abdominal breaths, and choose one manageable action, such as framing a stationary object. You don’t need to solve every setting or capture a perfect picture in that moment. If handling a camera feels stressful, gradual practice in a familiar place can make each step feel more ordinary.
2. Building confidence through practice
Confidence grows when practice gives you one clear task at a time. If you catch yourself thinking, “I’m feeling overwhelmed by my new camera,” narrow the exercise to one small skill. Choose a familiar subject, such as a coffee cup beside a window, and take a few photographs. Keep the subject and position steady while you explore how one setting changes the result. This makes the difference easier to see than changing several controls at once.
Before each photograph, choose one or two mental cues. For a portrait, those cues might be “eyes in focus” and “space above the head.” For a street scene, they might be “watch the background” and “wait for a clear gesture.” These brief reminders give your attention somewhere useful to land, instead of letting every menu option compete for it.
Build a complicated image one piece at a time. Suppose you want to photograph a person against a bright window. First, position the person and frame the shot. Then adjust exposure so the face is visible. Next, consider the window and decide whether its brightness suits the photograph. Each step addresses one problem before adding another.
Keep one lens on the camera for a personal photo walk, and leave the backup gear at home. Limiting your choices encourages you to move closer, step back, or change your viewpoint instead of reaching for another lens. In a Singapore park, for example, use the same lens to photograph a wide path, then a leaf or sign. The exercise turns movement and framing into deliberate choices.
Give each practice session a simple structure. Pick a subject, choose one skill, and take photographs with that skill in mind. For example, practise keeping a moving cyclist sharp or make several frames of a building from different heights. A small, specific task is easier to repeat than an open-ended instruction to “take better photos.”
After shooting, review a few frames and write down one observation. You might notice that raising the camera changed the background, or that a faster shutter setting froze a moving hand. Use that observation to choose your next exercise. This turns each outing into a short learning loop: try, look, notice, and practise again. If you’re feeling overwhelmed by my new camera, one observation is enough progress for today.
If you’re practising with a phone camera, Mobile Photography Essentials offers a guided way to work on framing and camera control. For any camera, keep the next practice goal small enough to repeat. Familiar actions build confidence more steadily than trying to learn every feature in one session.
3. Experimenting with digital photographs and instant feedback
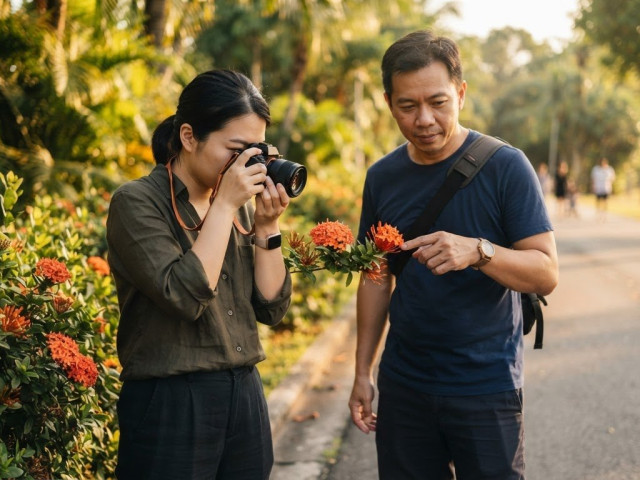
Digital photography lets you test an idea, review the result, and adjust straight away. After photographing a red flower, check the camera’s LCD screen for focus, brightness, and distracting details around the edges. If the petals look soft, steady the camera and focus on the flower again. If the background competes for attention, move closer or change your position. Each review gives you a specific next step instead of leaving you to guess what happened.
For everyday photography, start with the camera’s automatic or program mode, autofocus, and automatic white balance. These settings handle routine exposure and colour choices while you practise composing and focusing. If a photograph looks too bright or dark, change one control and compare the next frame. This gives you a useful baseline before exploring more deliberate settings.
To avoid common beginner mistakes, pause before each shot and check three things: the subject is in focus, the frame includes what matters, and the camera is steady. For a family photograph, look for a branch that seems to grow from someone’s head, then shift your position. For a food photograph, check whether a nearby bright window has made the plate too dark. Small adjustments often solve more than changing several controls at once.
Digital files make experimentation practical because you can take exposures without paying for film for each frame. That doesn’t mean every scene needs a burst. A camera capable of shooting thirty frames per second can tempt you to hold down the shutter, but deliberate single photographs help you understand timing and composition. For a child jumping in a playground, try one planned frame as they rise, then review it before changing your approach.
Use burst shooting when movement makes timing difficult, such as a bird lifting from a branch. For practice, take a shorter sequence and compare how the subject’s position changes. Note what distinguishes the strongest frame: gesture, focus, background, or timing.
A high hit rate can be a reason to experiment further, not a reason to stop learning. Try photographing the same subject at eye level, then from a lower viewpoint. Review both versions on the LCD and note how the background changes. Keep a short record on your phone or in a notebook, such as “lower angle separated the flower from the path.” That observation gives your next outing a clear experiment.
Analyzing notes like how a lower angle cleared the background helps you decide when to try another viewpoint only when the first result gives you a reason. Digital photographers can review their work immediately on the camera’s LCD screen, making each comparison useful while the scene is still available. A high photography hit rate may indicate that a photographer should take more pictures and experiment more. Thirty frames per second is an example of a camera speed that can encourage relying on burst shooting, so use review to decide whether a sequence is helping rather than simply taking more frames.
Irritability and frustration
Frustration often rises when several camera problems arrive together. You might miss focus, dislike the framing, and struggle to find a setting before a fleeting subject moves away. Instead of treating the whole outing as a failure, identify the immediate snag. If the subject is blurred, pause composition practice and focus on holding the camera steady. One clear problem is easier to work through than a general feeling that nothing is going right.
Too many instructions can crowd your attention. Golf beginners may have 12 to 15 thoughts running through their minds while learning a swing. A new camera can prompt a similar jumble: focus, exposure, framing, buttons, and menus all seem urgent. Choose one or two cues for the next photograph, such as “watch the background” and “focus on the eyes.” Let other details wait until those actions feel more familiar.
Make a short checklist before a shoot to keep tasks out of your head. Write reminders such as “check battery,” “set focus,” and “look at the edges of the frame” on a folded sheet of paper. A laminated page can also work if you want to reuse the reminders. Keep the list brief. A long catalogue of camera controls can become another source of pressure instead of a useful prompt.
When irritation starts building, stop shooting, lower the camera safely, and take a few slow breaths. Then decide whether you need a practical fix, a change of subject, or a short break. For example, if a moving bird keeps leaving the frame, photograph a stationary tree nearby. This lets you practise framing without the added challenge of tracking movement.
Perfectionism can make every missed shot feel like evidence that you’re not learning. Replace “get the perfect photograph” with a task you can observe, such as keeping a person’s face in focus. After a missed frame, name one adjustment for the next attempt. You might move closer, change your position, or wait for the subject to turn. A specific correction is more useful than repeating the same shot while feeling annoyed.
Photography should also include time for enjoyment, not only deliberate practice. Scheduling even 10 minutes of an enjoyable activity into the day can make a difference. For a camera outing, that could mean taking photographs of familiar details on a neighbourhood walk, without judging each frame. If frustration continues, put the camera away for that session. Returning later with one small goal can help you approach the next photograph with a clearer mind.
5. Which camera settings should beginners learn first?
Start with the controls that shape exposure: shutter speed, aperture, and ISO. Together, they affect how motion, depth of field, and brightness appear in a photograph. A simple camera with three dials for these controls can reduce decisions while you practise. If your camera uses menus instead, find each control once and note its location.
Shutter speed controls how long the camera records light. A faster shutter can help freeze movement, such as a cyclist passing through a Singapore park. A slower shutter can show movement as blur, such as water flowing in a fountain. Begin by photographing the same moving subject with different shutter speeds, then compare how its motion appears.
Aperture affects how much of the scene appears in focus. A wider aperture can separate a person from a softly blurred background, while a narrower aperture can keep more of a landscape sharp. Try photographing a friend near a window, then compare the background at different aperture settings. Keep the person in the same place so you can see what changes.
ISO controls how strongly the camera responds to available light. In a bright outdoor scene, a lower ISO can produce a clean-looking image. In a dim room, raising ISO can help you take a photograph without slowing the shutter as much. Compare a still subject indoors at different ISO settings, and look closely at the shadow areas for visible grain.
Learn these controls by changing one thing at a time. Keep aperture and ISO steady while testing shutter speed, then return to your starting point before testing aperture. This sequence helps you connect each adjustment with its effect. If the camera’s exposure meter or screen shows an image that looks too bright or dark, change one control and take another frame.
Focus is another useful setting to learn early. For one person standing still, choose a focus point over the face or eye area and check the result on the screen. For a moving subject, use continuous autofocus if your camera provides it. Test it on a walking friend before relying on it for a fast-moving scene.
Leave specialised options, such as advanced metering modes and custom picture profiles, until the core controls feel familiar. Set a practical goal for each outing: freeze a moving subject, soften a background, or photograph a shaded subject clearly. Learning these few controls first gives you a steady base for exploring the rest of the camera.
Build confidence with basic camera settings
Return to the same small set of controls when you practise. A camera with three dials for shutter speed, aperture, and ISO can help keep your attention on the photograph rather than on searching through settings. Choose one intention for a frame, make a considered adjustment, and look at the result before changing anything else. If the image doesn’t match your intention, try another setting and compare. This approach makes each outing a chance to notice how the controls shape the picture and build confidence at a manageable pace.
Pictorial
Pictorial can help you move from figuring out camera controls alone to practising them with guidance. Its hands-on photography courses cover foundational skills such as ISO, aperture, and shutter speed, with practical outdoor shooting in small groups of up to three participants. You can bring your own camera or use a complimentary loaner camera during tuition.
If you’re new to photography, the Photography Starter Session or Basic Photography Course can help you build a foundation. The Complete Photography Course offers a broader learning path, while Mobile Photography Essentials focuses on smartphone photography. Choose guided learning when you want help applying camera settings and understanding how they affect your images. Contact Pictorial to discuss which course suits your learning goals.
Let your next photo be a small step forward
Confidence doesn’t arrive all at once. It grows each time you make a choice, notice its effect, and decide what to try next. If the thought, “I’m feeling overwhelmed by my new camera,” feels familiar, give yourself permission to learn at a steady pace. You don’t need to understand every feature before making photographs that matter to you.
Choose a subject that interests you, and let curiosity guide your next outing. A familiar street, a favourite meal, or changing light through a window can all give you something to notice. The aim isn’t to prove your skill. It’s to become more comfortable making choices and trusting what you see.
If you’d benefit from practical guidance as you learn, Pictorial offers photography courses for different experience levels and interests. Take the next step when you’re ready, with a question or learning goal in mind.
Keep practising at your own pace. Every photograph is another chance to see more clearly and grow into the camera.
Frequently Asked Questions
How do I learn the basics of a new camera quickly?
Learn the controls you need for one everyday photograph, then practise with a familiar subject. Start by finding the shutter button, playback control, focus mode, and exposure mode in your camera’s quick-start guide. Photograph a book on a table, review the image, and note where each control appears. Keep that short control map handy, then add another feature only when a real shooting situation calls for it.
How do I choose between auto, program, aperture priority, and manual modes?
For everyday photography, start with automatic or program mode while you practise composing and focusing. As you become more familiar with the camera, change one control at a time and compare the results.

Disclaimer
© Pictorial | All Rights Reserved.