
What to Do After Buying a New Camera Before Shooting
Before your first shoot with a new camera, make a few simple checks. Knowing what to do after buying a new camera includes testing autofocus, choosing a file format, setting up any dual card slots, adjusting the viewfinder and formatting your memory card in the camera. These steps help you feel more prepared before the moments you want to capture arrive.
It’s normal to feel unsure when the menus are unfamiliar and settings seem to compete for attention. You don’t need to master everything at once. This guide walks you through practical checks at your own pace, explains why each one matters and helps you set up the camera for the way you shoot. By the end, you’ll have a steadier starting point and a clearer idea of which settings to revisit as your confidence grows.
Key Takeaways
- Test autofocus on a clear subject and review the image so you can spot focusing issues before an important shoot.
- Choose RAW capture when you want more flexibility to adjust photographs later, and consider how file size fits your workflow.
- Set dual card slots to match your priorities, whether that means keeping a second copy or separating files.
- Customise the viewfinder information you rely on, then format memory cards in the camera before using them.
- If you’d like guided practice with camera settings, a photography course can help you build confidence through hands-on learning.
Checking autofocus
One practical first step after buying a new camera is to test autofocus before an important shoot. When unboxing, inspect the camera body, lens mount, battery, charger, strap and included accessories for visible damage. Charge the battery, attach the lens, insert a memory card and confirm that the camera powers on and records an image.
Test autofocus in good light with a still subject that has clear edges, such as a book cover. Half-press the shutter and look for the focus indicator, then take a photograph. Repeat with the subject off-centre, since focus behaviour can vary across the frame.
- Check focus on a stationary subject. A book title or window frame makes it easier to see whether the camera selects the intended detail.
- Move the focus point deliberately. Place it over a specific feature, such as a portrait subject’s eye, and see whether focus lands there.
- Try continuous autofocus on a moving subject. Photograph someone walking across the frame and see whether focus follows them.
- Compare focus through the viewfinder and screen. Photograph the same subject using each framing method and note any difference.
- Review the image at normal view and magnification. A thumbnail can look sharp while fine details, such as text, appear soft.
If your model allows it, assign a function button to magnify the display to 100%. Use it to inspect the subject before taking a photograph and review sharpness afterward. If focus misses, repeat the test with a single focus point and steady camera support. Change one setting at a time to identify what affects the result.
To update firmware and check for recalls, find the exact model name in the setup menu or on the camera body. Use the manufacturer’s official support information for model-specific firmware instructions and recall notices. Follow the update steps, including any battery or file requirements, and do not interrupt the process.
If you’re deciding what to do after buying a new camera, test for defects before the retailer’s stated return period ends. Photograph a plain wall, a detailed subject and a moving subject. Review the files for repeated marks, uneven focus, error messages, unresponsive controls or recording problems. If an unusual result appears, repeat the test with another lens or card when available, since an accessory can affect the result. Keep sample files and note the settings used so you can describe any problem clearly.
Choosing RAW capture
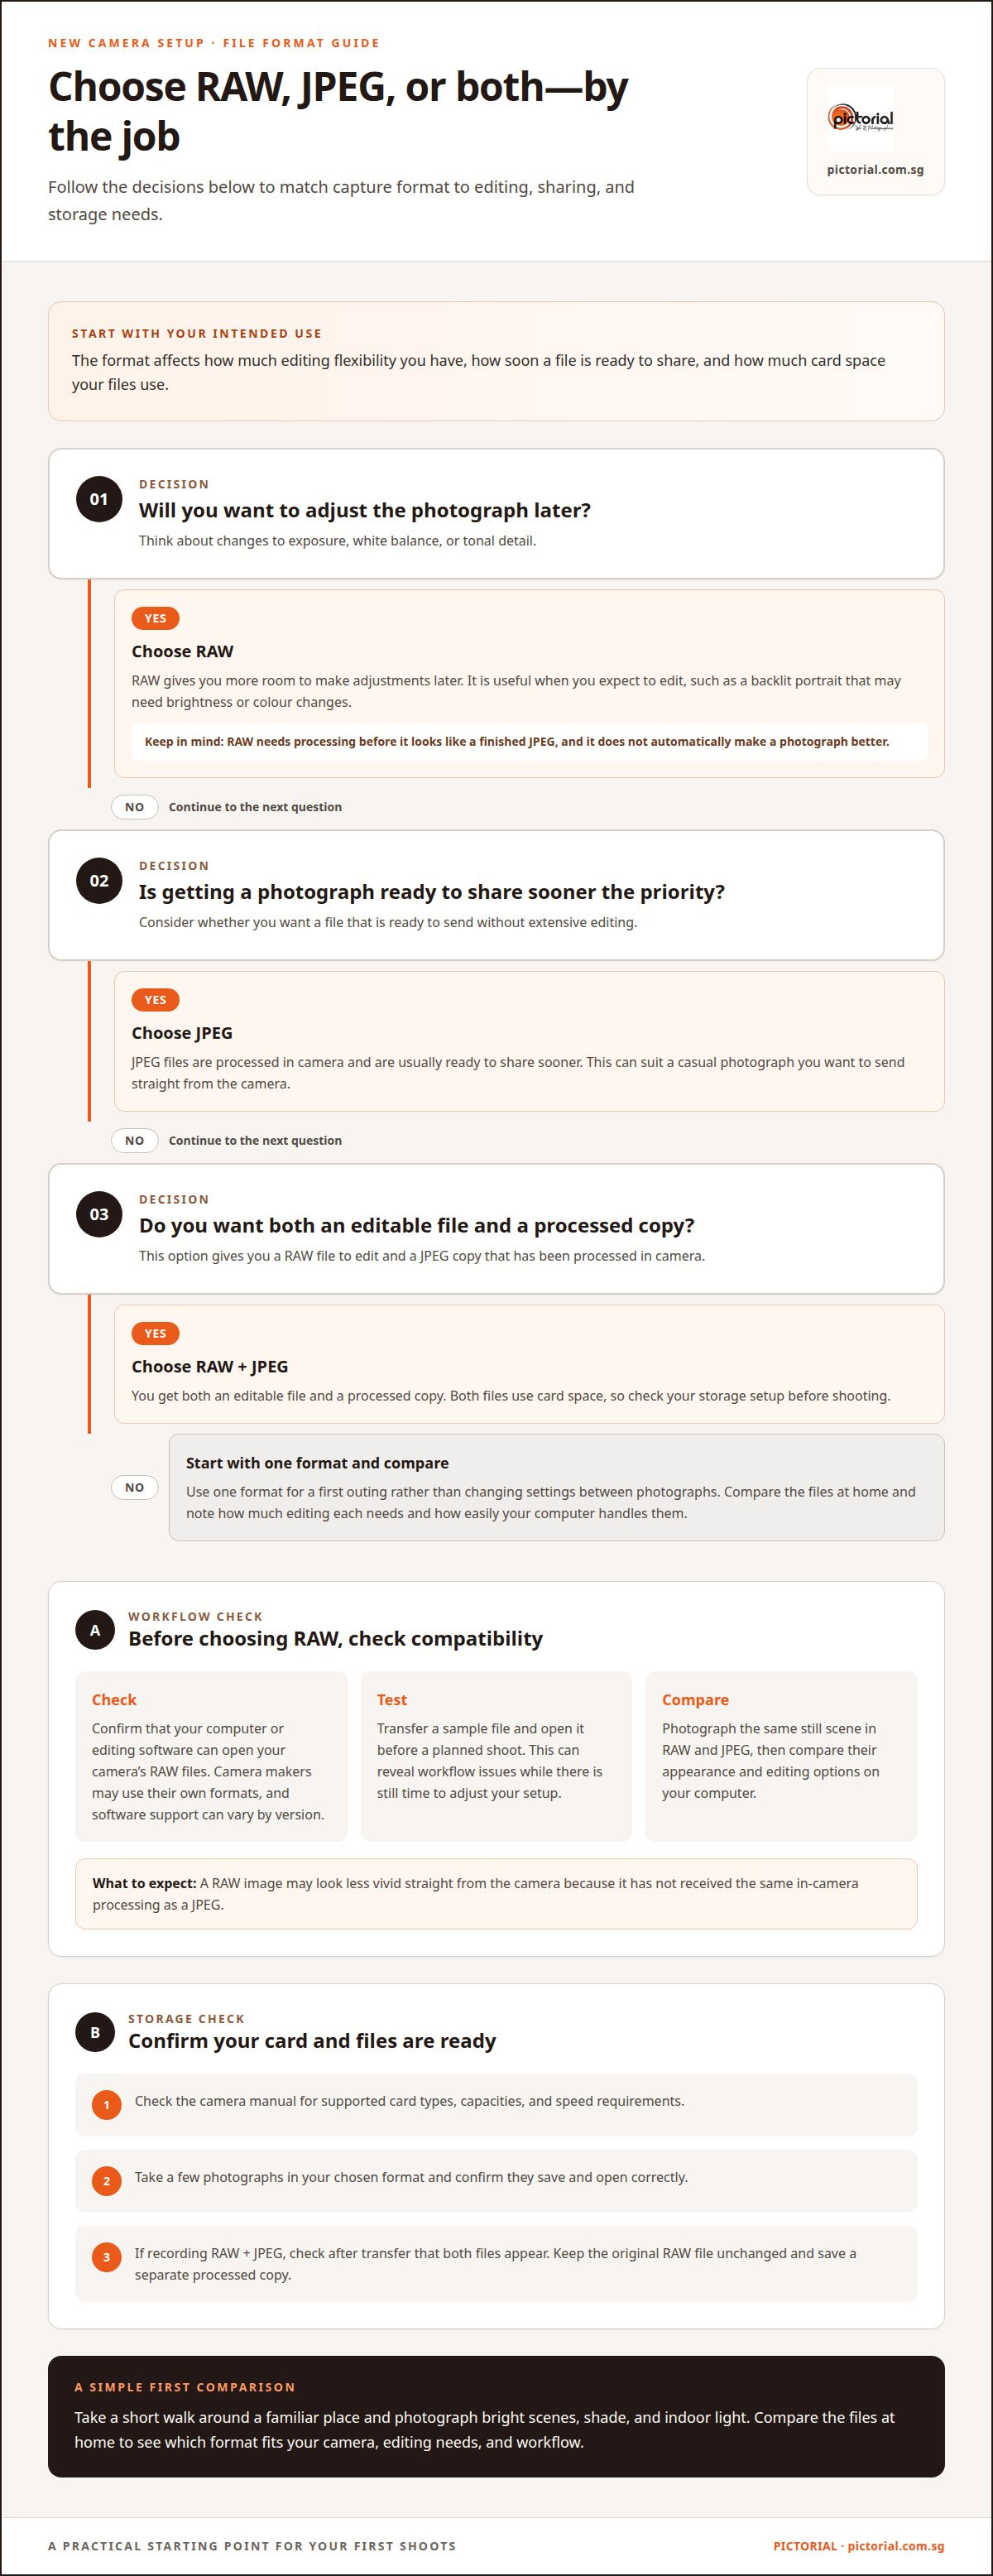
RAW files give you more room to adjust exposure, white balance and tonal detail later. JPEG files are processed in camera and are usually ready to share sooner. The right choice depends on how you plan to use each photograph. A family snapshot for quick sharing may suit JPEG, while a difficult sunset may benefit from RAW’s editing flexibility.
Before choosing, check whether your computer or editing software can open your camera’s RAW files. Camera makers often use their own RAW formats, and support can vary between software versions. Transfer a sample file and open it before a planned shoot. This simple test can reveal workflow issues while there’s still time to adjust your setup.
- Select RAW when you expect to edit. A backlit portrait, for example, may need careful adjustments to brightness and colour.
- Select JPEG when speed matters more. A casual photograph that you want to send straight from the camera may not need extensive editing.
- Choose RAW and JPEG together for flexibility. You’ll have an editable file and a processed copy, but both use card space.
- Review the camera’s image-quality menu. Confirm the selected format before a shoot, because changing it later won’t alter files already captured.
RAW doesn’t automatically make a photograph better. It gives you more control during editing, but you’ll need to process the file before it looks like a finished JPEG. A RAW image may appear less vivid straight from the camera because it hasn’t received the same in-camera processing. Photograph the same still scene in RAW and JPEG, then compare how they look and what editing options each file offers on your computer.
How do you choose an SD card that works with a new camera? Check the camera manual for supported card types, capacities and speed requirements, then match the card to your shooting needs. Video recording and long bursts of RAW photographs can require different performance from occasional still photography.
Set up your storage before testing RAW capture. Insert a compatible card, take a few photographs in your chosen format, and confirm that the files save and open correctly. If the camera offers RAW and JPEG recording, check that both files appear after transfer. When editing, keep the original RAW file unchanged and save a separate processed copy so you can revisit your adjustments later.
For your first outing, choose one format instead of changing settings between every photograph. A short walk around a familiar place gives you examples of bright scenes, shade and indoor light. Compare the files at home, noting how much editing each needs and how easily your computer handles them. This practical comparison helps you settle on a format that suits your camera and workflow.
Configuring dual card slots
If your camera has two card slots, decide what each should do before shooting. The setting affects where photographs are stored and what happens when one card fills up. Open the recording or card-slot menu and read each option carefully. Menu names vary by model, but the choices usually reflect different priorities: keeping a second copy, extending recording capacity or separating file types.
- Choose simultaneous recording for a second copy. The camera saves each photograph to both cards, which gives you another copy if one card fails.
- Choose overflow recording for extra capacity. The camera switches to the second card when the first becomes full, so you can continue without changing cards immediately.
- Separate RAW and JPEG files across the cards. This keeps editable files apart from processed images, which can make later sorting simpler.
- Check which slot receives video or playback files. Knowing the destination helps you find recordings and review images without guessing.
For an important portrait session, simultaneous recording can be useful because both cards receive each image. It doesn’t replace transferring files after the shoot, but it gives you a second in-camera copy. For a long walk where changing cards would interrupt your rhythm, overflow recording may be more practical. Choose based on whether duplication, capacity or file organisation matters most.
Before choosing a mode, check the camera manual for each slot’s supported card types and recording limits. Some cameras have slots with different capabilities. If you plan to save RAW files to one card and JPEG files to another, confirm that the camera menu supports this arrangement. Also check whether video recording uses the same slot settings as still photographs.
Test your choice with a short sequence. Insert a card into each slot, select the intended recording mode, take a few photographs and review them on the camera. Then check the card contents on a computer. For overflow, confirm that the camera identifies the active card. For simultaneous recording, check for matching files on both cards. For separate formats, confirm that RAW and JPEG files are saved to the intended locations.
Keep the two cards clearly identified if you remove them often. A small label or consistent storage position can help you avoid mixing a full card with an empty one. Before a shoot, check the recording mode and remaining capacity on both cards. These quick checks make a dual-slot setup predictable, whether you’re saving a backup or organising files for a later editing session.
Customising the viewfinder display
Start with the information you need while framing: focus area, exposure settings, battery level and remaining card space. Open the display or viewfinder menu and switch off overlays that distract you. Then photograph a familiar subject, such as a cup on a table, and check whether the remaining indicators are easy to read. Menu labels vary by model, so use the manual to find the relevant controls.
Many modern cameras have 40 or more menu pages, so a custom menu can make frequently used settings easier to reach. Add controls you change regularly, such as image quality, autofocus mode or screen brightness. Keep the list short at first. A crowded custom menu can become another place to search.
- Keep useful exposure information visible. Shutter speed, aperture and ISO help you understand how the camera is making an exposure.
- Choose a clear grid or level display. A grid can help align a building, while a level indicator can help keep the horizon straight.
- Adjust brightness for the viewing conditions. Check the display indoors and outdoors, since a setting that looks comfortable in one place may not suit another.
- Review playback information separately. A histogram or highlight warning can help assess exposure after a photograph, without crowding the live view.
For beginner photo and video settings, start with an automatic or scene mode, then learn how focus, exposure and recording options affect the result. Practise taking photographs of a still subject, and record a short clip to check sound, focus and framing.
To register a camera warranty in Singapore, find the manufacturer’s registration instructions and follow them using the camera’s model and serial details. Keep the purchase record and warranty documents together so you can identify the camera and its purchase.
Keep essential beginner accessories simple: a secure strap, a protective camera bag and a spare battery suited to your camera. Choose additions based on how you shoot instead of buying a full kit before you know what you need.
Protect the camera and lens with caps and a padded bag during transport. Clean the lens surface with a clean lens cloth and avoid touching the sensor. Remove loose dust gently with suitable camera-cleaning tools.
To transfer photographs, connect the camera to a computer with a compatible cable, or remove the card and use a compatible card reader. To transfer files to a phone, use the camera maker’s transfer method if available, then open a sample file to confirm it arrived correctly.
Formatting memory cards in camera
Before formatting a card, copy any photographs or videos you want to keep. Formatting prepares the card for use in the camera and removes its existing files, so check its contents first. A card that looks empty may still hold images from an earlier test or another device.
To charge and install the battery and memory card, use the charger supplied with your camera and follow its indicator until charging is complete. Turn the camera off, open the battery and card compartments, and insert each item in the direction shown by the markings. Close the covers firmly before switching the camera on.
Once your files are safely copied, format the card using the camera’s menu rather than a computer. Find the format command in the setup or card menu, select the intended card, and read the confirmation prompt before proceeding. If your camera has dual card slots, check which card is selected. Formatting the wrong card can erase photographs you meant to keep.
- Back up files before formatting. Copy photographs to a computer or another storage location, then open a sample to confirm the transfer worked.
- Check the selected card and slot. A camera with dual slots may let you choose which card to format.
- Use the camera’s format command. This prepares the card for that camera’s file system and recording settings.
- Wait for the completion message. Don’t remove the card or switch off the camera while formatting is underway.
- Take a test photograph afterward. Review playback to confirm the camera can record and display a new file.
Formatting is useful after you’ve downloaded a shoot and want to clear the card for fresh photographs. One photographer reported formatting a memory card approximately 100 times each year after downloading photographs. That is an individual practice, not a schedule every camera owner needs to follow. The practical point is to format only after backing up files and deciding the card is ready to be reused.
If the format option is unavailable, check whether the card is locked, whether the camera can read it and whether files still need transferring. An SD card’s write-protect switch can prevent changes. After adjusting it, reinsert the card and check the camera menu again. If an error remains, note the message and consult the camera manual for model-specific steps.
Before formatting, consider whether the card also holds a backup of your camera settings. A commenter recommends backing up settings to multiple storage media, such as a memory card and computer or network storage. Keeping another copy means formatting one card need not leave you without those settings. Make sure the backup is stored somewhere other than the card you plan to format, and confirm you can find it when needed. This is separate from copying photographs and videos: settings may be useful to restore even after image files have been transferred safely.
Pictorial
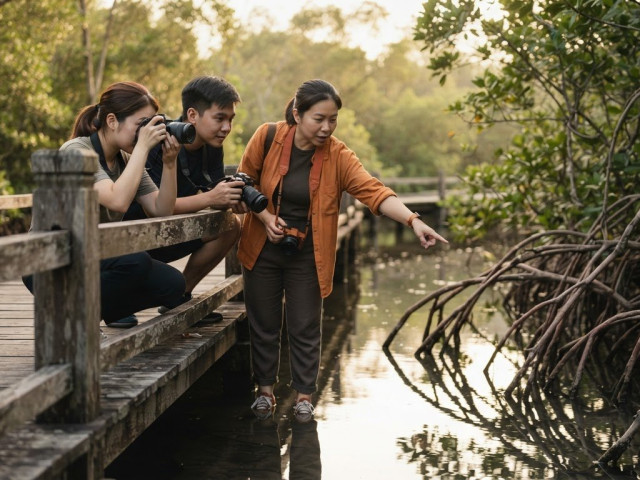
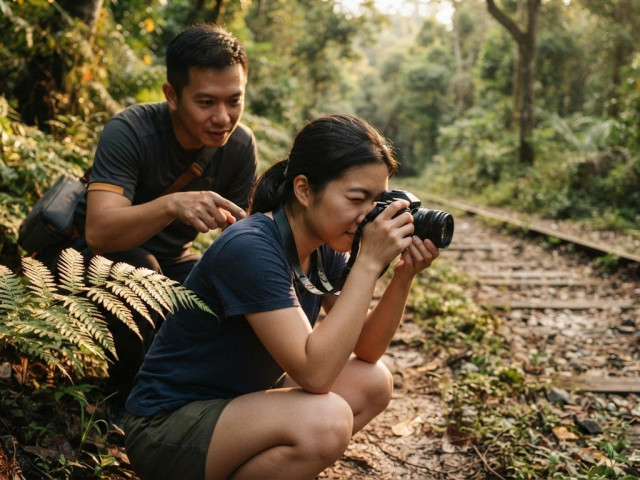
Pictorial offers hands-on photography courses to help you practise camera settings, from autofocus and exposure to choosing how you capture images. Groups are limited to three participants, so you can get personalised guidance and practise outdoors as you apply each idea. Bring your own camera or use a complimentary loaner camera provided by the school.
If you’ve completed the setup checks but still feel unsure which settings to use, guided practice can help connect camera menus to real shooting decisions. Pictorial’s courses support learners building their foundations or developing existing skills, with practical instruction suited to your experience.
Contact Pictorial to discuss the right next step for your photography learning.
Make your first shoot your next lesson
A new camera becomes easier to use through practice, not by mastering every menu before you begin. Choose a familiar subject and focus on one thing to improve, such as keeping a moving person in focus or capturing indoor light naturally. Giving each outing a simple purpose helps you build skill without trying to change everything at once.
If you’re still deciding what to do after buying a new camera, guided learning can help turn setup knowledge into confident shooting. Pictorial offers the Photography Starter Session, Intermediate Photography Course and Mobile Photography Essentials for learners developing different photography skills. A session can give you space to practise with your camera and ask questions as they arise.
You don’t need to wait until every setting feels familiar. Start with one photograph, review what happened and carry one small lesson into your next shoot. Steady practice is how camera controls begin to feel natural.
Frequently Asked Questions
How do I set the date, time, language and image quality on a new camera?
Open the camera’s setup menu, often marked with a wrench or gear, and choose English, the correct date and time, and Singapore’s time zone if prompted. For image quality, choose the largest JPEG setting for easy sharing, or RAW+JPEG if you want more editing flexibility and have enough card space. Take a test photo, then check its playback and file details. If the menus still feel unfamiliar, Pictorial’s Photography Starter Session offers hands-on guidance.

Disclaimer
© Pictorial | All Rights Reserved.