
What to check on a camera before you start shooting
The highest ISO setting on your camera isn’t automatically the one you should use. If you’re asking, “I bought a camera, now what?”, start by seeing how it feels in your hands, learning its main controls, and comparing test photos taken at different ISO settings.
You don’t need to master every menu before taking a picture. Try a few simple checks first: adjust the viewfinder so the display looks clear, find the controls you’ll use most, and compare test shots at ISO 3,200, 6,400 and 12,800. Look closely at the images to see where the quality suits your needs, rather than relying on the highest number on the dial.
This guide covers how to check your camera, get familiar with its size and buttons, adjust the viewfinder, and match its features to the photography you want to try. Whether you’re interested in travel, wildlife, landscapes, or everyday moments, hands-on testing can show you what your camera can do and help you choose where to start.
Key Takeaways
- Hold the camera as you would when shooting and see whether its grip, weight and main controls feel comfortable.
- Make a few test photos in different lighting, then review them closely to understand how the camera handles image quality.
- Adjust the viewfinder display so its information is useful without distracting you from the scene.
- Choose features and lenses around the subjects you enjoy photographing, rather than assuming you need every option.
- Set up the battery and memory card before heading out, so you can focus on practising with the camera.
1. Camera size, grip and button usability
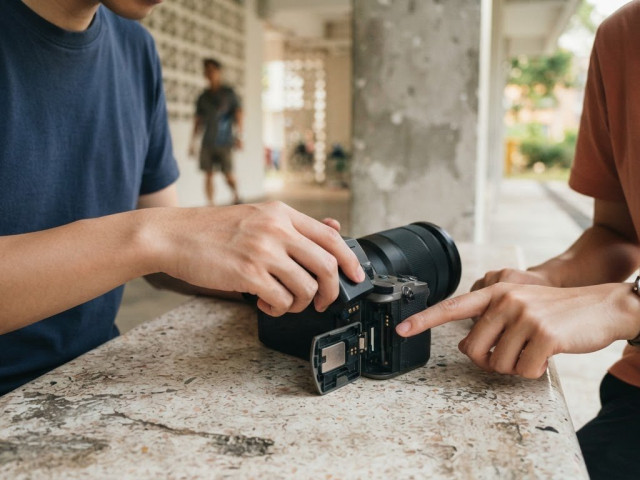
Before changing settings, hold the camera as you would when taking a photo. Bring it to your eye, support the lens with one hand, and check whether you can reach the shutter button without changing your grip. A camera that feels comfortable indoors may feel tiring on a longer walk, especially with a lens attached. Comfort affects how steadily you hold the camera and how likely you are to take it out and shoot.
Hold the camera with your fingers relaxed rather than tightly clenched. Your fingertips should reach the main controls while your other hand supports the lens. Turn the camera vertically as well as horizontally to see how portrait framing changes your hand position. If it comes with a strap, attach it before carrying the camera around. A secure strap keeps the camera close and leaves your hands free between shots.
Next, find the shutter button, mode dial, exposure controls, playback button, and menu controls. Press each one while holding the camera to your eye. Notice whether you can identify the controls by feel or need to lower the camera each time. This quick test shows which buttons are easy to reach and which settings may be easier to change before shooting.
Modern cameras can place hundreds of functions across about 15 buttons, so not every control needs to become familiar immediately. Start with the buttons that affect a basic photograph, such as focus, exposure and playback. Try changing one setting, take a test photo, then review the result. If a button’s purpose isn’t clear, check the camera’s manual rather than changing several settings at once.
Menus can feel just as crowded as the physical controls. Some modern cameras have 40 or more menu pages, which makes a custom menu useful for settings you reach often. Add only the options you actually use, such as image quality or autofocus mode. The exact menu steps depend on the camera, but the goal is simple: reduce searching when you’re ready to shoot.
For a new camera, practical accessories include a compatible battery and charger, a memory card, and a strap. In Singapore, their costs vary with camera compatibility, card capacity, and accessory design, so there isn’t one useful total for every setup. Begin with the items needed to power the camera, save photos and carry it securely; add extras only when your shooting habits call for them.
When choosing a camera, size and button layout matter as much as the feature list. If you mainly take quick street or travel photos, a body you can hold and operate comfortably may suit you better than one with controls you rarely use. Before your first outing, spend a few minutes holding the camera and trying its main controls. This helps you start with a setup that feels natural.
2. Checking a camera before use
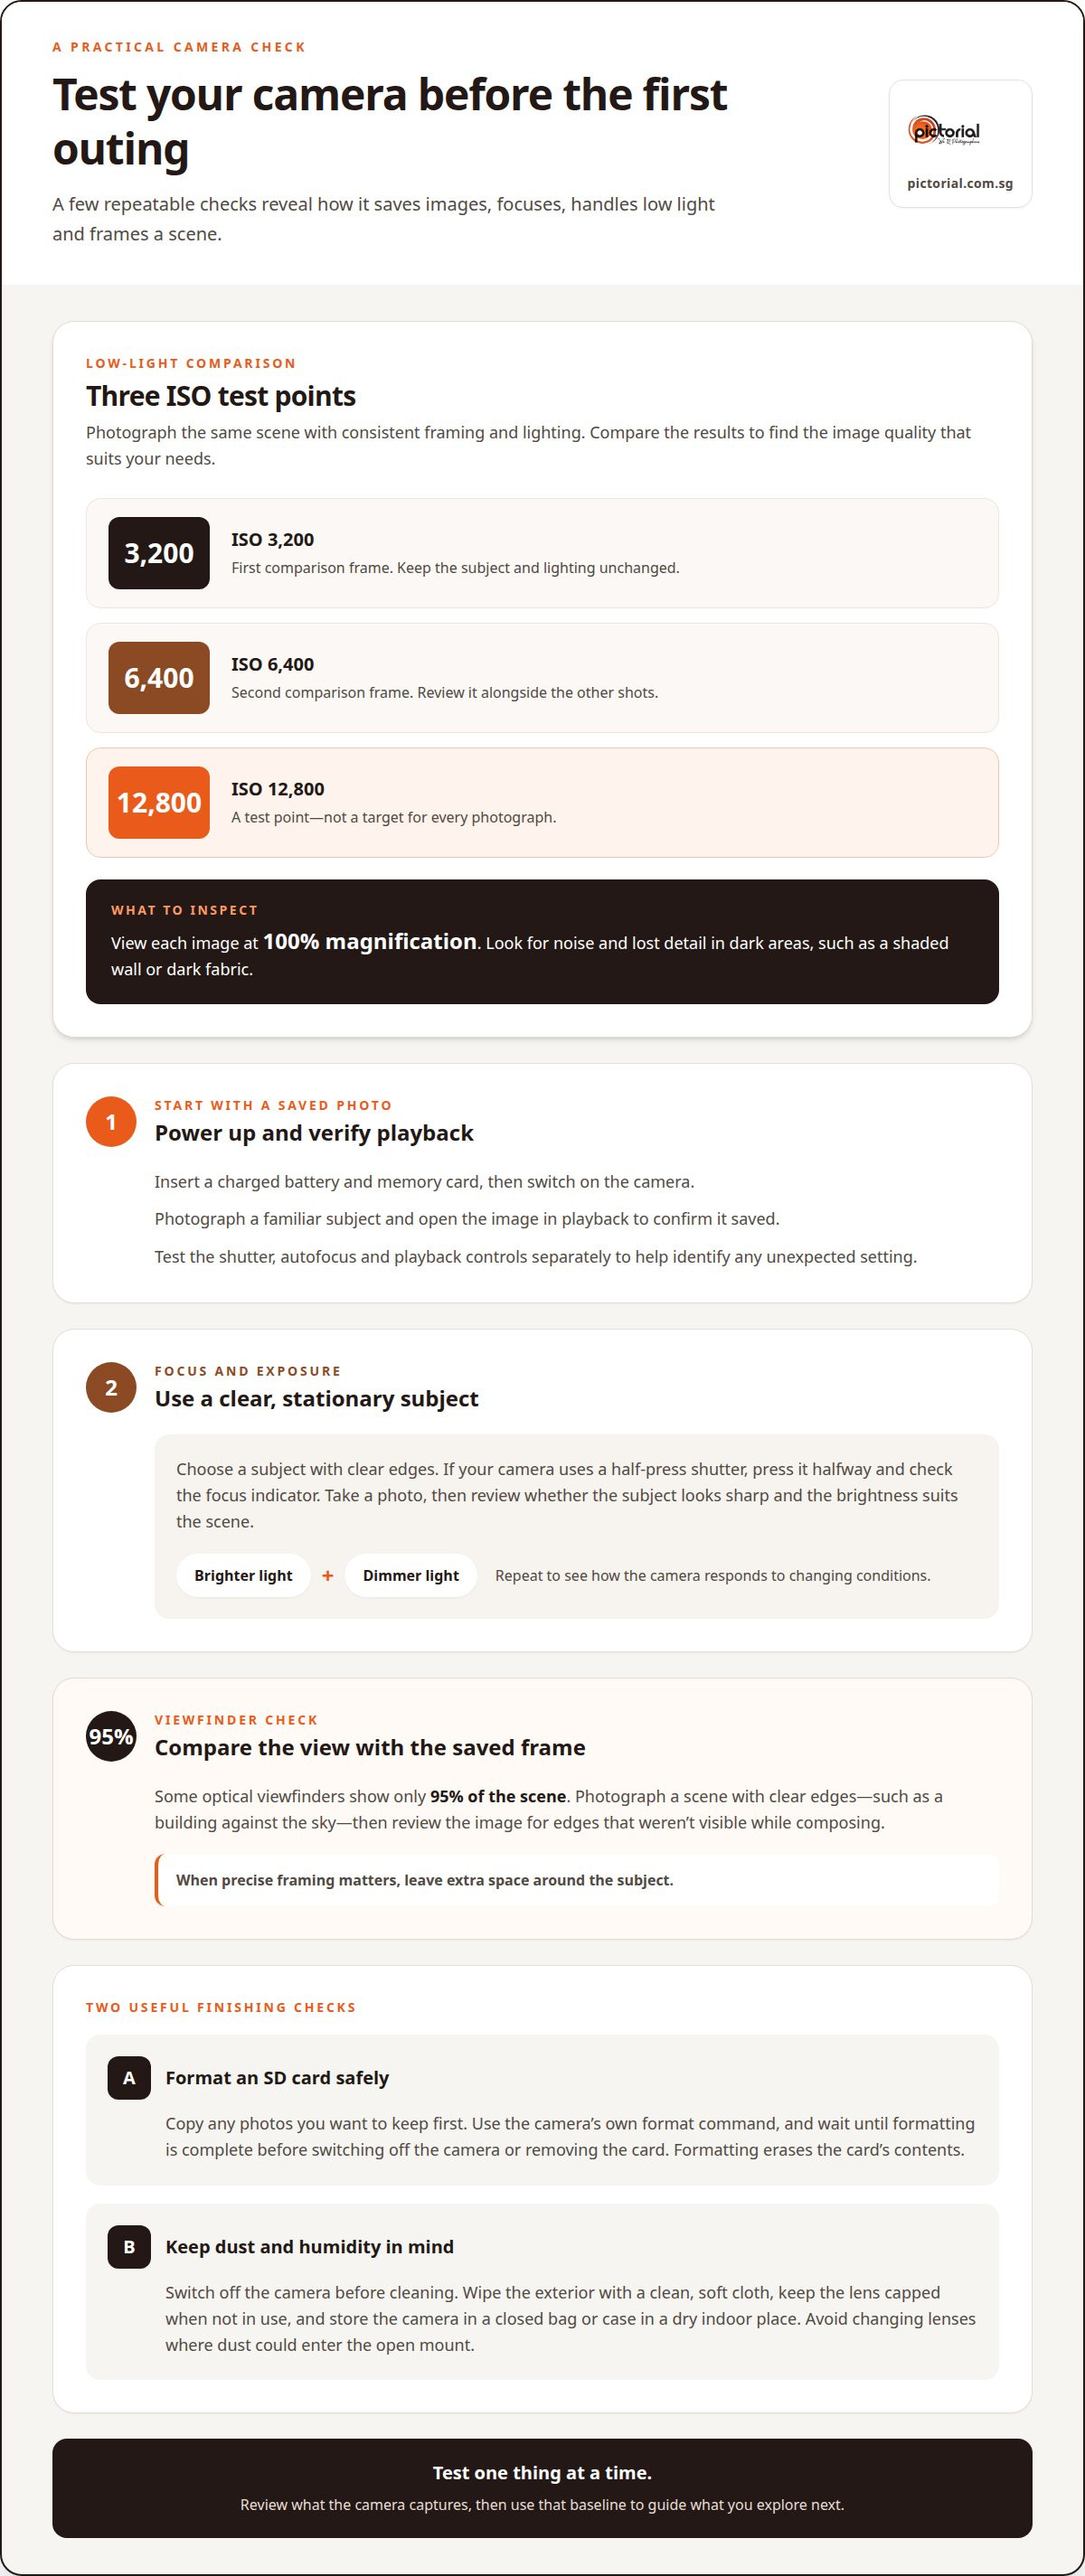
If you’re asking, “I bought a camera, now what should I check first?”, run a simple test before heading outdoors. Insert a charged battery and memory card, switch on the camera, and photograph a familiar subject. Open the image in playback to make sure it saved. Then test the shutter, autofocus, and playback controls separately to help identify any unexpected setting.
Use a stationary subject with clear edges to test autofocus and exposure. If your camera uses a half-press shutter, press it halfway and look for the focus indicator. Take a photo and check whether the subject looks sharp and the brightness suits the scene. Repeat in brighter and dimmer light to see how the camera responds to changing conditions.
To see how the camera handles low light, photograph the same scene at ISO 3,200, 6,400 and 12,800. Keep the framing and lighting consistent, then inspect the images at 100% magnification. Look for noise and lost detail in dark areas, such as a shaded wall or dark fabric. The top ISO setting is a test point, not a target for every photo.
Check the viewfinder against a saved image by photographing a scene with clear edges, such as a building against the sky. Some optical viewfinders show only 95% of the scene, so the final image may include edges you couldn’t see while composing. Playback lets you spot the difference and leave extra space around subjects when framing precisely.
To format an SD card safely, first copy any photos you want to keep. Insert the card, select the camera’s own format command, and wait until formatting is complete before switching off the camera or removing the card. Formatting erases the card’s contents, so save any files you want to retain first.
To protect your camera from humidity and dust, switch it off before cleaning and wipe the exterior with a clean, soft cloth. Keep the lens capped when it’s not in use, and store the camera in a closed bag or case in a dry indoor place. Avoid changing lenses where dust could enter the open camera mount.
If you’re wondering, “I bought a camera, now what should I test next?”, photograph a landscape with a bright sky and shaded foreground. Review the exposure and check whether the frame captures the details you expected. This gives you a practical baseline for your next outing and helps you decide which settings to explore, one at a time.
3. Customising the viewfinder display
A clear viewfinder makes it easier to judge framing without distraction from unfamiliar symbols. Look through it with the camera switched on, then adjust the diopter until the information appears sharp. This control adjusts the viewfinder for your eyesight, not the focus of the lens. Use the camera’s text or focus marks as a reference.
Next, choose which shooting information appears around the image. Beginners may find shutter speed, aperture, and ISO useful to see, as these settings affect exposure. If the display feels crowded, hide icons you don’t use yet. Find the display or viewfinder settings in the camera menu, change one option, then look through the viewfinder again.
Grid lines can help keep the horizon level and make composition easier. Turn them on, then frame a building or landscape with a clear horizon. Place the horizon along a grid line and compare the result with a frame taken without the guide. Grid lines appear on the display, not in the saved image.
If your camera has an electronic level, try it on scenes with straight edges, such as a row of buildings or a waterfront railing. The indicator gives you a quick cue when the camera is tilted. It can be more useful than grid lines when composing quickly, but you can switch either feature off if it clutters the view.
An electronic viewfinder may also show a live exposure preview. Point it at a bright window, then adjust exposure compensation and watch the preview change. This can help you anticipate whether highlights or shadows may lose detail. Treat the preview as a guide and review a test image when the scene has strong contrast.
Some cameras display a histogram, a graph showing tones from dark to bright. If yours has one, view it beside the image and try a scene with both a shaded subject and a bright sky. A graph pressed against either edge can indicate lost tonal detail. Use it alongside the image rather than assuming one graph shape is right for every photo.
Focus aids can help with manual-focus lenses or close subjects. If focus peaking is available, enable it and aim at a textured object, such as a leaf. Coloured outlines mark areas the camera considers sharp. Magnified view can help you check fine detail, but return to the full scene before composing your shot.
Finish with a simple sequence: set the diopter, show only useful exposure information, test the grid or level, then review the display with two different lenses. A wide lens and a longer lens frame scenes differently, while clear overlays can help with both. Save the arrangement if your camera supports custom display settings, so it’s ready for next time.
4. Matching camera features to photography interests
Let the subjects you enjoy photographing guide your camera choices. For travel, a 24-70 mm lens can cover about 95% of the shots a travel photographer would take. One lens often handles everyday scenes, buildings and people, so you can spend less time changing equipment and more time noticing light.
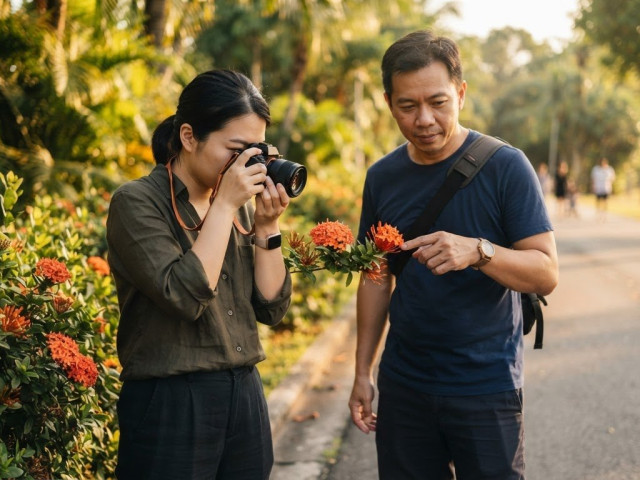
For landscapes, pay attention to how the camera handles exposure across bright skies and darker foregrounds. A smaller aperture, such as f/8 or f/11 when there’s enough light, can keep more of the scene in focus. For wildlife, a longer lens helps frame distant subjects, while responsive autofocus can make moving animals easier to follow.
For everyday photography, start with an automatic or semi-automatic mode and keep the camera’s exposure meter visible. Aperture Priority lets you choose depth of field while the camera selects a shutter speed; Shutter Priority lets you choose how motion appears. In changing light around Singapore, Auto ISO can help maintain exposure as you move between shade and sun, if your camera offers it.
There’s no single setting for every everyday scene. For an indoor family meal, open the aperture to let in more light and use a shutter speed fast enough to limit blur. For a still outdoor scene, choose a smaller aperture if you want more of the background in focus. Review the image and adjust one setting at a time.
Attractions and public spaces may have their own photography rules. Read posted signs and follow staff instructions, as some places restrict photography or certain equipment. Be considerate of other visitors, avoid blocking walkways, and ask before making someone the clear subject of a photograph.
After shooting, transfer photos using a USB cable, memory-card reader, or the camera’s wireless transfer feature, if available. Connect the camera or card to your computer or phone, open its photo import tool, and select the images to copy. Keep the originals on the memory card until you’ve confirmed the transferred copies open correctly.
Match extra features to the kind of practice you’ll actually do. A camera with many settings can be useful, but a 36-megapixel camera may be more than you need if you mainly post images to social media. For a new interest, take the camera out and test one feature at a time. A short walk for street photography, a nearby park for nature, or a meal with friends can show which lens range and controls feel useful.
5. How do I charge and set up a new camera battery and memory card?
Start with the battery and charger designed for your camera model. Check the camera manual for the correct battery type and charging method, then connect the charger as directed. A charging light or screen symbol usually shows progress; use the camera’s indicator rather than guessing based on elapsed time. Remove the battery when the camera or charger shows it’s ready.
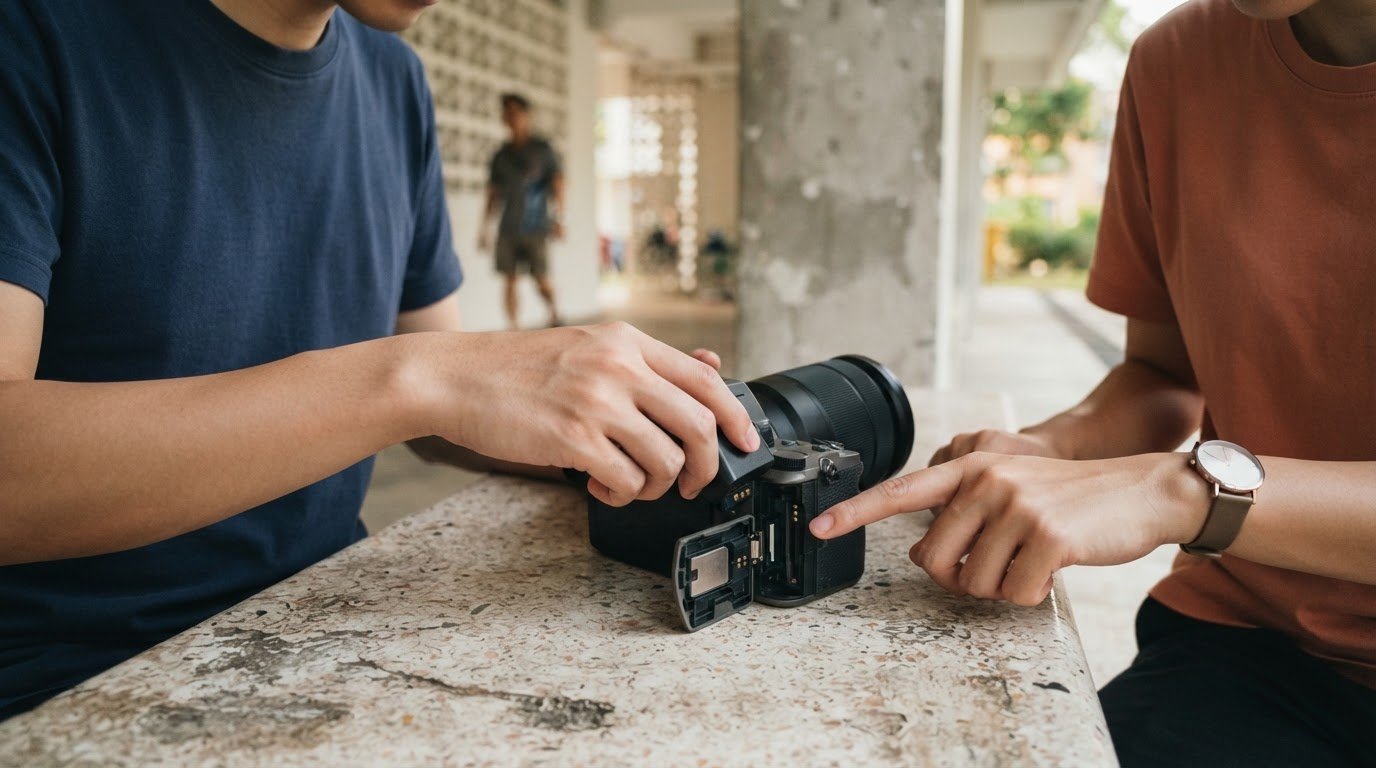
Before inserting the battery, switch off the camera and open its battery compartment. Match the battery’s contacts and shape to the compartment, then slide it in gently until secure. Don’t force it. If it doesn’t fit, remove it and check its orientation. Close the compartment before switching on the camera.
Choose a memory card supported by your camera. The manual lists compatible card types, and the camera’s settings can show whether it recognises the card. With the camera switched off, open the card slot and insert the card in the indicated direction. Close the slot, switch on the camera, and check the remaining-capacity display.
A 32 GB or 64 GB memory card should usually last a few days, depending on what you photograph. RAW files are large and can fill a card faster, so consider how often you’ll shoot and how you’ll store your files. A busy day of detailed scenes may use space differently from a short walk with occasional photographs.
Before your first outing, take a test photo and confirm it appears in playback. If the camera displays an error, switch it off before removing or reinserting the card. After saving any images you want to keep, format the card using the camera’s menu. Formatting erases its contents, so copy photos elsewhere first.
After a shoot, transfer the images to a computer, phone or storage drive, then open a few files to make sure the copies work. One photographer’s routine is to format a card about once every 3 or 4 days after downloading images. Treat that as an example, not a schedule you must follow. Format only after saving the photographs you want to keep.
For your first outing, fully charge the battery, insert the card, check the camera’s capacity display, and take a test frame. If you’re shooting RAW, allow enough card space for larger files. Learning how exposure, ISO, and image quality affect storage can help you plan each shoot with more confidence.
The author usually travels with around six camera batteries in total; long-exposure photography drains camera batteries more quickly than daytime photography. One commenter formats a memory card approximately 100 times each year.
Pictorial
Pictorial can help you turn camera setup into confident, practical photography. If you’re unsure how ISO, aperture, and shutter speed work together, guided practice lets you try each setting and see its effect in real scenes. The Photography Starter Session and Complete Photography Course help learners build their foundations, while the Intermediate Photography Course is for those ready to develop further. Mobile Photography Essentials focuses on phone photography.
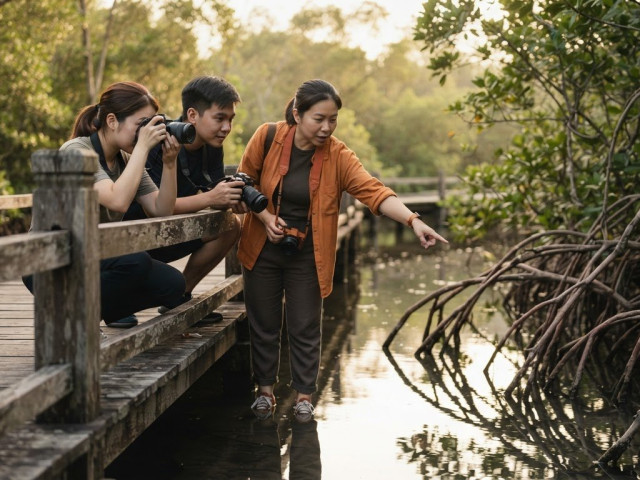
Classes include practical outdoor guidance in groups limited to three participants. You can use your own camera or borrow a complimentary camera, so you can focus on learning instead of trying to master every menu alone. If you’re ready to take your next steps, contact Pictorial to discuss your photography learning.
Take your next step with the camera
Your first photographs are a chance to discover what you enjoy, not a test of whether you’ve mastered every setting. Choose a subject that interests you, notice what feels difficult, and practise one adjustment at a time. If you’re thinking, “I bought a camera, now what should I learn first?”, use that question to choose a manageable next step.
Pictorial offers the Photography Starter Session to build foundations, the Intermediate Photography Course to develop existing skills, and Mobile Photography Essentials for phone photography. Guided learning can connect camera settings with the choices you make while shooting, giving each practice session a clear focus.
Keep experimenting with subjects that matter to you. Each thoughtful frame helps make the camera feel more familiar.
Frequently Asked Questions
How high can that ISO go?
Your camera’s usable ISO ceiling depends on how much image noise and loss of detail you find acceptable. The highest number in its menu shows what you can select, not necessarily what suits every photograph. Use a higher ISO when dim light or moving subjects call for a faster shutter speed. For a portrait, consider how much skin detail you want to retain; for a quick record shot, capturing the moment may matter more than fine texture.
What sensor size?
Choose a sensor size based on how the camera handles, its lens options, and the subjects you photograph, rather than assuming a larger sensor is automatically an upgrade. Sensor size affects how a lens frames a scene, so the same focal length can produce different views on different camera formats. If you often photograph small rooms or wide landscapes, compare the framing your camera and lens combination provides before choosing additional lenses.
What should I do first after buying a new camera?
Set the camera’s date and time first, so your files sort in the right order when transferred. Then choose a familiar subject, such as a mug on a table, and take a still photo before trying a moving subject, like someone walking. This gives you a simple reference for checking focus and operation. Keep the camera’s model name and manual handy as you learn unfamiliar controls.
What camera accessories are essential, and how much do they cost in Singapore?
Start with a compatible battery and charger, a memory card, and a strap. Their costs in Singapore vary by camera compatibility, card capacity, and accessory design, so there isn’t one useful total for every setup.

Disclaimer
© Pictorial | All Rights Reserved.