
How to Stop Blurry Photos: Practical Fixes You Can Use in the Field
A blurry photo can give you a useful clue about what to change. If you’ve been wondering how to stop blurry photos, start by checking whether the camera moved, your subject shifted, or autofocus selected the wrong spot. Raising the shutter speed may help, but in low light, it can also make the image too dark.
Different kinds of blur tend to leave different patterns. If the whole scene looks soft, camera shake may be the cause. If the background is sharp but your subject isn’t, movement or missed focus is more likely. Recognising the difference helps you choose one targeted adjustment instead of changing several settings at once.
In this guide, you’ll learn to identify common blur patterns, choose practical shutter speed and focus adjustments, and account for the available light. You’ll also build a simple routine to use before each shot: steady the camera, check the subject and focus point, then review your settings. A few deliberate checks can make sharp results feel less like luck and more like a skill you can practise.
Key Takeaways
- Use where the softness appears in the frame to narrow down whether movement or focus is the likely issue.
- Consider how dim natural light affects shutter speed, then choose an adjustment that suits the subject.
- Compare common blur patterns with their likely causes to decide what to test first.
- Build a quick pre-shot routine for how to stop blurry photos, including checking shutter speed, focus, camera steadiness and a test frame.
- Practise first with a still subject, then add gentle movement to see how your adjustments affect sharpness.
Why your photos look blurry: recognise the three common causes
A soft photo is frustrating, but it doesn’t mean you chose the wrong camera or need to fix every image in editing. Blur is a loss of clear detail, often caused by something that happened while the camera captured the scene. Start by looking for a pattern: is the whole frame soft, is only the moving subject blurred, or is a different part of the scene in focus?
Most blur comes from camera movement, subject movement or missed focus. One image can show more than one cause, so treat these patterns as clues rather than certain diagnoses. Camera shake softens the scene, subject movement blurs the moving parts, and missed focus leaves the wrong distance sharp.
Camera shake versus subject movement
If stationary details across much of the frame look smeared, the camera may have moved during the exposure. A still view of a building can make this easy to spot. If the background is relatively defined but a walking person looks blurred, the subject likely moved while the camera was exposing the image. In that case, a faster shutter speed may help freeze their movement.
Missed focus and softness that is not motion blur
Check whether a different distance looks sharper than your intended subject. If the background is clear but a person’s face is soft, autofocus may have selected the background instead. If the focus point is on the face but only part of it is sharp, shallow depth of field may be the reason. The beginner depth of field guide explains how this affects which parts of a scene appear in focus.
Before changing settings, inspect the photo and ask:
- Are stationary details soft across the frame? Consider camera shake.
- Is the background clearer than a moving subject? Consider subject motion.
- Is a different distance sharp, or only part of the subject? Check focus placement and depth of field.
These clues help you choose a useful first adjustment instead of assuming every soft image needs editing. If the pattern isn’t obvious, compare another frame of the same scene and note what changed. Learning how to stop blurry photos starts with identifying what looks soft, then testing one likely cause at a time.
How shutter speed and natural light affect photo sharpness
Shutter speed is the length of time your camera records a scene. A longer exposure lets in more light, but it also gives camera movement or a moving subject more time to blur. In dim natural light, your camera may choose a slower shutter speed to make the image bright enough. This is why settings that work outdoors in bright sun may struggle in shade or near a window.
There isn’t one shutter speed that suits every situation. A stationary subject is easier to photograph than a person walking, while zooming in can make small camera movements more visible. As a starting point for handheld photos, the reciprocal guideline suggests a shutter speed at least as fast as 1 divided by your focal length. With a 50mm lens, that means starting around 1/50 second. Treat this as a guide, not a promise: your technique, camera and subject all matter. For a broader explanation of how exposure settings work together, see this ISO, aperture, and shutter speed guide.
Choose a shutter speed for the subject’s movement
For a still subject, a slower shutter speed may work if you can hold the camera steadily. A walking person needs a faster speed to reduce movement blur. If motion seems to be the cause, raise the shutter speed and take a test frame. Check both sharpness and brightness, since a faster exposure lets in less light. If the image becomes too dark, you may also need to adjust aperture or ISO. The School of Photography outlines common reasons your photos aren’t sharp, including how settings and focal length affect results.
Hold the camera more steadily in available light
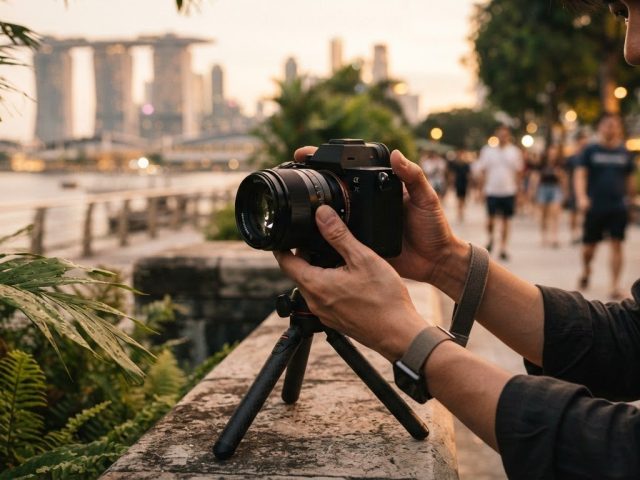
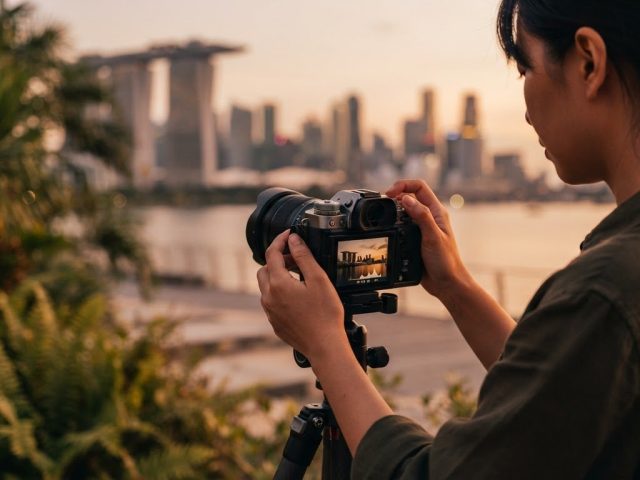
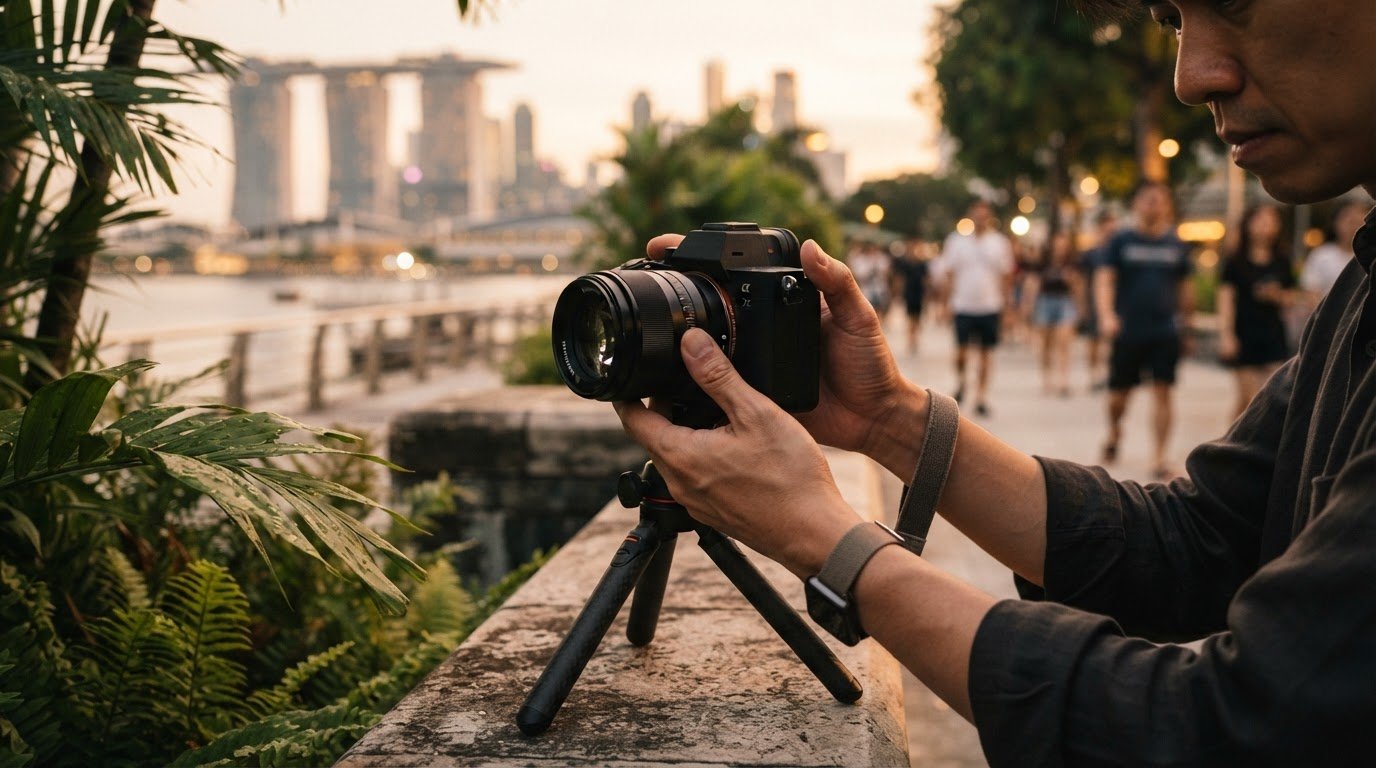
Small changes to how you hold the camera can help when light is limited. Stand with your feet comfortably apart, support your elbows against your body, and press the shutter gently rather than jabbing at it. If the scene allows, rest the camera on a stable surface or use a support. Image stabilisation can reduce blur from camera shake, but it can’t freeze a moving person.
To practise how to stop blurry photos, change one setting at a time and compare your test frames. If you’d benefit from feedback while practising outdoors, Pictorial’s small group photography courses offer hands-on guidance, with no more than three participants. Explore Pictorial’s photography courses to see whether guided practice suits your learning.
How to tell what is causing blur: a practical comparison
Use the pattern in the photo to choose what to test next. The table offers clues, not a definitive diagnosis: more than one cause can affect a frame, and a small screen can hide fine detail. Identify the blur pattern before changing settings, so your first adjustment has a reason.
| What looks soft | Likely cause | First adjustment to test |
|---|---|---|
| Stationary details across much of the frame | Camera shake | Hold the camera more steadily or use a stable support; if practical, try a faster shutter speed. |
| A moving subject, while stationary background details look clearer | Subject movement | Try a faster shutter speed to reduce the time the subject can move during the exposure. |
| The intended subject is soft, but a different distance looks sharp | Focus on the wrong distance | Select a focus point over the subject and check where the camera has focused. |
| One part of the subject is sharp while nearby parts fall out of focus | Shallow depth of field | Try a smaller aperture, shown by a higher f-number, to increase the area that appears in focus. |
Read the frame for clues before changing settings
Ask what holds detail and what doesn’t. Are stationary background features soft too, or is the subject the only blurred part? Does a narrow plane look sharp while objects just in front of or behind it do not? Zoom in on the original image to inspect edges and fine detail rather than relying only on a small preview. Then compare several frames from the same scene. A repeated pattern can make the likely cause easier to identify.
Change one likely cause at a time
Start with the strongest clue. If a person is blurred against a clearer background, raise shutter speed before changing focus settings. If the wrong distance is sharp, adjust the focus point first. Keep your composition and subject distance as consistent as practical, then take another frame. Changing one variable makes it easier to tell whether the adjustment helped or whether another cause may be involved.
This comparison turns how to stop blurry photos into a field test: observe, choose one likely cause, make one adjustment and review the result. If the pattern remains unclear, don’t change everything at once. Compare another frame and look for the clue that stays consistent.

A repeatable camera routine for sharper natural-light photos
A familiar sequence can take the guesswork out of shooting in changing natural light. Before an important frame, pause to check the exposure, focus, camera position and result. With practice, these checks become a steady habit rather than a scramble through settings.
- 1. Check the shutter speed. Look at the value in the viewfinder or on the screen. Ask whether it’s fast enough for your subject’s movement and the way you’re holding the camera. If the light is dim and the speed is slow, consider adjusting exposure before the moment passes.
- 2. Choose a focus point. Place the selected focus area over the detail that matters, such as a person’s eye or the main feature of a still subject. Don’t rely on the camera to choose the right part of a busy scene.
- 3. Confirm focus. Half-press the shutter or use your camera’s focus-confirmation method, if available. Check that focus has settled on the intended subject before taking the picture. This confirms focus, not exposure or sharpness across the whole image.
- 4. Steady your position. Plant your feet comfortably, support your elbows and hold the camera securely. Keep the subject in view, then press the shutter smoothly. If practical, rest the camera on a stable surface.
- 5. Take and review a test frame. Inspect the important detail at a useful magnification. First check focus: is the intended detail sharp, or did focus land elsewhere? Then check exposure: does the image look too dark or bright, and is the shutter speed still suitable?
Review the result and make a measured correction
Let the test frame show you what to change. If the subject shows motion blur, try a faster shutter speed and reassess brightness. If another distance is sharper, adjust the focus point or focusing method instead. Make one correction, then take another frame while keeping the composition and subject distance as consistent as you can. The in-camera exposure guide can help you understand what to check in a test shot.
This routine makes how to stop blurry photos a practical habit: check, focus, steady, shoot and review. If you’d like to practise these adjustments with guidance, explore Pictorial’s Basic Photography Course, which supports beginners as they build camera skills.
Build confidence stopping blurry photos through hands-on practice
Sharpness becomes easier to manage when you can connect a camera adjustment to what changes in the picture. Instead of trying several settings at once, repeat a simple test and observe the result. You don’t need a special subject or perfect conditions. A familiar scene and a little patience are enough to start learning.
Practise one sharpness skill at a time
Begin with a still subject, such as a cup on a table or a plant in a pot. Keep your position and framing similar between shots, then change one relevant setting, such as shutter speed or focus area. Compare the frames and note what happened: did the intended detail come into focus, did the subject stay still, and did your camera position feel steady?
Once you can make a clear frame of a still subject, repeat the exercise with gentle movement. Photograph someone slowly turning a page or walking at an easy pace. If the person looks blurred, try a faster shutter speed and check the next result. This step-by-step practice helps you recognise whether blur came from movement, focus or camera handling, rather than adjusting settings by guesswork.
A short note on each test can help. Record the setting you changed and what you noticed in the image. Over time, those observations give you a practical reference for similar scenes and help you build confidence in how to stop blurry photos. Useful practice doesn’t depend on owning a camera. You can learn by trying the controls on equipment you have access to and carefully comparing the results.
Get patient guidance while learning camera control
If you’d like help making sense of what you see, Pictorial offers hands-on photography courses with practical outdoor shooting. Classes have a maximum of three participants, providing a small group setting for learning through practice. Students can bring their own camera or borrow a complimentary one, so not owning equipment doesn’t have to prevent you from getting started.
Guided practice can help you test camera adjustments in real conditions, notice how they affect sharpness, and ask questions as you go. There’s no need to master every setting at once. Choose one skill, practise it, and build from there. If learning this way feels like a good fit, explore Pictorial’s hands-on photography courses.
Take your next step towards sharper photos
Learning how to stop blurry photos starts with noticing what looks soft. Camera shake, subject movement and missed focus leave different clues, so check the image before changing settings. Then make one adjustment, take a test frame and review both focus and exposure. A simple routine gives you a clearer way to learn from each shot.
Practice makes those decisions feel more familiar. Start with a still subject, then try the same steps with gentle movement. You don’t need to own a camera to begin learning. Pictorial’s hands-on photography courses include practical outdoor shooting, and students can use their own camera or borrow one. Founded in 2005 and led by photographer Keith, Pictorial has taught more than 20,000 students. Classes are limited to three participants.
If patient, practical guidance would help you build confidence, explore Pictorial’s hands-on photography courses. Keep observing, testing one change at a time, and your next sharp frame can come from a decision you understand.
Frequently Asked Questions
Why do my photos look blurry even when the subject is still?
A still subject can look blurry if the camera moves during the exposure or focus lands at the wrong distance. In dim natural light, the camera may use a slower shutter speed, making small hand movements visible in the image. Check whether stationary details across the frame are soft, or whether another distance looks sharper. Also inspect the lens for smudges, which can reduce clarity.
How do I stop camera shake from making my photos blurry?
Hold the camera with both hands, support your elbows against your body, stand steadily and press the shutter gently. If possible, brace the camera on a stable surface or use a tripod. A faster shutter speed can also reduce the effect of hand movement, though it may make the image darker. The reciprocal guideline, shutter speed at least as fast as 1 divided by the lens focal length, is a useful starting point, not a guarantee.
What shutter speed should I use to avoid blurry photos?
Choose a shutter speed based on how much the camera or subject may move. For a stationary subject, the reciprocal guideline can help: with a 50mm lens, start around 1/50 second when handholding. For people holding still, try 1/125 to 1/250 second; for someone walking, try 1/250 to 1/500 second. These are starting ranges, not fixed rules. Take a test frame and check sharpness and exposure.
How can I tell if a photo is blurry because of focus or movement?
Look at which parts of the frame retain detail. If stationary background features are clear but a moving subject is blurred, subject movement is a likely cause. If the intended subject is soft while another distance is sharp, focus may have landed elsewhere. Camera shake can soften stationary details across much of the frame. Zoom in on the original image and compare a few frames to spot recurring clues.
Can image stabilisation stop blurry photos?
Image stabilisation can help reduce blur caused by camera shake, especially when you’re handholding the camera at a slower shutter speed. It doesn’t freeze a moving subject. If a person walking looks blurred against a sharper background, try a faster shutter speed even if stabilisation is enabled. Stabilisation also can’t correct missed focus, so check where the camera focused as well as how steadily you held it.
Can editing fix a blurry photo?
Editing tools may make a slightly soft image look crisper, but they can’t reliably restore detail that wasn’t captured clearly. Strong sharpening can make edges look harsh without correcting camera shake, subject movement or missed focus. If the moment can be photographed again, address the likely cause before taking another frame. Check focus, steady the camera or adjust shutter speed, then review the result at a useful magnification.
How can beginners practise taking sharper photos?
Start with a still subject and take several frames, changing one relevant setting at a time. Compare where focus landed and whether camera movement softened the image. Then repeat the exercise with gentle subject movement and test a faster shutter speed. Pictorial offers hands-on photography courses with practical outdoor shooting in groups of no more than three. Students can bring their camera or borrow a complimentary one, so owning equipment isn’t essential for practice.

Article by
Keith Low
Photography Mentor & Founder