
Depth of Field for Beginners: A Simple, Practical Guide
What if background blur is only part of the picture? If you searched “depth of field explained beginners,” start here: depth of field is the zone that looks acceptably sharp in a photo, from front to back. That zone can be shallow or deep, and blur is just one visible result of controlling it.
If aperture settings feel confusing, or your subject keeps blending into a busy background, you’re not alone. You don’t need special equipment or a perfect eye to make deliberate choices. A few simple adjustments can help keep your subject sharp while softening what’s behind it, or bring more of a scene into focus.
This guide explains how aperture, subject distance, and focal length affect depth of field, then shows you a repeatable way to practise with the camera or phone you already have. You’ll learn to recognise shallow and deep focus, understand how smartphone Portrait Mode simulates blur, and make small, purposeful changes until the photograph looks the way you want.
Key Takeaways
- Depth of field is the range that appears acceptably sharp, not simply the amount of background blur. Learn to recognise when that focus zone is shallow or deep.
- Aperture, camera-to-subject distance, and focal length each influence the focused area. Compare them to make deliberate adjustments.
- Background blur isn’t controlled by aperture alone. Changing distance or framing can also change how separated your subject looks from the background.
- Try a repeatable exercise with one stationary subject: keep your camera position, focus, and framing consistent as you compare two or three aperture settings.
- Practise the same approach with portraits, close subjects, and wider scenes to understand how depth of field affects different photographs.
Depth of field explained for beginners: what is actually in focus?
The name sounds technical, but depth of field is easier to see in a photograph than it is to explain. If you’re new to photography, start by noticing which parts of the image look sharp and which don’t.
Depth of field is the distance range in a photograph that appears acceptably sharp. It describes how much of the scene looks in focus in front of and behind the point you focused on. The transition to blur is gradual, rather than a hard line.
This focus range is the key idea. Background blur can show that areas behind your subject fall outside it, but blur isn’t the definition itself. The foundational explanation of depth of field also covers how optical factors influence the zone that appears sharp.
What do shallow and deep depth of field look like?
With shallow depth of field, the focus zone is narrow. In a portrait, the person’s eyes might appear sharp while the background falls softly out of focus. With deep depth of field, more of the scene appears acceptably sharp. A landscape photograph may show clear detail from nearby rocks towards distant hills.
These are familiar examples, not fixed rules. A portrait can include a sharper background, and a landscape can have areas out of focus. Look across the whole frame and notice how much of the scene appears sharp, rather than judging by background blur alone.
Is depth of field the same as bokeh?
No. Depth of field describes the range that appears acceptably sharp; bokeh describes the look of areas that are out of focus. A blurred background may suggest shallow depth of field, but it shows only what happened to those background details, not the full focus zone.
In a portrait with a blurred background, the subject may be sharp while some parts of the subject also fall outside the focus zone. The amount and appearance of blur can vary, too, so no single setting guarantees pleasing bokeh.
For a useful check, compare the subject, the background, and anything in the foreground. Ask what looks sharp in each part of the image. That simple observation helps separate the focus zone from the blur around it.
How aperture, distance, and focal length change depth of field
Once you can spot the focus zone, you can start shaping it. Aperture, camera-to-subject distance, and focal length all influence how much of a scene appears acceptably sharp, but their effects depend on how you frame and position the shot. Treat them as practical controls to test, not isolated rules.
How does aperture affect the focused area?
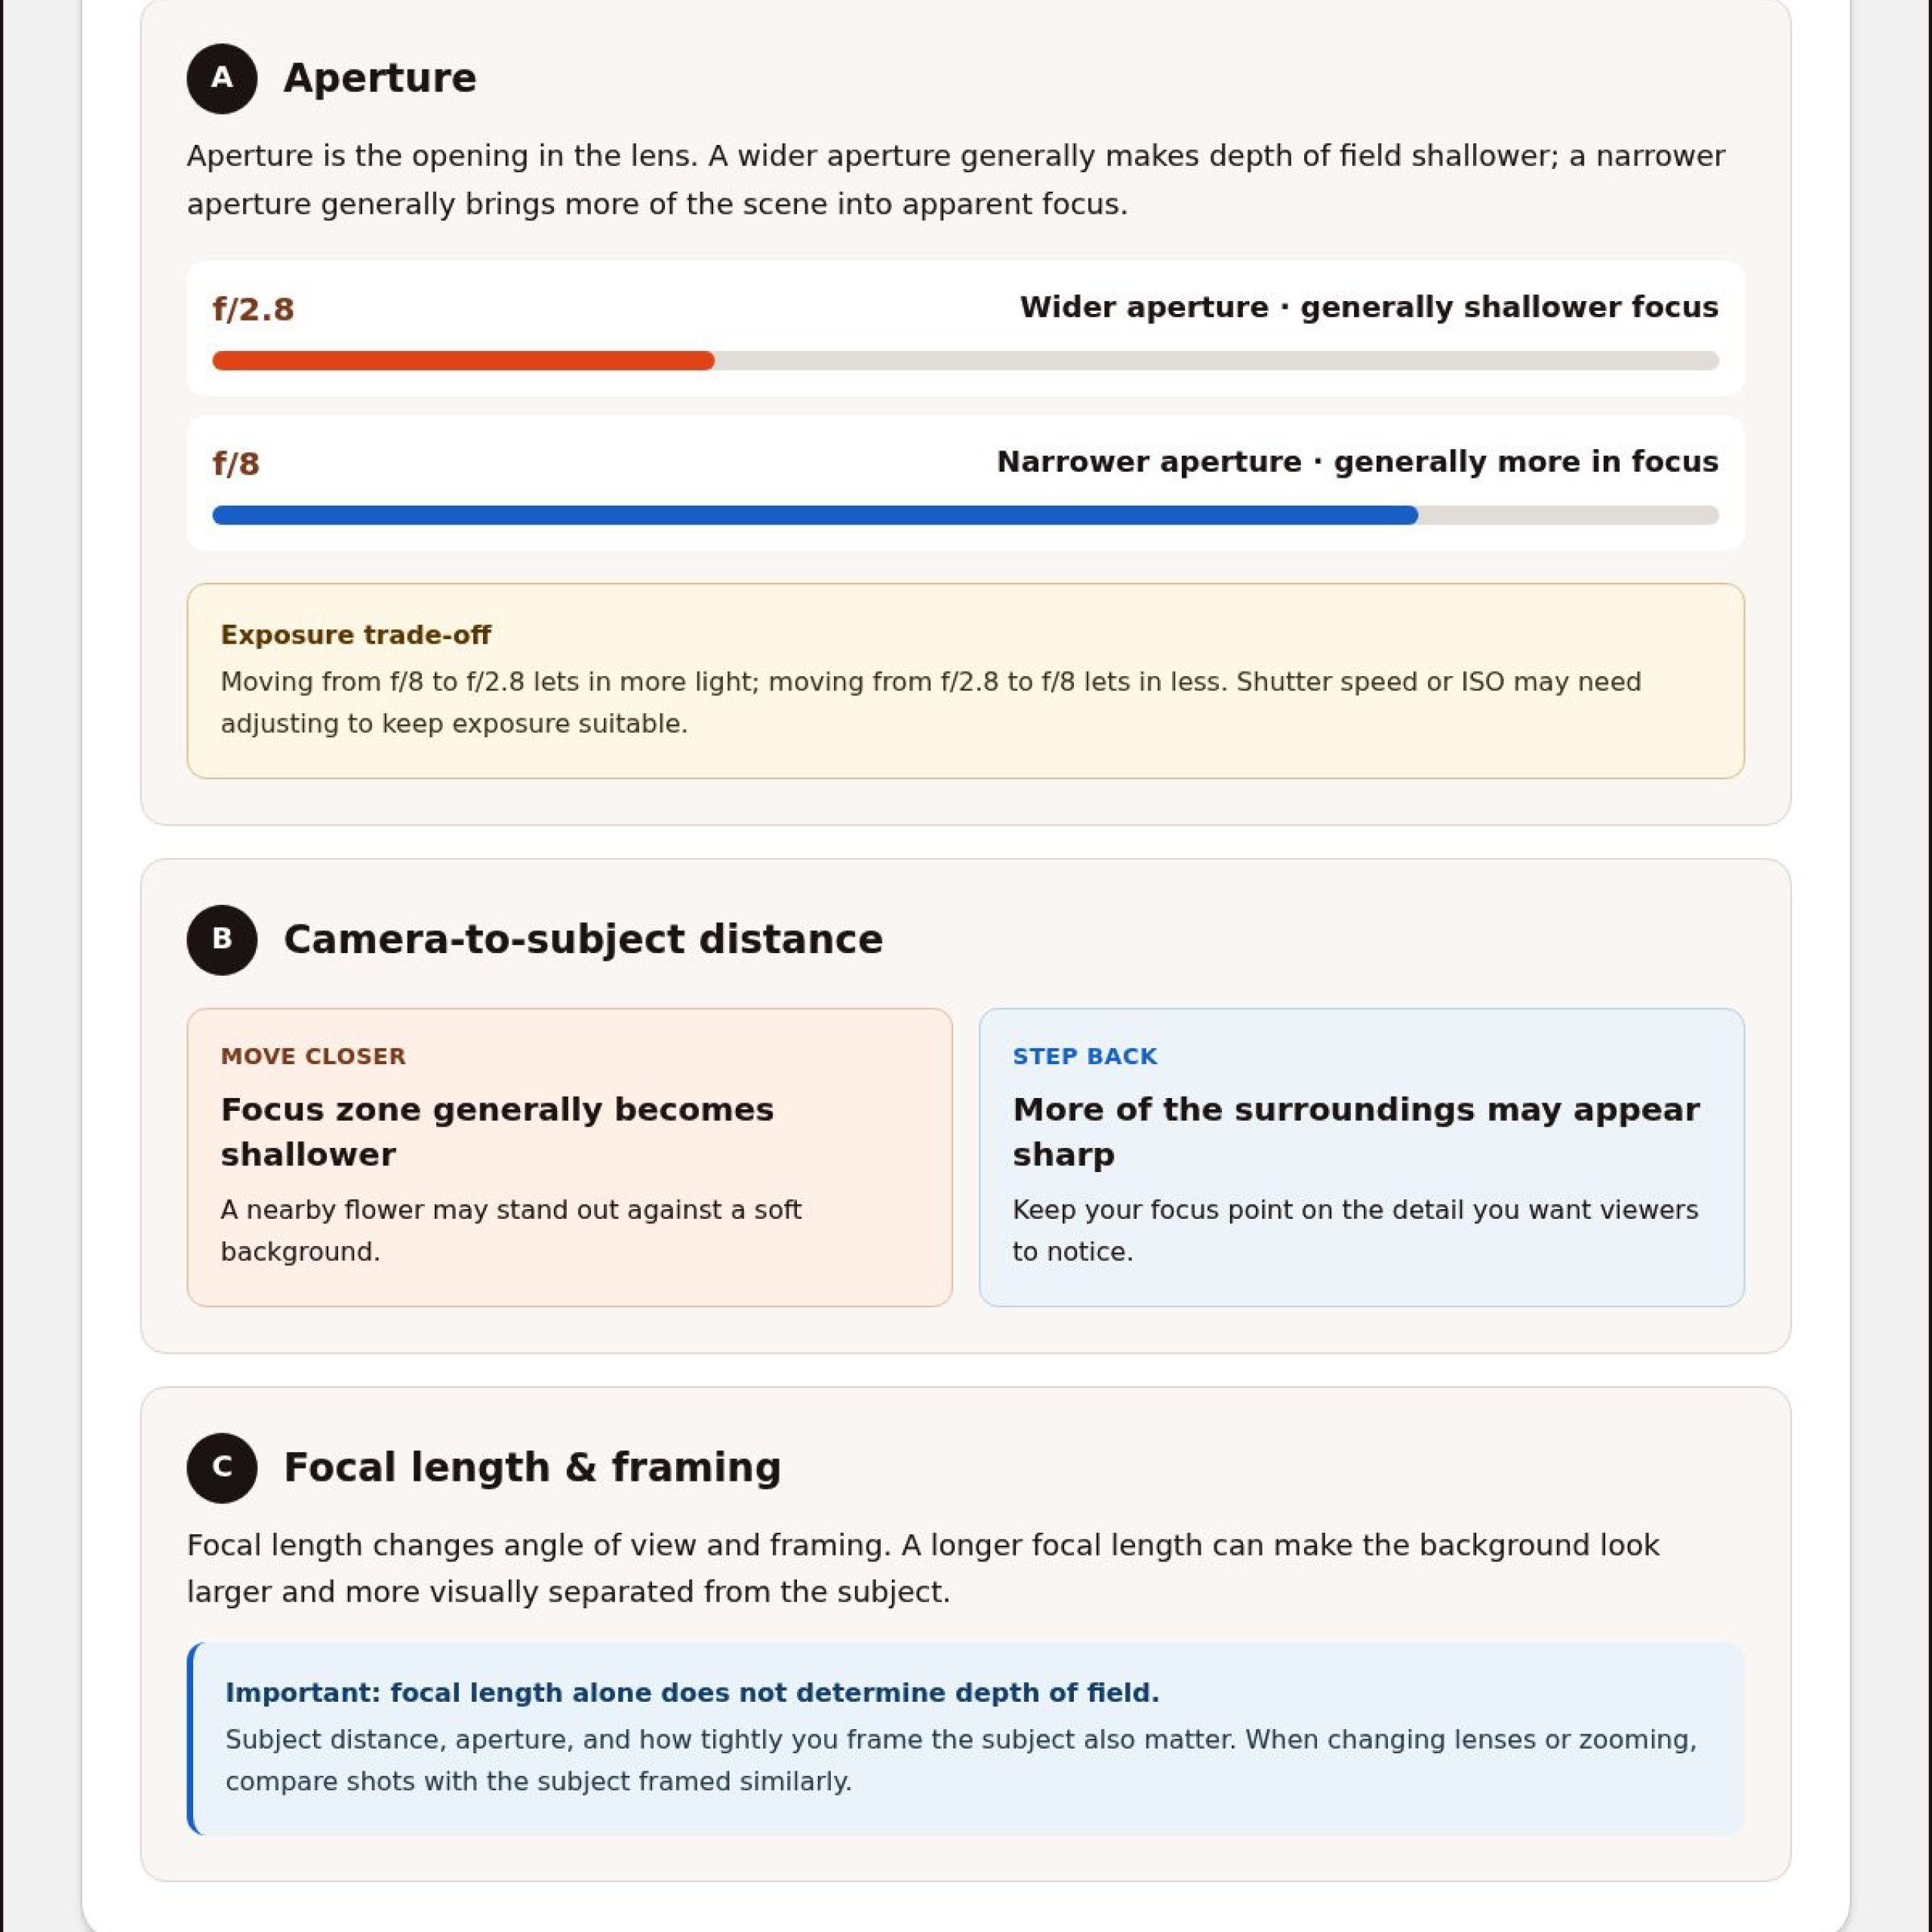
Aperture is the opening in the lens. A wider aperture, such as f/2.8, generally creates shallower depth of field, so less of the scene appears sharp. A narrower aperture, such as f/8, generally increases depth of field, bringing more of the scene into apparent focus.
There’s a trade-off: aperture also changes how much light reaches the camera’s sensor. Moving from f/8 to f/2.8 lets in more light, while moving from f/2.8 to f/8 lets in less. You may need to adjust shutter speed or ISO to keep the exposure suitable. If those settings are new to you, a guide to ISO, aperture, and shutter speed can help connect the controls.
Why do subject distance and focal length matter?
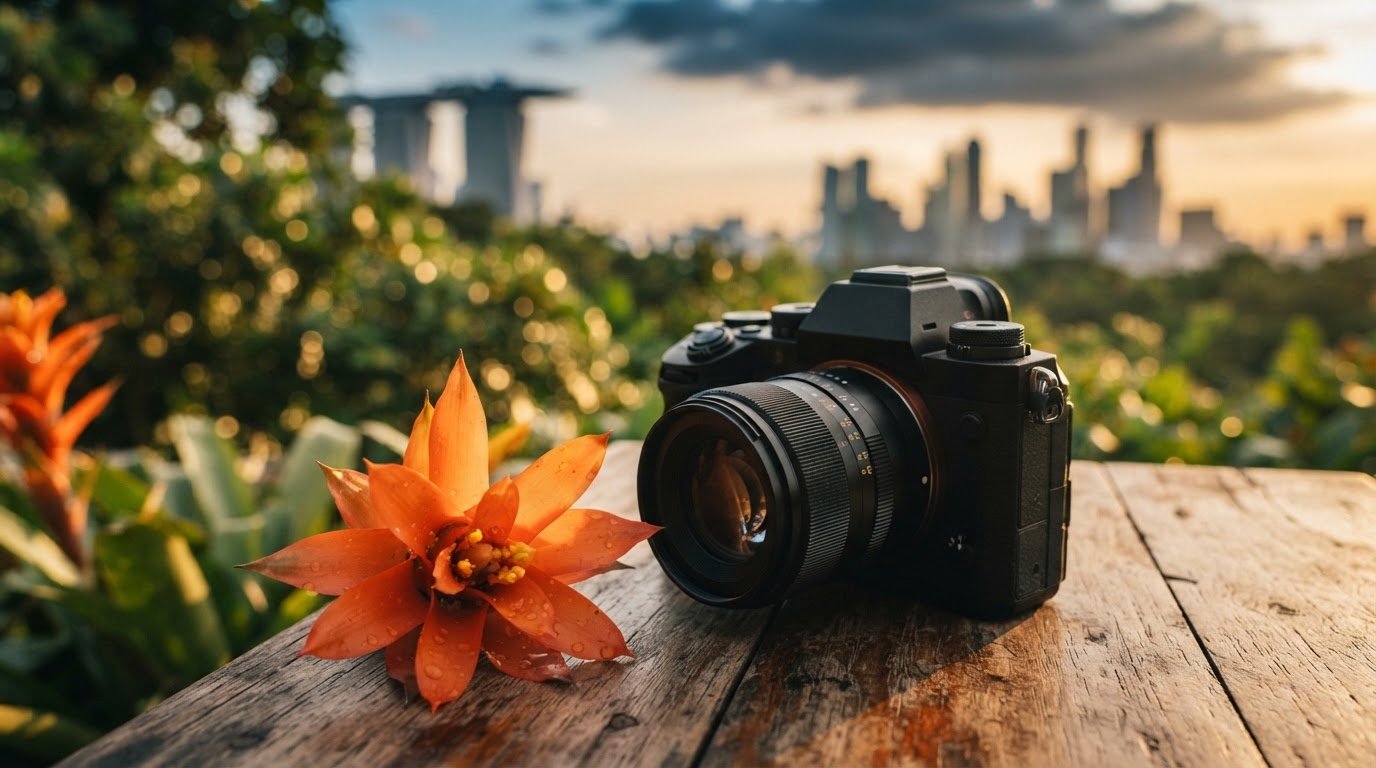
Move closer to your subject and the focus zone generally becomes shallower. For example, a flower photographed from nearby may stand out against a soft background, while stepping back can make more of the surrounding scene appear sharp. Keep your focus point on the detail you want viewers to notice.
Focal length changes your angle of view and framing. A longer focal length can make the background look larger and more visually separated from the subject. But focal length alone doesn’t determine depth of field. Your distance from the subject, aperture, and how tightly you frame the subject all matter. If you change lenses or zoom, compare shots with the subject framed similarly to see how the background’s appearance changes.
To understand the controls, change one at a time. Keep your subject and framing steady while you compare apertures, then try moving closer or farther away. This makes the cause and effect easier to see than memorising settings.
Depth of field is a practical skill, not a complicated formula: choose what you want sharp, then adjust the controls and observe the result. If you’d like guidance while practising focus and aperture, Pictorial’s hands-on photography courses keep groups small, with a maximum of three participants.
What affects background blur, and what does not?
A wide aperture can soften a background, but it isn’t the only way to create separation. Background blur and depth of field are related, not identical: depth of field describes the range that appears sharp, while blur is how out-of-focus areas look in the finished photo.
These controls work together, rather than acting like separate switches. Use this table as a guide to likely effects, then consider your lens, subject, framing, and surroundings.
| Factor | Likely visual effect |
|---|---|
| Aperture | A wider aperture often narrows the focus zone; a narrower aperture often brings more of the scene into apparent focus. |
| Subject distance | Moving closer generally makes depth of field shallower. The subject may also stand out more from the background. |
| Focal length | A longer focal length can make the background appear larger and more separated, depending on distance and framing. |
Can you blur the background without a wide aperture?
Often, yes. Try moving closer to your subject, or position the subject farther from the background. For example, a person standing well in front of a distant wall may appear more distinct from it than someone standing right against it. How soft the background looks depends on the lens, framing, subject and camera distances, and details in the scene. Test more than one control before changing your aperture.
Why might the whole subject not stay sharp?
A shallow focus zone can leave part of a nearby subject outside the area that appears sharp, even when you focused correctly. For example, if you focus on one detail of a close object, other parts that sit farther forward or back may look soft. Check the active focus point and place it over the detail you want sharp.
If the wrong detail is sharp, the camera may have focused somewhere other than intended. That’s different from naturally limited depth of field, where your chosen focus point is sharp but other parts of the subject fall outside the focus zone. Review the photo closely, confirm what the camera focused on, then try again. If more of the subject needs to look sharp, make a small adjustment and compare the result rather than changing several settings at once.
How to practise controlling depth of field with your camera
A short comparison is more useful than trying to remember what every setting does. This exercise shows how aperture changes a photograph while the subject and composition stay steady.
A simple aperture comparison exercise
Choose a stationary subject with clear detail, such as a mug or a plant, and place it in front of a background some distance away. Use a tripod or rest your camera on a stable surface if you have one. Keep the camera in the same position throughout the exercise.
- Choose a framing and focus on one specific detail of your subject. Keep the focus point and composition the same for each frame.
- Set your camera to aperture priority or manual mode. Take a photo at one available aperture, then make two more at different apertures, such as a wider setting and a narrower one. If your lens doesn’t offer those exact settings, use the closest options available.
- Review the photos side by side. Notice which parts of the subject remain sharp and how the background’s appearance changes. Check the focus point, too, so you know whether a soft detail is caused by the focus zone or missed focus.
Changing aperture also changes exposure. A narrower aperture lets in less light, so an image may darken if the camera doesn’t compensate. In aperture priority, the camera usually adjusts another exposure setting; in manual mode, you may need to adjust shutter speed or ISO yourself. Make those changes as needed to keep exposure comparable across your test shots.
How to troubleshoot results that look different than expected
If the background still looks busy, try moving the subject farther from it or moving closer to the subject while keeping your framing in mind. The result depends on your lens and the scene, so small adjustments are worth testing.
If important details look soft, check that your focus point is on the detail you intended. If the focus is in the right place but other parts of the subject still look soft, try a narrower aperture to increase the area that appears acceptably sharp. If the image darkens after that change, adjust shutter speed or ISO to balance the exposure.
Once this comparison feels familiar, practise beyond Auto by trying your camera’s aperture-priority or manual controls. Guided, hands-on practice can also help you connect camera settings to what you see in the photograph.
Build depth-of-field confidence through hands-on photography practice
The goal isn’t to make every background blurry. It’s to decide what you want to look sharp, then use focus, aperture, and your position to shape the focus zone. Understanding depth of field becomes easier when you compare your own photographs and see how small changes affect the result.
Repeat your aperture comparison with different kinds of scenes. Try a portrait, a close subject with details at different distances, and a wider view where you want more of the scene to appear sharp. Before each shot, choose the detail you want in focus. Afterward, check what stayed sharp and what fell outside the focus zone. Keep notes on the settings and position you used, so you can repeat a result or make a deliberate adjustment next time.
When can guided practice help?
It can be hard to tell whether a soft detail comes from focus placement or from a naturally shallow focus zone. In-person feedback can help you notice where the camera focused and how changing aperture affected the image. Pictorial teaches photography through hands-on courses in small groups of up to three participants, giving learners room to practise and ask questions.
Students can use their own camera or borrow a complimentary camera provided by the school. If you plan to borrow one, check the current arrangements with Pictorial before enrolling.
A calm next step for learning camera control
Confidence grows through repeated observation, not through getting every setting right on the first try. Take the same approach from scene to scene: choose the focus point, make one adjustment, and look closely at what changed. Over time, you’ll become more comfortable deciding when to keep more of a scene sharp and when to let parts of it soften.
Pictorial offers hands-on photography courses for beginner and advanced learners. Options include the Basic Photography CourseBasic Photography Course and Advanced Photography MasterclassAdvanced Photography Masterclass. Choose a course that suits your current experience, then keep practising at a pace that feels manageable.
Take your next photograph with more intention
Depth of field is a focus zone you can shape, not just a way to blur a background. Aperture, your distance from the subject, and focal length all influence what appears sharp, while focus placement helps decide which detail stands out.
Keep the practice simple: choose what you want in focus, make one adjustment, and study the result. Repeat with different scenes as your confidence grows. The more you observe, the easier it becomes to make a photograph feel deliberate.
You don’t need to master every setting at once. Keep experimenting, and each comparison will help you make the next shot with greater confidence.
Frequently Asked Questions
What is depth of field in photography?
Depth of field is the range in a photograph that appears acceptably sharp in front of and behind the point you focus on. It can be narrow or broad, depending on the lens settings and shooting position. Look beyond the focus point and notice how much of the scene also looks sharp.
What is the difference between shallow and deep depth of field?
Shallow depth of field means a smaller range of the image appears sharp, while deep depth of field means more of the scene appears acceptably sharp. A portrait with a distinct subject and a soft background often has shallow depth of field. A landscape with foreground and distant details both looking sharp often has deeper depth of field. The right choice depends on which parts of the scene you want viewers to notice.
How do I get a shallow depth of field?
To create shallower depth of field, try using a wider aperture, such as f/2.8 if your lens allows it, and move closer to your subject. Placing the subject farther from the background can also make it appear more separated. These adjustments work in combination, and the result depends on your lens and framing. Check focus carefully, since a narrow focus zone can leave nearby details soft.
Does a higher f-number increase depth of field?
Generally, yes. A higher f-number, such as f/8 compared with f/2.8, means a narrower aperture and usually brings more of the scene into apparent focus. The smaller opening also lets in less light, so the image may darken unless another exposure setting changes. If needed, adjust shutter speed or ISO, then review the photograph to check both exposure and sharpness.
Can I control depth of field with a phone camera?
Yes, though a phone may offer less direct control over aperture than a dedicated camera. Many phones include Portrait Mode, which uses computational photography to simulate a shallow focus effect and background blur. You can also try moving closer to your subject and increasing the distance between the subject and background. Check the edges of your subject, since software blur may not always separate them perfectly.
Why is only part of my subject in focus?
A shallow focus zone may be the reason, especially if your subject is close to the camera. One detail can be sharp while other parts, positioned farther forward or back, appear soft. First, check whether the camera focused on the detail you intended. If it did, try a narrower aperture to bring more of the subject into apparent focus. If the wrong detail is sharp, adjust your focus point and take another frame.