
How to Photograph in Low Light: Practical Steps for Sharper Photos
What if the first setting you change in low light isn’t ISO? As the light fades, photos can turn blurry, and raising ISO may add grain. If you’re unsure whether to adjust aperture, shutter speed, or ISO, it can feel as though every choice creates a new problem. Learning how to photograph in low light starts with identifying what needs to stay sharp and choosing the trade-off that best suits the scene.
You don’t need the newest camera or one perfect setting to make a clearer photo. First, work out whether blur comes from camera shake, a moving subject, or missed focus. A slower shutter speed can let in more light, but it also gives movement more time to blur. A wider aperture or higher ISO may help, though each has its own compromise.
This guide explains how to choose exposure settings, steady your camera, and make the most of available light, stabilisation, or support. You’ll also find practical focusing steps and ways to practise with the camera or phone you already have.
Key Takeaways
- Learn how to photograph in low light by choosing the exposure trade-off that best fits your subject and scene.
- Check whether softness comes from camera shake, subject movement, or missed focus before changing settings.
- Use aperture, shutter speed, and ISO with a clear idea of what each can improve and what it may affect.
- Steady your camera where practical, but remember that stabilisation won’t freeze a moving subject.
- Build confidence with a simple practice plan that compares a stationary subject with a moving one in the same dim light.
Why Is Low-Light Photography Difficult, and What Makes a Photo Look Blurry?
Low light can make a familiar scene harder to capture clearly, whether you’re photographing indoors, at dusk, or under street lighting. Low-light photography is the practice of making photographs when the available light is limited and exposure choices have a greater effect on brightness, detail, and sharpness. Learning how to photograph in low light begins with diagnosing the problem: the image may be too dark, blurred, out of focus, or affected by more than one of these issues.
A dark exposure means the camera hasn’t recorded enough light to show the scene clearly. Blur has a different cause. The camera may have moved while the shutter was open, the subject may have moved, or focus may have landed on the wrong detail. A photo can be both dark and blurred, so brightening it alone won’t necessarily make it sharp.
How Can You Tell Whether Blur Comes from Camera Shake or Subject Movement?
Camera shake happens when the camera moves during the exposure. Look for softness across much of the frame, including objects that should be still. If the background is relatively sharp but a person’s hand, a passing vehicle, or another moving subject looks smeared, subject movement is more likely.
Before changing settings, inspect a few different details: the background, stationary objects near the subject, and the subject’s edges. If everything looks soft, check how steadily you held the camera and whether focus landed correctly. If only the moving subject is blurred, the exposure may be too long to capture its movement clearly. Your next step depends on whether the subject is still or moving.
Why Do Dim Scenes Challenge Exposure and Focus?
With less light reaching the camera, you may need a longer exposure, a wider aperture, a higher ISO, or a combination of these choices. Each affects the image differently, so there’s no single setting that fixes every dim scene. The overview of Night photography also describes techniques such as long exposures and higher ISO sensitivity, which help explain why these trade-offs matter.
Focusing can be difficult, too. Autofocus may struggle when the subject has little light or contrast, such as a dark jacket against a shadowy wall. It may hesitate or lock onto a brighter detail behind the subject. Try aiming at a clearer edge or area of contrast at the same distance, then check that the detail you intended to focus on is sharp.
Start with a quick diagnosis instead of changing every control at once. Decide whether your subject is moving, check whether the background is sharp, and look for a useful point to focus on. That gives your next adjustment a purpose and makes it easier to tell what helped.
How Should You Balance Aperture, Shutter Speed, and ISO in Low Light?
Think of aperture, shutter speed, and ISO as three ways to manage limited light, each with a different effect on the photo. The best starting point depends on what must stay sharp. A still scene gives you more room to use a longer exposure, while a moving subject usually needs a faster one. To learn how to photograph in low light, protect the most important detail first, then adjust the other controls to make the image bright enough.
| Control | How it helps | Practical trade-off |
|---|---|---|
| Aperture | A wider opening lets in more light. | Less of the scene may stay in focus. |
| Shutter speed | A longer exposure gathers more light. | Camera or subject movement can appear as blur. |
| ISO | A higher setting brightens the image signal. | Image noise may become more visible. |
When Should You Open the Aperture or Raise ISO?
A wider aperture, shown by a lower f-number, can help when you need more light without lengthening the exposure. But it also narrows the depth of field, so less of the scene may appear in focus. For a close-up of one person, that may suit the image. For a group or a scene where foreground and background both matter, check whether enough of the scene will stay in focus before opening the aperture further.
Raising ISO can brighten the exposure while letting you keep a faster shutter speed or a narrower aperture. The trade-off is increased image noise, which may show as grain or rough-looking detail. Adobe’s tips for beginners also discuss aperture and ISO for night photography. Make a small adjustment, then review the important details rather than judging brightness alone.
When Does a Slower Shutter Speed Help, or Cause Blur?
A longer shutter speed lets the camera gather light for more time. That can work for a stationary scene, especially if you can support the camera. A person walking, however, may move during the exposure and appear smeared. If the subject’s movement matters, use a faster shutter speed and consider a wider aperture or higher ISO to compensate.
There’s no universal setting to copy. Take a test frame and check both exposure and sharpness. If the scene is still, try a longer exposure with steady support. If the subject is moving, favour a faster shutter and choose the aperture or ISO trade-off that best preserves the shot.
If you’d like guided practice with camera controls, explore Pictorial’s photography courses as an optional next step.
How Can You Keep Low-Light Photos Sharp Without Relying on One Setting?
Sharpness in dim light depends on managing two kinds of movement: camera movement and subject movement. Image stabilisation, whether built into a camera or lens, can reduce the effect of small camera movements. Stabilisation can steady the camera, but it cannot freeze a moving subject. If a person shifts during a long exposure, you’ll still need to account for that movement, even if the camera is braced.
Think of stability as one part of a wider set of choices. A steady camera may let you use a slower shutter speed for a still scene, while movement in the frame calls for a different approach. The exposure triangle explains how aperture, shutter speed, and ISO work together, but your subject and surroundings should guide which trade-off you make.
Which Simple Camera-Holding Habits Reduce Camera Shake?
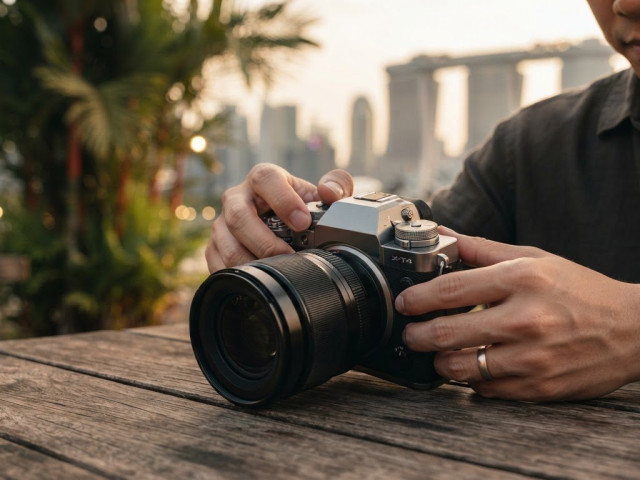
Hold the camera with both hands, keep your elbows close to your body, and support the lens or camera body from underneath. Press the shutter gently instead of jabbing it. If it’s safe and practical, lean against a wall or rest your camera on a stable railing or surface. These adjustments can make handheld shooting steadier without adding equipment.
Take a short sequence of frames, then zoom in on the subject’s important details to check focus and sharpness. One frame may be softer than another, so reviewing a few helps you judge whether your holding position is working. Don’t assume stabilisation has solved the problem. Check for blur in the subject as well as the background.
When Should You Use a Tripod, Burst Mode, or Available Light?
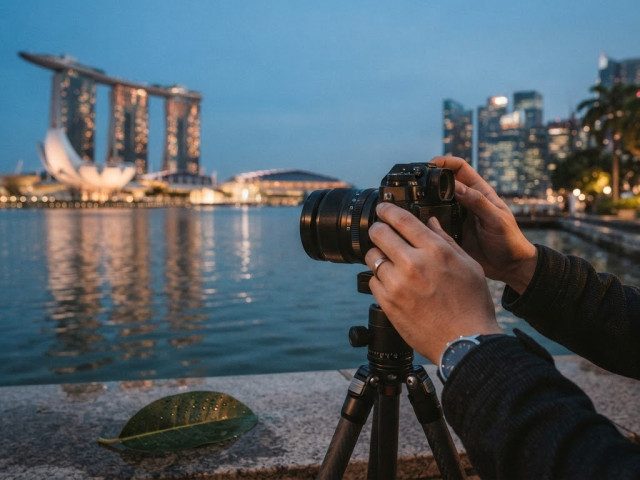
A tripod is useful for a stationary subject when you want to use a longer exposure and can keep the camera still. It won’t prevent a person or vehicle from moving through the frame. For a moving subject, try a faster exposure and look for a brighter angle instead. Moving closer to a lamp, window, or other existing light can make the subject easier to see and focus on.
Burst mode captures several frames in quick succession, giving you more moments to choose from when a subject is moving. It doesn’t guarantee sharpness: individual frames can still show motion blur or missed focus. Keep the camera steady, follow the subject, and review the results at full size. This is a practical starting point for how to photograph in low light without relying on a single setting.
If you’d like to practise camera handling with guidance, explore Pictorial’s photography courses as an optional next step.
What Steps Should You Follow to Photograph in Low Light?
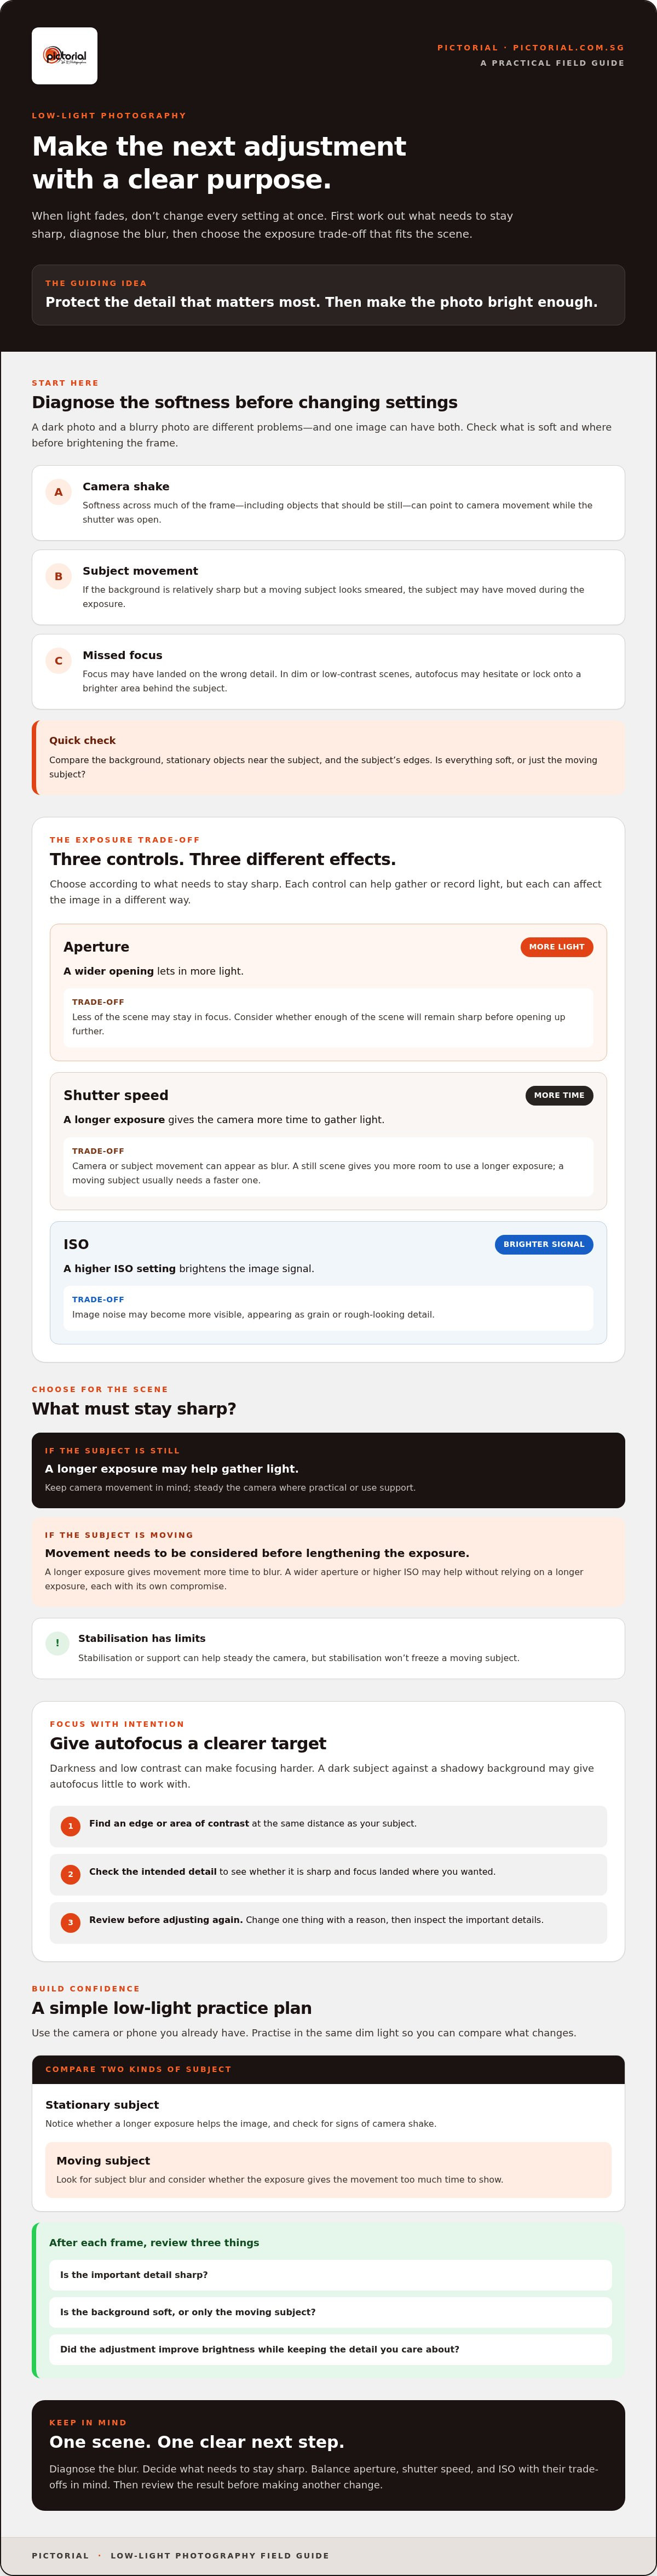
A clear sequence makes dim scenes easier to handle. Before changing settings, decide what needs to stay sharp and what light is available. This gives each adjustment a purpose instead of leaving you to guess at several controls at once.
1. Assess movement, light, and support. Is your subject still, walking, or moving quickly? Notice nearby light sources, such as a window, lamp, or shopfront, and consider whether you can brace the camera or use a tripod. A still subject and a moving person need different exposure priorities.
2. Set your composition and focus point. Frame the scene before adjusting exposure. Choose the subject or detail that matters most, then place your focus point there. In dim light, focus may be less reliable on a plain, dark surface, so look for a nearby edge or area of contrast at the same distance.
3. Choose what matters most in the image. For movement, favour a shutter speed that limits subject blur. If the scene is still, you may have more room to use a longer exposure, especially with support. If you need both foreground and background in focus, avoid opening the aperture more than the scene allows. Each choice protects one quality while requiring you to manage another.
4. Take a test photo and inspect it. Check whether the image is bright enough, then zoom in on the main subject to assess focus and sharpness. Look at stationary details, too. If they’re sharp but a person is blurred, the problem is likely subject movement, not camera shake.
5. Change one control and try again. If the photo is too dark, adjust one exposure control, take another frame, and compare. If the subject is blurred, consider a faster shutter speed. If the whole frame is soft, improve camera support or check focus. Changing one thing at a time helps you see what made a difference.
How Should You Adapt the Workflow to Common Low-Light Scenes?
For a still indoor scene, support the camera and consider how much of the frame you want in focus. For moving people, prioritise limiting subject blur and accept a little more image noise if needed. Outdoors at dusk, look for existing light that can reveal a face or add shape to the scene. Similar choices apply in daylight, too, so compare your decisions with this guide to camera settings for outdoor photography.
Repeat the process rather than searching for one perfect setting. Practising how to photograph in low light becomes more manageable as you learn to identify the main problem and make a deliberate adjustment.
Explore hands-on photography courses
How Can You Practise Low-Light Photography and Build Confidence?
You don’t need special equipment to learn how your camera responds when light is limited. A simple, repeatable exercise can show you how changes affect brightness, focus, sharpness, and atmosphere. The aim isn’t to get a perfect frame straight away. It’s to notice what changed and make your next choice with more confidence.
What Low-Light Exercise Can Beginners Try with Their Current Camera?
Choose a dim setting where the light will stay reasonably consistent, then photograph one stationary subject and one moving subject in the same light. A mug on a table and someone walking through the scene will do. Keep your composition similar and change one exposure choice at a time so you can compare what each adjustment does.
- Start with the stationary subject. Take one frame with the camera supported and another handheld. Try different exposure priorities, such as a wider aperture or a longer exposure, and check which details stay sharp.
- Repeat with a moving subject. Try a faster shutter speed, then compare the subject’s edges and the background. Notice whether the movement is clearer and whether you need another adjustment to maintain brightness.
- Write down what you see. Record the settings and a short note, such as “background sharp, subject blurred” or “more detail in the shadows, but softer focus behind subject.” These observations are more useful than chasing one flawless image.
Review the frames at the same size and compare the details that matter to you. Did the stationary subject benefit from support? Did the faster exposure make the moving subject clearer? Did a change in aperture affect how much of the scene appeared in focus? This comparison helps you understand how to photograph in low light with the camera you already have, instead of relying on settings copied from a different scene.
When Could Hands-On Photography Guidance Help?
Practising alone is a useful start, but guided shooting can help connect a camera control to the change you see in the frame. If you’d like a structured learning option, Pictorial’s Intermediate Photography Course may be worth considering. It includes Night Photography sessions. Review the photography course options to learn more.
Keep building on each practice session by choosing one thing to test, then noting what worked. For broader practice ideas, use a practical guide on how to improve photography skills alongside your low-light exercises. Small, deliberate comparisons build a clearer understanding of exposure and focus, making it easier to adapt when the light or subject changes.
Keep Practising, One Low-Light Choice at a Time
Clearer low-light photos don’t come from one perfect setting. They come from recognising what needs to stay sharp, choosing an exposure trade-off that suits the scene, and checking whether your adjustment helped. A still subject may give you room to steady the camera and use a longer exposure. For a moving subject, limiting motion blur may matter more.
As you practise how to photograph in low light, compare a stationary subject with a moving one in the same dim conditions. Note what changes in sharpness, focus, and atmosphere. Those observations help you make more deliberate choices the next time the light fades.
If you’d like to practise camera controls with hands-on guidance, Pictorial offers photography courses with practical shooting. A complimentary camera loan is included with every course if needed.
Take it step by step. Each frame is a chance to learn, and your confidence will grow with practice. Explore Pictorial’s hands-on photography courses.
Frequently Asked Questions
What is the best camera setting for low-light photography?
There isn’t one best setting for every low-light scene. Start by deciding what needs to stay sharp: choose a shutter speed that suits subject movement, then balance aperture and ISO to get enough light. A wider aperture can help but reduces depth of field, while higher ISO may add visible noise. Take a test frame and adjust one control at a time.
How do I take sharp photos in low light without a tripod?
Hold the camera with both hands, support the lens or body from underneath, and keep your elbows close to your sides. Press the shutter gently. If it’s safe, brace yourself or the camera against a stable wall or railing. When learning how to photograph in low light handheld, take a few frames and inspect the subject’s focus and sharpness before changing settings.
Should I use a high ISO or a slow shutter speed in low light?
Choose based on whether the subject is moving and whether the camera can be supported. A slower shutter speed gathers more light, but movement during the exposure can blur the subject or the whole frame. A higher ISO can let you use a faster shutter speed, though image noise may become more noticeable. For a still, supported scene, a longer exposure may be a reasonable trade-off.
Why are my low-light photos blurry even when the subject is still?
A still subject can look blurry if the camera moved during the exposure or focus landed on the wrong detail. Check whether stationary objects across the frame are soft, then look for a sharper area that may have caught focus instead. Hold the camera more steadily, brace it on a stable surface if available, and focus on a clear edge or area of contrast near your subject.
Can image stabilisation prevent blur in low-light photos?
Image stabilisation can reduce blur caused by small camera movements, which may help when you’re photographing a still subject handheld. It can’t stop a person, animal, or vehicle from moving during the exposure. If the background looks sharp but the subject is smeared, subject movement is likely the issue. Try a faster shutter speed and adjust another exposure control to maintain brightness.
How do I photograph moving subjects in low light?
Use a shutter speed fast enough to limit the subject’s movement, then adjust aperture or ISO to help maintain a usable exposure. Follow the subject smoothly and focus on the detail you want to keep sharp. Burst mode can give you several moments to choose from, but it doesn’t guarantee a sharp frame. Review the results and note which shutter-speed choice worked best.
Is a wide aperture always better for low-light photography?
No. A wider aperture lets in more light, but it also reduces depth of field, so less of the scene may appear in focus. That can suit a single subject when the background can stay soft. For a group or a scene where foreground and background details matter, you may prefer a narrower aperture and compensate with shutter speed or ISO, depending on movement and camera support.

Disclaimer
© Pictorial | All Rights Reserved.