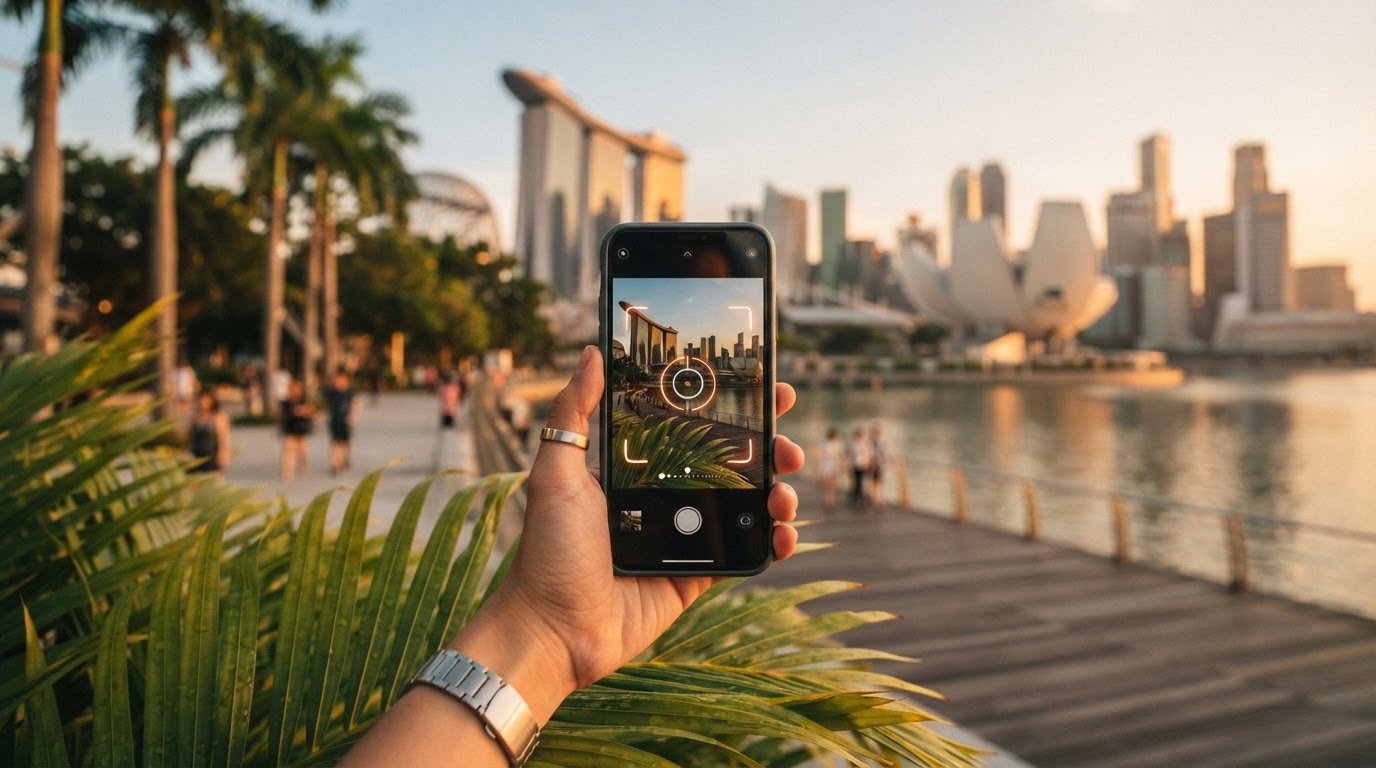

Smartphone Photography Tips: Take Better Photos with Your Phone
What if better phone photos had less to do with buying a new camera and more to do with where you stand and what you notice? If your pictures look ordinary despite having a capable smartphone, you’re not alone. The right smartphone photography tips can help you make more intentional choices without adding gear or relying on heavy editing.
This guide shows you how to work with light and composition, use helpful camera settings and modes, and decide when an app or accessory is useful. You’ll also find a simple way to focus and frame a shot before you press the shutter, so you can get more from the phone you already own.
If you’d like support putting these basics into practice, Pictorial’s Mobile Photography Essentials offers hands-on learning across three sessions of two hours each. It gives you a structured way to build confidence through practical photography.
Key Takeaways
- Use smartphone photography tips to make clearer choices about framing, focus, and the moment you capture.
- Match camera modes to the scene, and understand their limitations before relying on them.
- Practise with everyday subjects by changing one thing at a time, such as your viewpoint or composition.
- Choose self-guided practice or structured learning based on how you prefer to build confidence and skill.
- Explore Mobile Photography Essentials for hands-on guidance across three two-hour sessions.
Smartphone photography tips start with a more intentional way of seeing
You don’t need a newer phone to make a more engaging photo. Start by pausing to notice where the light falls, what catches your attention, and what can be left outside the frame.
Smartphone photography means making deliberate choices with your phone’s camera and its built-in processing. The camera combines recorded light with software that shapes the final image. For background on how this technology developed, explore the history and technology of camera phones.
Light, subject, framing, and timing all affect a picture before editing begins. A bright window can draw attention to a face, while a cluttered background can compete with it. Try shifting your position or waiting for a more expressive moment to give the camera a clearer scene to capture.
Intention shapes a photograph more than extra gear does.
What makes a smartphone photo feel more considered?
Choose one clear subject, such as a cup on a table or a person in a garden. Check the edges of the screen for distractions, then shift position to simplify the background. Notice whether the light is soft, harsh, or coming from behind your subject. A small change in viewpoint, such as crouching to photograph a plant or stepping to one side, can make a familiar subject feel more distinctive.
Which phone-camera features are worth understanding first?
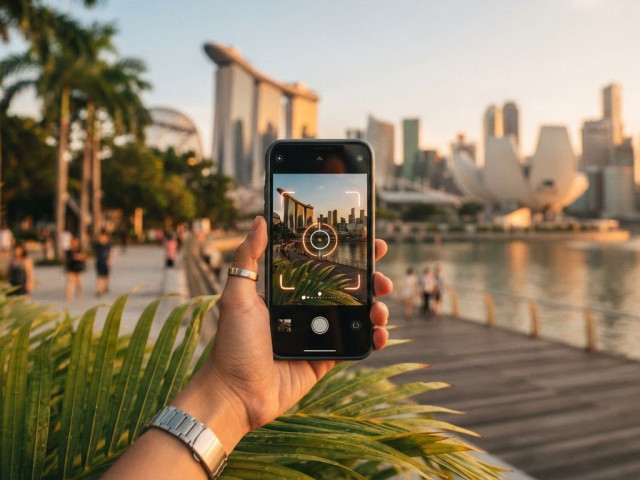
Begin with the main camera view and the lens choices shown on screen. Different lenses change how much of the scene fits in the frame, while digital zoom may reduce detail. A grid can help you place a subject and keep horizons level. Tap the screen to choose what should be in focus. If the image looks too bright or dark, use the exposure control to adjust its brightness before taking the photo.
HDR, or high dynamic range, can help the camera balance bright and dark areas in some scenes. It may be useful when a bright sky sits behind a darker subject, though results vary by scene and phone. Feature names and controls differ by model and operating system, so take time to explore the basic camera screen. Advanced manual controls and specialist capture formats can wait. Learning to frame, focus, and judge brightness gives you useful control without a crowded menu.
A simple smartphone photography workflow for composing and capturing
A repeatable routine can make taking photos feel less rushed. Use the same small steps each time, then adjust one thing if the result doesn’t match what you saw.
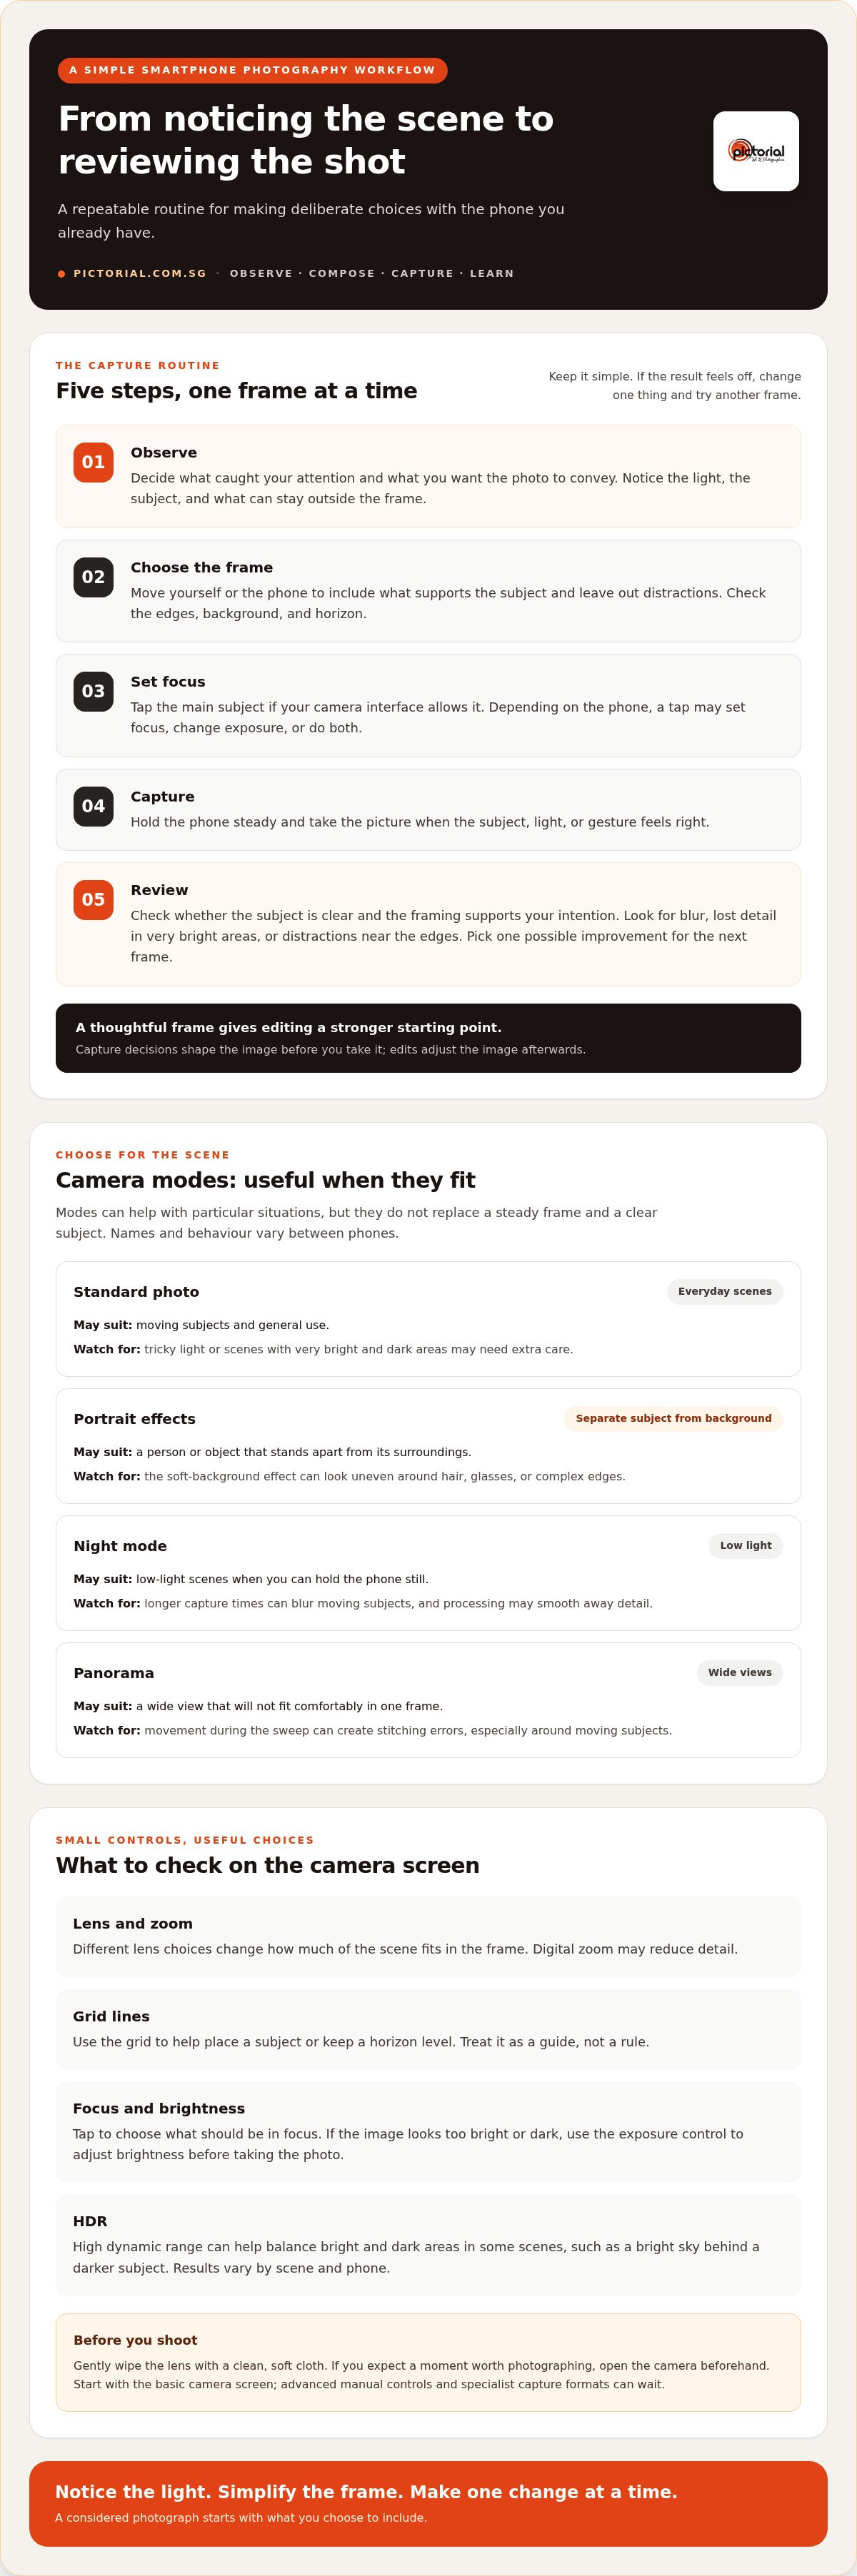
- Observe: Decide what caught your attention and what you want the photo to convey.
- Choose the frame: Move the phone or yourself to include what supports the subject and leave out what distracts.
- Set focus: Tap the main subject if your camera interface allows it. Some phones also let you adjust brightness near the focus point.
- Capture: Hold the phone steady and take the picture when the subject, light, or gesture feels right.
- Review: Check the photo, identify one possible improvement, and try another frame if the moment allows.
Focus and brightness controls vary by phone model and camera app. A tap may set focus, change exposure, or do both, so test it on a still subject and notice how your screen responds. Keep the adjustment simple at first. You’re learning to guide the camera, not master every setting at once.
How should you prepare a phone before taking a photo?
Gently wipe the lens with a clean, soft cloth, then check the view for distracting objects or edges. If you expect a moment worth photographing, open the camera beforehand so you’re ready without fumbling. Grid lines can help you spot a tilted horizon or place a subject with care. Use them as a guide, not a rule.
How can you review a photo and learn from it?
Check whether the subject is clear and the framing supports your intention. Then look for blur, very bright areas with lost detail, or distractions near the edges. These are clues, not signs that you’ve failed. Focus your review on one change, such as holding the phone steadier or shifting the frame slightly, and compare the next image. For more foundational ideas, explore smartphone photography tips from Adobe.
Capture decisions shape the image before you take it; edits adjust the image afterwards. Both can play a part, but a thoughtful frame gives you a stronger starting point. For structured, hands-on practice with your phone, Mobile Photography Essentials provides guided learning.
Compare smartphone camera modes, apps, and accessories by what you need
Camera modes can help with particular scenes, but they don’t replace a steady frame and a clear subject. Use the simplest option that suits the moment, then check the result rather than assuming the mode has captured every detail accurately. Names and behaviour vary between phones.
| Mode | May suit | Limitation to watch for |
|---|---|---|
| Standard photo | Everyday scenes, moving subjects, and general use | It may need help from you in tricky light or when the scene has very bright and dark areas. |
| Portrait effects | A person or object that stands apart from its background | The soft-background effect can look uneven around hair, glasses, or complex edges. |
| Night mode | Low-light scenes where you can hold the phone still | Longer capture times can blur moving people or objects, and processing may smooth away detail. |
| Panorama | A wide view that won’t fit comfortably in one frame | Movement during the sweep can create stitching errors, especially around moving subjects. |
When should you use built-in camera modes?
Portrait effects can help separate a subject from its surroundings, but the camera may misread fine edges. Night modes combine image processing with a longer capture, so results depend on the scene, movement, and phone. After using either mode, enlarge the photo and look for artificial-looking edges, softened textures, or missed detail. Treat a mode as a useful option, not a guarantee.
Do smartphone photographers need extra apps or accessories?
Start with the camera and editing controls already on your phone. Built-in tools are often enough for basic adjustments such as cropping, straightening, or changing brightness. A third-party editing app may offer more control, but extra options can add steps without improving every picture. Try one when you can identify something you want to do that your current tools don’t handle comfortably. For another perspective on composition and light, see these travel photography tips for your phone.
A small support or grip can help with a panorama, low-light photography, or keeping the phone steady. It’s optional, not a requirement for compelling photos. Learn the default camera controls first, then consider an accessory only if it solves a problem you’ve noticed in your own pictures. Smartphone photography tips work best when each feature has a clear purpose, rather than becoming another setting to manage.
Build a smartphone photography practice plan that fits everyday life
You don’t need a special location or a long practice session to improve. Everyday subjects, such as a cup, a plant, or a familiar walkway, give you plenty to work with. Keep the exercise simple: choose one subject, make a few frames, and change one thing at a time. That way, you can see what each choice does.
What beginner exercises make phone photography easier to practise?
Try this sequence with a subject close at hand:
- Change your viewpoint: Photograph the same subject from standing height, then from lower down or from the side. Compare how the background and sense of shape change.
- Vary the framing: Keep your position and subject consistent, but make one frame wider and another tighter. Notice which version directs attention more clearly.
- Make a before-and-after pair: Choose one intentional adjustment, such as moving to simplify the background, then take another photo. Compare the two for that change, not for perfection.
These exercises turn smartphone photography tips into practical experiments. You’re not trying to make every frame a keeper. You’re learning to connect a decision, such as stepping closer, with the result you see on screen.
How can you keep improving without getting overwhelmed?
Give each practice session one focus, such as viewpoint or framing, rather than changing every setting at once. Keep a small selection of images you like and note what helped. Perhaps the subject stood out against a quieter background, or a lower angle made the scene more interesting. When reviewing a few photos together, look for patterns. Are the same distractions appearing at the edges? Do certain frames feel clearer? These observations give you a useful next step.
For more ideas on building photography skills through regular practice, read our practical photography skill-building advice. If you’d prefer a structured way to practise with a phone you already own, Pictorial’s Mobile Photography Essentials is a hands-on course with three sessions of two hours each.
Explore Mobile Photography Essentials
When smartphone photography tips are enough, and when guided learning helps
Trying smartphone photography tips on your own can be a good way to build confidence. Practise at your own pace, revisit a technique, and notice what works with the phone you already have. If you’re comfortable setting your own goals and learning through trial and review, independent practice may be all you need for now.
Advice can also be easier to put into practice when you can work through it with guidance. A suggestion such as “try a different angle” becomes more useful when you can test how that change affects the frame. Your progress depends on your starting point, what you practise, and how you prefer to learn. A course provides structure, but it can’t promise a particular result.
What can a mobile photography course add to independent practice?
With independent practice, you choose what to explore and when. Guided learning gives you a structured way to work through techniques and ask questions as they arise. This can help if you’re unsure which adjustments to try or find it difficult to translate general advice into decisions while taking a photo.
Pictorial’s Mobile Photography Essentials is a structured course for phone users, with three sessions of two hours each. Its practical, hands-on approach gives learners a setting to work with photography techniques while using the smartphone they already own.
What is a sensible next step if you want more guidance?
Consider how you learn best. If you enjoy experimenting alone, choose one aspect of your photography to practise and review your results. If you’d rather have a set structure and guidance as you work through techniques, a course may suit your preference. Neither route is the only right one. Choose the approach that makes practice feel manageable and relevant to your goals.
You can keep using the ideas in this guide on your own, or take a structured course for more support. Choose the next step when it feels useful and at a pace that works for you.
Explore Pictorial’s photography courses
Make your next phone photo more intentional
Better photos often begin before you tap the shutter. Pause to notice the subject, light, and background, then choose a frame that supports what you want to show. A simple routine of observing, composing, focusing, capturing, and reviewing can help you make more considered choices without changing phones or buying extra gear.
Use smartphone photography tips as a starting point, not a checklist you have to master all at once. Try a camera mode when it suits the scene, and practise by changing one choice at a time. Reviewing a few images can help you spot what’s working and decide what to try next.
If you’d value a structured way to practise, Pictorial’s Mobile Photography Essentials offers hands-on photography learning across three sessions of two hours each. You can also keep practising independently with the phone you already own. Either way, patient practice gives you another chance to learn with each thoughtful frame.
Start with the next moment that catches your eye. Your phone is ready, and so are you.
Frequently Asked Questions
How can I take better photos with my smartphone?
Decide what you want the photo to show, then simplify the frame around that subject. Notice where the light is coming from and try a different position if the background feels distracting. Tap your subject to focus if your camera allows it, hold the phone steady, and review the result. These smartphone photography tips work best when you practise one change at a time.
Which smartphone camera settings should I use for everyday photos?
For everyday scenes, start with standard photo mode and leave advanced controls alone until you have a reason to use them. Turn on grid lines if they help you keep horizons level or arrange the frame. Tap the subject to set focus, and adjust brightness if your phone offers that control. Camera features and their names vary by model, so learn the basic controls on your own device first.
Do I need a special app to take good smartphone photos?
No. Your phone’s camera and built-in editing tools are a sensible place to start. They may be enough for simple tasks such as cropping, straightening, or adjusting brightness. A separate app can help if you want a particular control that your existing tools don’t provide, but more features don’t automatically make a stronger photo. Learn what your default camera can do, then decide whether another app would improve your workflow.
Can I take good photos with my smartphone without buying accessories?
Yes. You can make thoughtful photos with the phone you already own by paying attention to the subject, light, framing, and steadiness. Accessories such as a support or grip may help in specific situations, but they aren’t prerequisites. Before considering extra equipment, practise changing your viewpoint or simplifying the frame. These small decisions can help you understand what you want from a photo without adding another tool to manage.
Why do my smartphone photos look blurry or different from what I saw?
Blur can happen if the phone or subject moves during capture, or if the camera focuses on the wrong part of the scene. A smudged lens can also soften an image. Photos may look different because the phone processes colour, brightness, and contrast after capture. Gently clean the lens, tap the main subject to focus, and hold the phone steady. Review the image closely to identify what changed.
Is a smartphone photography course useful for beginners?
A course can be useful if you’d like structure, practical guidance, and a chance to work through questions as you learn. Independent practice may suit you if you prefer setting your own pace and learning by reviewing your photos. Neither approach guarantees a particular result. Your progress depends on your starting point, what you practise, and the way you learn best, so choose the format that feels manageable and relevant to your goals.
What is included in Pictorial’s Mobile Photography Essentials course?
Mobile Photography Essentials is a hands-on course for mobile photography learners, structured as three sessions of two hours each. You can use the techniques you learn with your current smartphone and apply them to your own photography practice.

Disclaimer
© Pictorial | All Rights Reserved.