
Street Photography Tips for Beginners: Make the Most of Light
A street photograph can begin with a patch of light, not a perfect camera. Street photography is about noticing everyday life in public spaces and framing its people, gestures, patterns, and surroundings. The most useful street photography tips for beginners are to watch the light, keep your camera ready, and wait for a moment that gives the scene meaning.
It’s normal to feel unsure about when to raise your camera or what to photograph. Start by observing how sunlight, shade, and reflections change a street’s appearance. You don’t need to rush or chase every passing moment.
This guide explains what street photography is and how to work with changing light, fleeting moments, and small urban details. You’ll also find lessons to draw from master photographers, with practical ideas you can try on a walk through Singapore. With patient observation and a little practice, ordinary scenes can become photographs worth keeping.
Key Takeaways
- Start with a simple camera setup and one consistent focal length so you can learn how the frame responds to where you stand.
- Watch how light falls across a street, then use bright windows, reflections, and shadows to build contrast or shape a silhouette.
- Keep your camera ready and wait for a gesture or passer-by to complete the scene instead of rushing the shutter.
- Look for repeating lines, small urban details, and layered backgrounds that can turn an ordinary street into a stronger composition.
- Study how photographers such as Fan Ho and Saul Leiter used their surroundings, then borrow one idea to try on your next walk.
1. Why keep your camera out after sunset?
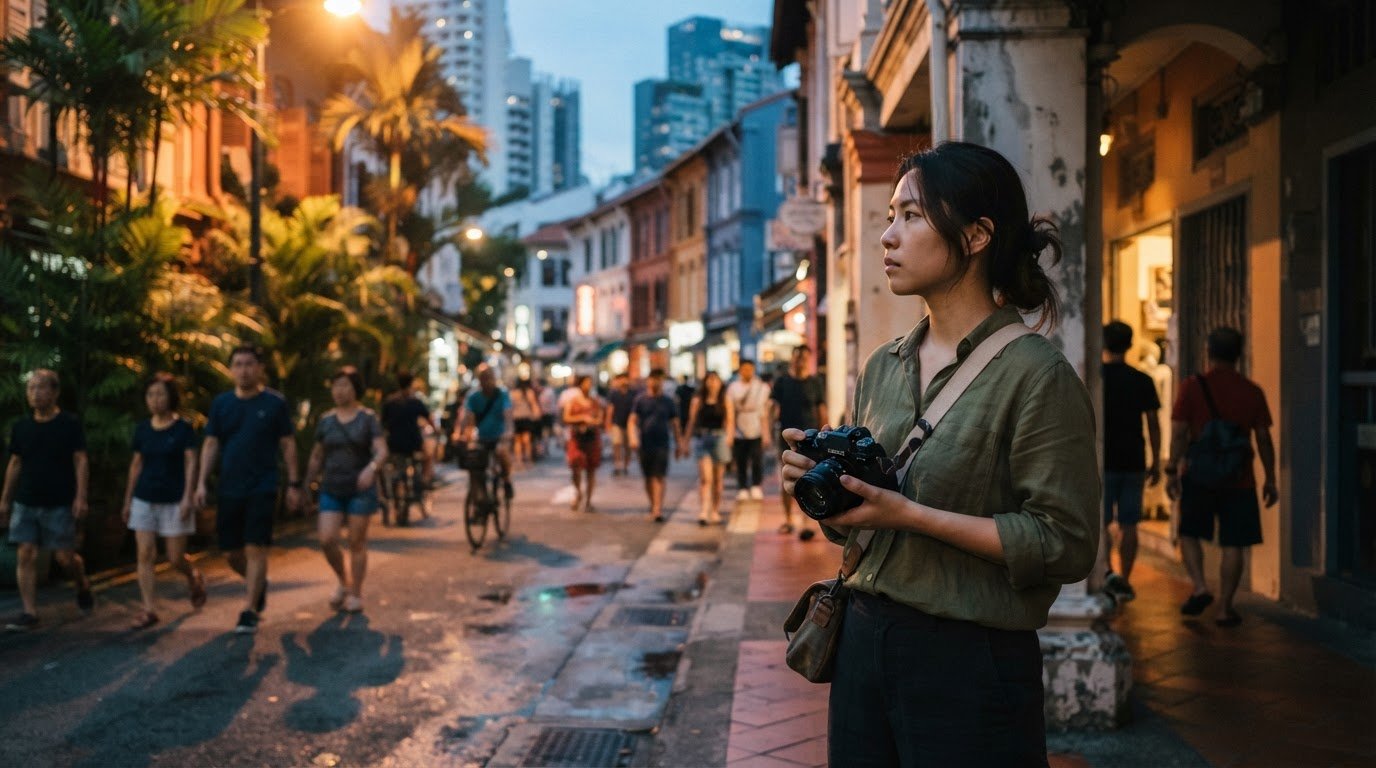
After sunset, Singapore’s streets offer more than less light. Blue-hour skies, illuminated shopfronts, and reflections in glass can turn familiar routes into fresh scenes. Keep shooting as daylight fades; changing light gives you new backgrounds and colour to work with. A compact camera or smartphone makes it easier to stay ready without carrying a complicated kit.
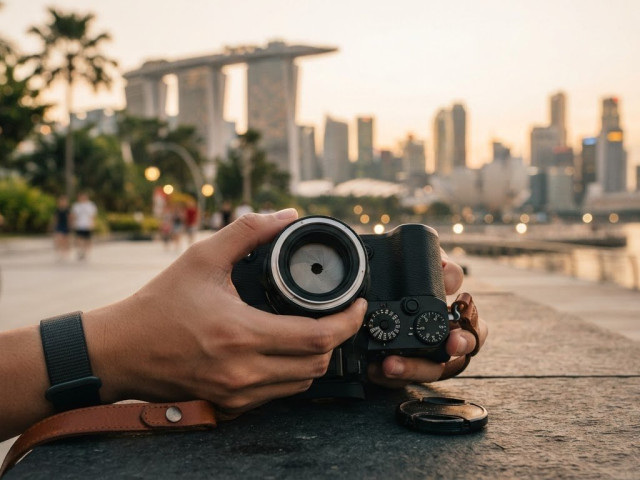
For a dedicated camera, a 28–35mm equivalent lens is a practical starting range. A 35mm view gives you room to include a subject and its surroundings, while 28mm captures more street context. With a cropped-sensor camera, 23mm and 50mm prime lenses are also useful options. Choose one focal length and practise framing with it, so you learn where to stand before raising the camera.
You don’t need to spend a set amount on gear. Start with a smartphone or camera you already own, and spend only if a specific limitation gets in the way of the pictures you want to make. A simple setup also keeps decisions manageable; extra lenses can distract you when a brief moment appears.
Make your equipment easy to use. Set your preferred shooting mode and exposure settings before heading out, then practise changing key controls by touch. Keep the camera close to your body as you walk, secured with a strap or in a small bag that won’t swing around. Keep a phone accessible in a pocket for quick, quiet use.
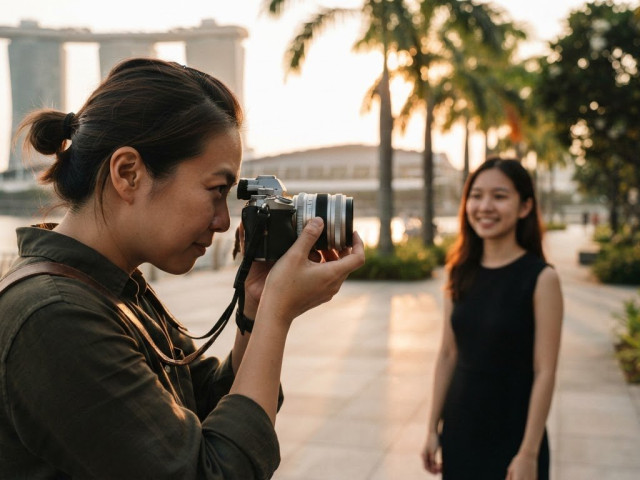
For candid photographs, take a thoughtful approach and be considerate of people around you. Photograph public scenes without blocking anyone’s path, and ask before making someone the clear subject. If a person objects, lower your camera and move on. A quiet camera and relaxed posture can help you work without drawing unnecessary attention.
The best time depends on the light you want. Try late afternoon for long shadows, then stay out after sunset for blue-hour and nighttime scenes. In dim light, steady your camera against a wall or railing. A slower shutter can show movement, but people who are moving may blur.
Stay aware of your surroundings as you compose. Keep your camera secured when you aren’t shooting, avoid stepping into traffic, and choose well-lit routes where you can move freely. Use a lens cap between photographs, and keep a firm grip in crowded places.
Learning how ISO, aperture, and shutter speed respond to fading light makes these choices easier; a beginner photography course can help you practise those camera basics. Once you know your settings, you can spend more attention on the scene instead of the controls.
2. How do light and shadows elevate a street shot?
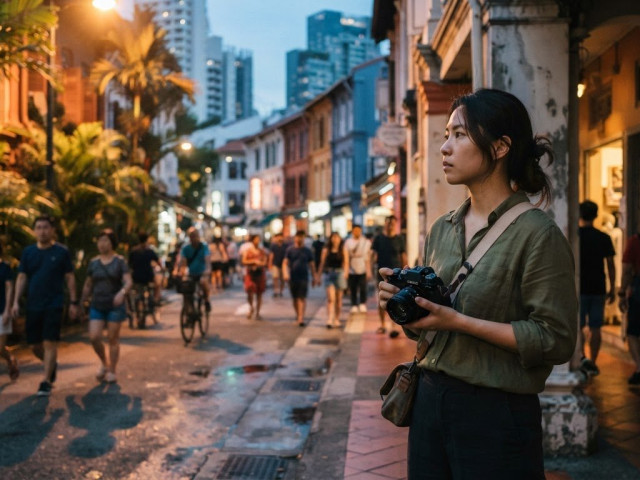
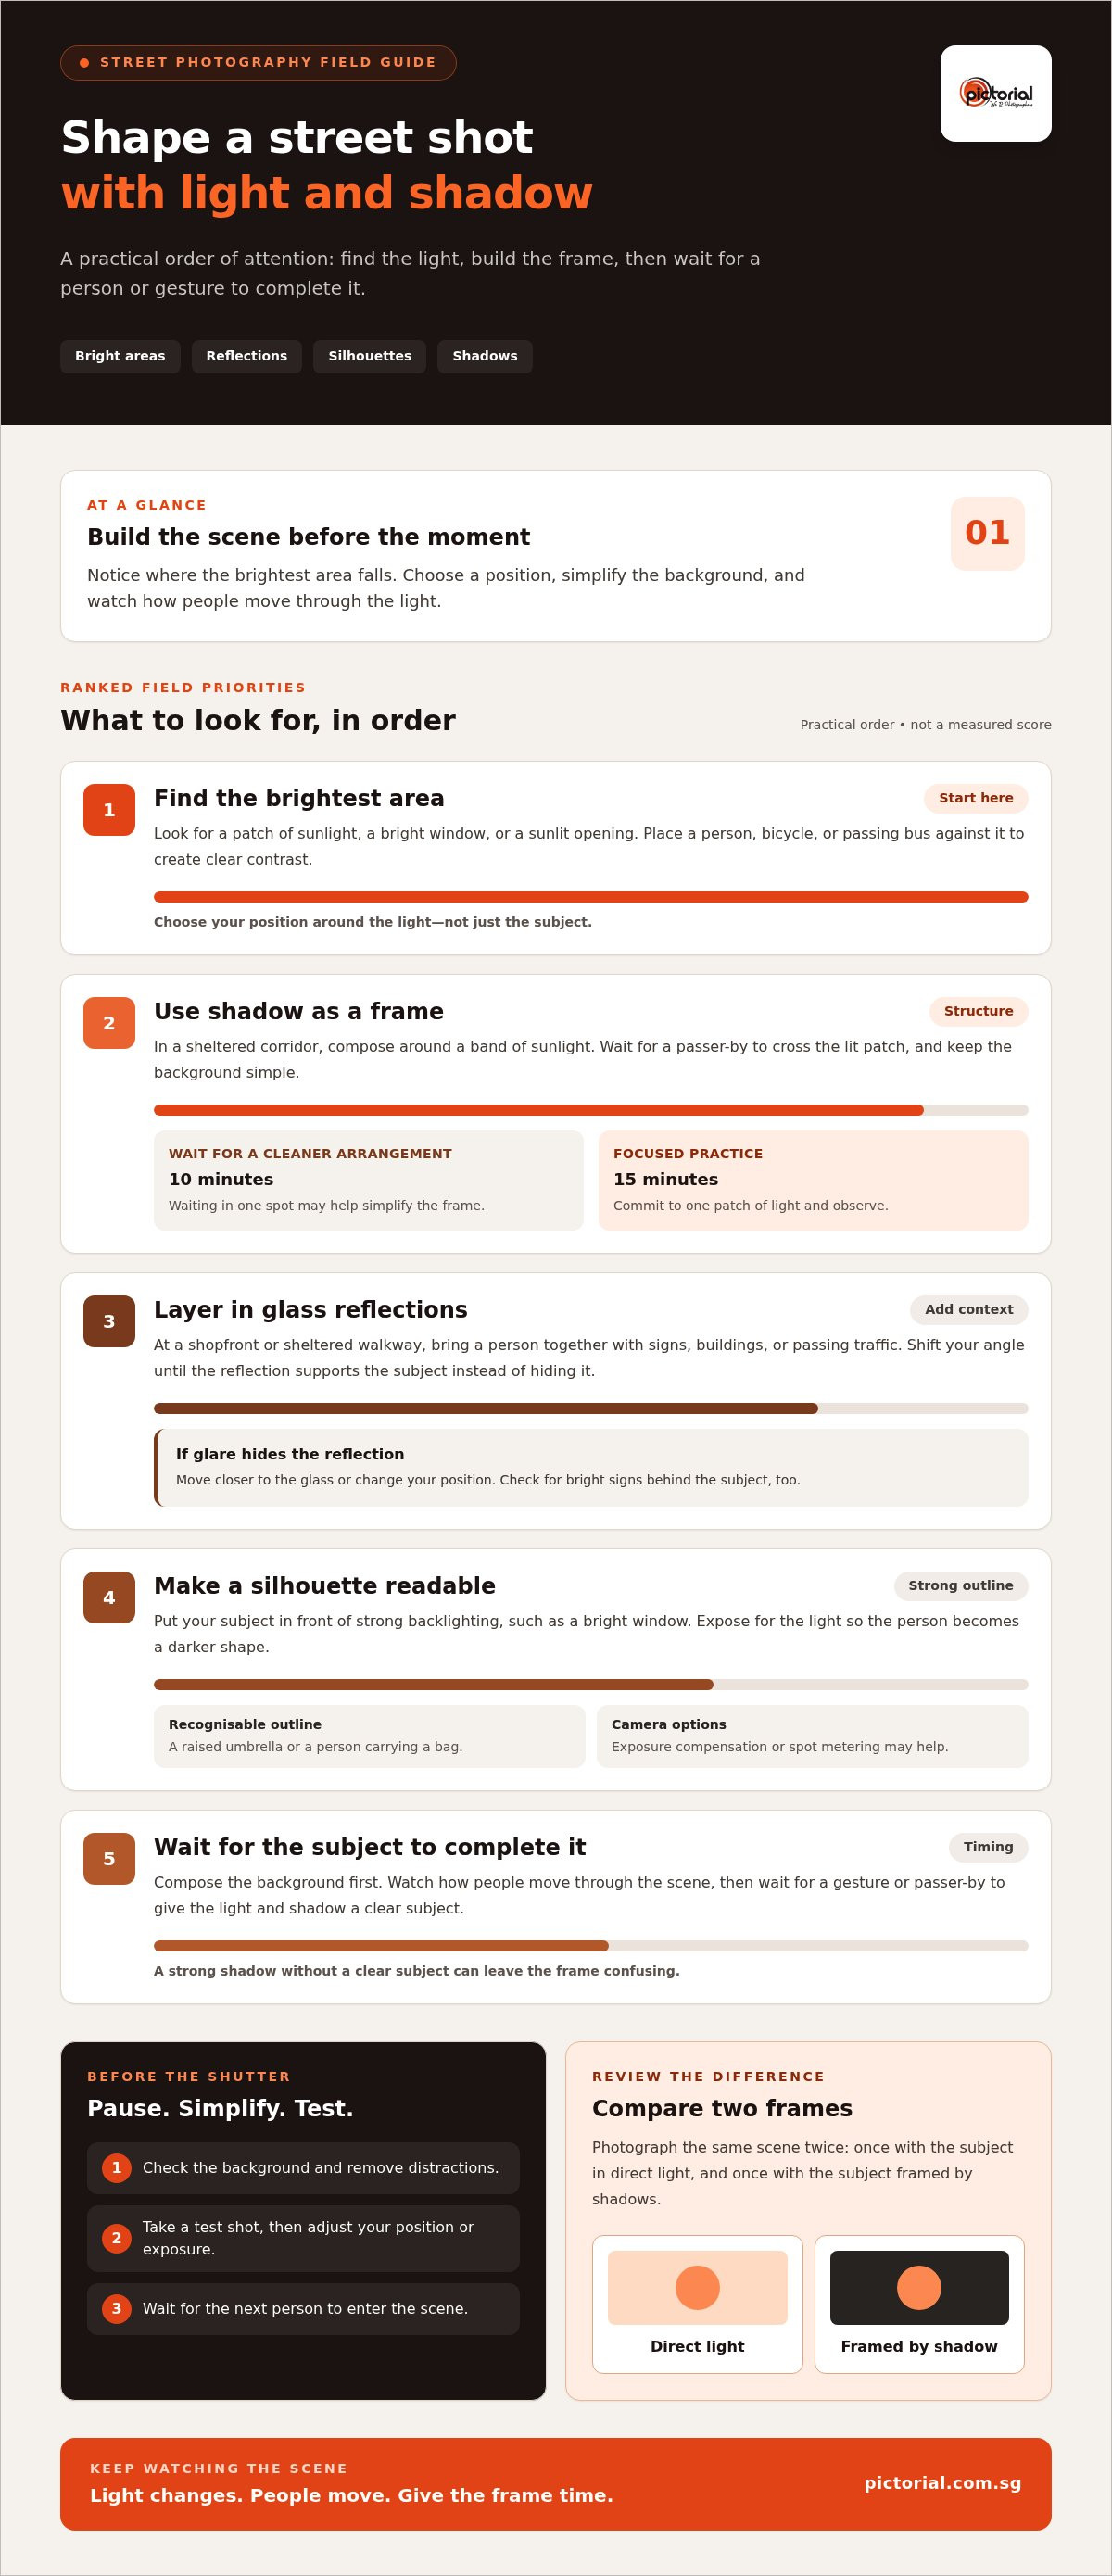
Light can give a familiar Singapore street a clear subject and mood. Start by noticing where the brightest area falls, then choose a position that puts a person, bicycle, or passing bus against it. A shaded walkway beside a sunlit road creates contrast without requiring special equipment. Watch the scene for a moment before shooting, because clouds and moving people can change the balance.
Glass adds another layer to a composition. At a shopfront or sheltered walkway, look for reflections that bring a person together with signs, buildings, or passing traffic. Shift your angle until the reflection supports the subject instead of obscuring it. If glare hides the reflection, move closer to the glass or change your position. Check the background, too: a bright sign behind someone’s head can pull attention away.
For a silhouette, place your subject in front of strong backlighting, such as a bright window or sunlit opening. Expose for the light source so the person becomes a darker shape. Exposure compensation or spot metering may help, depending on your camera’s settings. Look for a recognisable outline, such as a raised umbrella or a person carrying a bag, so the silhouette still tells a story.
Shadows can create direction and structure. In a sheltered corridor, use a band of sunlight as a natural frame, then wait for a passer-by to cross it. Compose the background first and watch how people move through the patch of light. Waiting in one spot for 10 minutes may give you a cleaner arrangement; try committing to one patch of light for 15 minutes as a focused practice exercise.
A common mistake is to shoot as soon as you notice bright light, without checking the background or waiting for a subject. Pause, simplify the frame, and take a test shot. Then adjust your position or exposure before the next person enters the scene. Don’t rely on contrast alone: a strong shadow without a clear subject can leave the composition confusing.
Be respectful when photographing people near windows, cafés, or sheltered walkways. A space that looks public may still be private property, so ask permission before entering private property or someone’s yard. If a person objects, lower your camera and move on. To review your approach, compare two frames of the same scene: one with the subject in direct light and another with the subject framed by shadows.
3. How do you capture those quirky, once-in-a-lifetime street moments?
A decisive moment often comes from several ordinary details lining up. On a Singapore sidewalk, a passer-by’s gesture might echo a sign, railing, or shadow. Give yourself time to notice these connections instead of walking with your camera pointed constantly ahead. One photographer describes needing 30 minutes of shooting before photographic opportunities start to stand out. Keep looking, and familiar surroundings begin to offer more possibilities.
Patterns can help you spot a promising frame before the moment happens. Look for repeating windows, tiled walls, queues, or people moving in the same direction. Then watch for a face, hand, or unusual object that could break the pattern. For example, someone glancing out from a bus window can add a human detail to repeating reflections. Check the frame edges, too, so signs or passing shoulders don’t distract from the moment.
Choose a scene and work it instead of taking one photograph and immediately moving on. Find a background with a clear shape or pattern, stand where people naturally pass, and keep your camera ready. Leave it switched on with the lens cap off so you can respond without fumbling. Watch how the scene changes as people enter, turn, pause, or exchange a glance.
Timing matters. Watch for a step, expression, or hand movement that completes your composition, then press the shutter at that instant. If a promising scene continues, Eric Kim recommends taking 10–30 photos when possible. Henri Cartier-Bresson took 20+ photos of a single scene when he found it interesting enough. Those examples encourage persistence, not indiscriminate shooting: adjust your framing as the action unfolds.
Try a focused practice walk with a limit of 36 frames. Choose one visual idea, such as matching gestures or faces framed by windows, and look for variations. Afterward, review the contact sheet and select five photographs that carry a clear story. Ask what changed between frames: a glance, a step, or the alignment of background details. This review helps you understand which moment made the image work.
Keep your attention on people as well as the frame. In a crowded Singapore walkway, avoid blocking someone’s path while waiting for a gesture. If a person notices you and objects, lower the camera and move on respectfully. A candid image should show an observed moment, not pressure someone into performing. Patient walking, careful framing, and a clear reason for each exposure help you capture images with more intention.
4. Focusing on details and urban landscapes
Street photographs don’t need a face to hold attention. In Singapore, look for details such as a patterned HDB corridor wall, a rain-darkened pavement, or a row of shop signs. Place one clear feature in the foreground, then check whether the background adds context or competes with it. A passing stranger can give a large urban scene scale, while a doorway or railing can frame the picture.
Zone focusing helps you prepare for candid scenes without waiting for autofocus. Set a focus distance in advance, then use an aperture of f/8.0 or greater to increase the depth of field. This keeps a broader area acceptably sharp, so you can react as someone enters your chosen space. It’s useful when the decisive moment may pass before you can move a focus point.
For a starting point, street photographers commonly set zone focus around 8 to 10 feet. In a very busy scene, a closer range of 5 to 6 feet may suit subjects passing nearby. Treat these distances as practical starting settings, not a substitute for testing your camera and lens. Focus distance, aperture, and subject placement all affect which parts of the scene appear sharp.
Try the method on a quiet walkway before using it among strangers. Choose a fixed point, such as a tiled column, set focus for that distance, and photograph someone passing through the area. Review the image, then adjust your focus distance if the person appears soft. Practising this sequence makes it easier to release the shutter at the right moment instead of searching through menus.
Single-point autofocus gives you control when a detail needs precise focus. Select one focus point and place it over a subject’s eye, a hand holding a cup, or a distinctive sign. This works well for a still scene or carefully framed detail, while zone focusing is often quicker for people moving through a set area. Choose according to how quickly the subject changes position.
Urban landscapes also benefit from deliberate focus placement. In a long HDB corridor, decide whether the nearest railing, a person farther away, or the repeating doorways should appear sharpest. If you want both foreground and background detail, use a deeper depth of field and keep the important elements within it. Check the result on your camera screen, then shift your position to simplify the composition.
Before taking candid photographs, set the focus mode and shutter controls you need, then keep your camera ready. Pre-focusing can reduce delays, but it doesn’t replace respect for people. Give strangers room, avoid blocking a walkway, and lower the camera if someone objects. A calm approach helps you make thoughtful photographs while staying aware of the public space around you.
5. Learning from master photographers
Studying master photographers can train your eye, not just introduce famous images. Fan Ho photographed everyday life in Hong Kong during the 1950s and 1960s. Look at how he arranged people, architecture, and light within a frame. Then choose a Singapore street and notice where a similar balance might happen naturally, without staging the scene.
Saul Leiter offers a different lesson. He frequently used a 150mm lens, creating photographs where glass, reflections, and foreground shapes partly veil his subjects. Study how an object near the camera can frame someone farther away. On a walk, try observing through a shop window or past a bus shelter, and look for layers that give the picture depth.
Don’t copy a master photographer’s equipment or exact compositions. Instead, ask what each choice does: where does the eye land, what is hidden, and how does the background support the subject? Compare a photograph by Fan Ho with one by Leiter. Notice how their different ways of seeing turn ordinary surroundings into deliberate images.
Turn that observation into a field exercise. Choose a visual idea from a photograph, such as a person framed by a doorway or a subject partly obscured by glass. Find a public setting in Singapore where that arrangement could happen, then wait and watch. Keep your shutter ready, but let people move naturally through the frame. The ground, light, and passing subjects will shape the result.
For a practical review, choose an image you admire and describe its composition in plain words. Note the subject’s position, the foreground, and the direction of the light. Make your own photograph using one of those ideas, then compare the images for framing and timing. This turns looking into practice while keeping your own surroundings and point of view at the centre.
When photographing strangers, be respectful: ask before making someone the clear subject, and stop if they object. Ask permission before photographing on private land or in someone’s yard. In a public street, leave space for people to pass and don’t treat someone’s discomfort as part of the picture.
Master photographers show that decisive images come from attention, not imitation. Their work can help you notice how a scene is built, while your own walks teach you what might happen next. Apply one lesson at a time, and let repeated observation guide your choices of framing, subjects, and shutter speed.
Explore photography masterclasses
Pictorial: Photography Starter Session
Pictorial’s Photography Starter Session gives beginners practical guidance in camera basics and outdoor shooting. It’s a helpful next step if changing light, focus, or exposure settings feels difficult to manage alone. In small groups of up to three participants, you can practise using ISO, aperture, and shutter speed with personalised guidance. Bring your own camera or use a complimentary loan camera.
As you practise outdoors, apply the ideas in this guide to real scenes, from finding a clean background to responding when a moment unfolds. The hands-on format connects camera controls with the choices you make while composing a street photograph. For support building those foundations, contact Pictorial about the Photography Starter Session.
Take your next photograph with intention
Your next step doesn’t need to be a long outing or a new camera. Choose a familiar route in Singapore and give yourself one simple aim, such as noticing how people interact with the spaces around them. Reviewing a few frames afterwards can help you see which choices feel most like your own. That steady practice is what turns street photography tips for beginners into a personal way of seeing.
If you’d like guidance as you build your skills, Pictorial offers the Photography Starter Session, Intermediate Photography Course, and Mobile Photography Essentials. Choose the course that fits how you like to shoot and what you want to practise next.
Keep observing, stay curious, and let each walk teach you something new. Your way of seeing the street will grow one considered frame at a time.
Frequently Asked Questions
What is street photography?
Street photography captures everyday life in public spaces, using real scenes rather than arranged setups. A wet bus stop, a busy market walkway, or a quiet moment beside a café can all offer material. The photographer chooses what to include and when to release the shutter. The subject might be a person, a place, or the way people and their surroundings meet in one frame.
How can you overcome fear and confidently photograph strangers?
Begin with scenes where people aren’t the main subject, such as commuters crossing a plaza. This lets you practise holding the camera and framing without feeling that every stranger is watching. If you want to make someone the clear subject, approach calmly, explain your intention, and ask permission. If they decline or seem uncomfortable, thank them and move on. Confidence grows through small, respectful interactions.
How do light and shadows elevate a street shot?
Light and shadow guide the eye by separating a subject from surrounding details. In a covered walkway, for example, a bright strip on the floor can lead the eye towards a person entering the frame. Before taking the picture, check whether dark areas hide important details or simplify the scene. Adjust your position to change how walls, windows, and people overlap, then compare the framing.
How do you capture those quirky, once-in-a-lifetime street moments?
Look for small combinations that create a visual joke or surprise, such as a person’s pose echoing a shop sign. Find a background that could support a moment, then watch how people move through it. Keep your camera ready and take a short sequence as the scene changes. Later, compare the frames to find the clearest expression, gesture, and relationship between subject and surroundings.
When does stepping into the action beat staying on the sidelines?
Move closer when distance makes the frame feel crowded or disconnects the subject from the scene. At a street market, stepping nearer to a stall can link a vendor’s hands with the nearby produce. Keep enough space to avoid interrupting people or blocking their route. If someone reacts negatively, step back or leave. A closer viewpoint works best when it improves the picture without pressuring its subjects.
Why keep your camera out after sunset?
After sunset, shop lighting and illuminated signs can become the main shapes in a photograph. Try framing a pedestrian beneath a bright awning, or use a reflection in a lit window to add another layer. At dusk and night, ISO 3200–6400 is one suggested range for street photography. Check the result as you shoot, since the balance between detail, noise, and motion depends on the scene.
What camera and lens are best for beginner street photography?
The best starting camera is one you can carry comfortably and operate without delay. A smartphone is enough to begin; a dedicated camera can use a 28–35mm-equivalent prime lens for a natural balance of subject and surroundings. For anyone collecting street photography tips for beginners, choosing a camera you already understand is a practical first step. Take a familiar route and notice what limits your framing before considering new equipment.
What camera settings should beginners use for street photography?
For a straightforward starting setup, try aperture-priority mode at f/8 and set ISO to Auto with a maximum limit chosen before your walk. For moving subjects, a shutter speed of 1/250 second or faster can help freeze action. These street photography tips for beginners are a starting point, not a fixed recipe. In dimmer light, check whether the subject remains sharp, then adjust one setting at a time as conditions change.

Disclaimer
© Pictorial | All Rights Reserved.