
Travel Photography Tips: A Field Guide for Beginners 2026
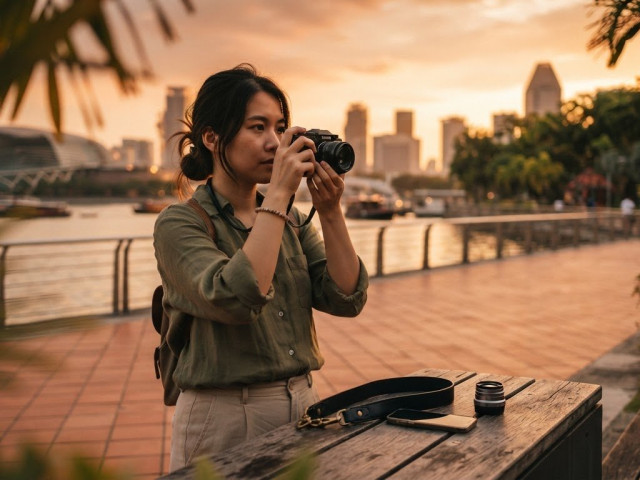
What if better travel photos had less to do with your camera and more to do with what you notice? It’s easy to feel unsure about what to photograph, fumble with settings, or come home with pictures that don’t capture how a place felt. These travel photography tips for beginners start with a simple idea: you can make meaningful images with the phone or camera you already own.
You don’t need to master every control before you begin. A little preparation and a repeatable routine can help you spot a promising moment, frame it clearly, and adapt when the light or scene changes. Small choices, such as moving closer or waiting for someone to enter the frame, can make an ordinary view feel more personal.
In this guide, you’ll learn how to plan what to look for, compose a varied set of images, and capture details and moments that tell the story of your trip. You’ll also find practical camera habits to help you spend less time adjusting settings and more time observing. Start with what you have, take one thoughtful frame at a time, and build confidence as you go.
Key Takeaways
- Use these travel photography tips for beginners to build a simple approach: notice your subject, clear distractions, and decide what matters in the frame.
- Use light, framing, and foreground-to-background layers to add depth, without treating composition ideas as fixed formulas.
- Choose a phone or camera that suits the moment, then rely on timing and careful framing rather than extra equipment.
- Follow a repeatable sequence: pause, identify your subject, check the edges, compose, capture, and review.
- Practise with familiar scenes before travelling, then review each image to decide what to try next.
Travel Photography Tips for Beginners: Start by Noticing the Story
You don’t need to master every camera control to make photographs that matter. Start by noticing what draws you in: a street vendor arranging fruit, rain gathering on a window, or a travel companion pausing to take in a view. Then simplify the frame. Identify your subject, look for distractions, and decide what you want the picture to communicate.
This is a useful foundation for travel photography tips for beginners because it gives you a clear first step before you think about technical settings. Ask yourself, “What caught my attention?” If you’re not sure, take a moment to look around. A small change in where you stand can turn a busy scene into a photograph with a stronger point.
A travel photo story is a set of connected images that gives a viewer a clear subject and a sense of what the place meant to you. The subject might be a destination, a shared meal, or the rhythm of a day. The Travel photography overview offers broader context on the genre, but your own story begins with what you notice.
What makes a travel photo feel like a memory?
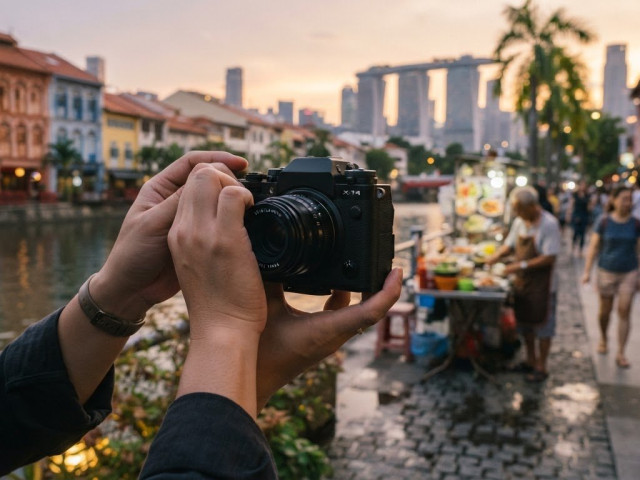
A picture of a landmark records where you were. A picture of the light falling across its steps, or of your travel companion looking up at it, shows what caught your attention. Build a small sequence: start with a wider view to establish the setting, then photograph a few closer details, such as a handwritten menu, patterned tiles, or a hand holding a warm drink. Include a moment or reaction as well. Together, these frames can bring back the feeling of being there, not just the name of the place.
How can beginners find a clear subject quickly?
Before lifting your phone or camera, decide what you want the viewer to notice first. If it’s a person, move closer so they stand out. If a sign or bright object competes for attention, change your viewpoint or wait for the background to clear. Take one deliberate frame and review it. If the subject is easy to identify, try another version from a different angle or leave more space around it.
Keep the first attempt simple. You’re training your eye to choose, not trying to capture everything at once. With practice, the process becomes a steady habit: notice, simplify, frame. If you’d like guided support with the basics, Pictorial’s Basic Photography Course helps you build a foundation through hands-on learning.
Compose Travel Photos Simply With Light, Layers, and Framing
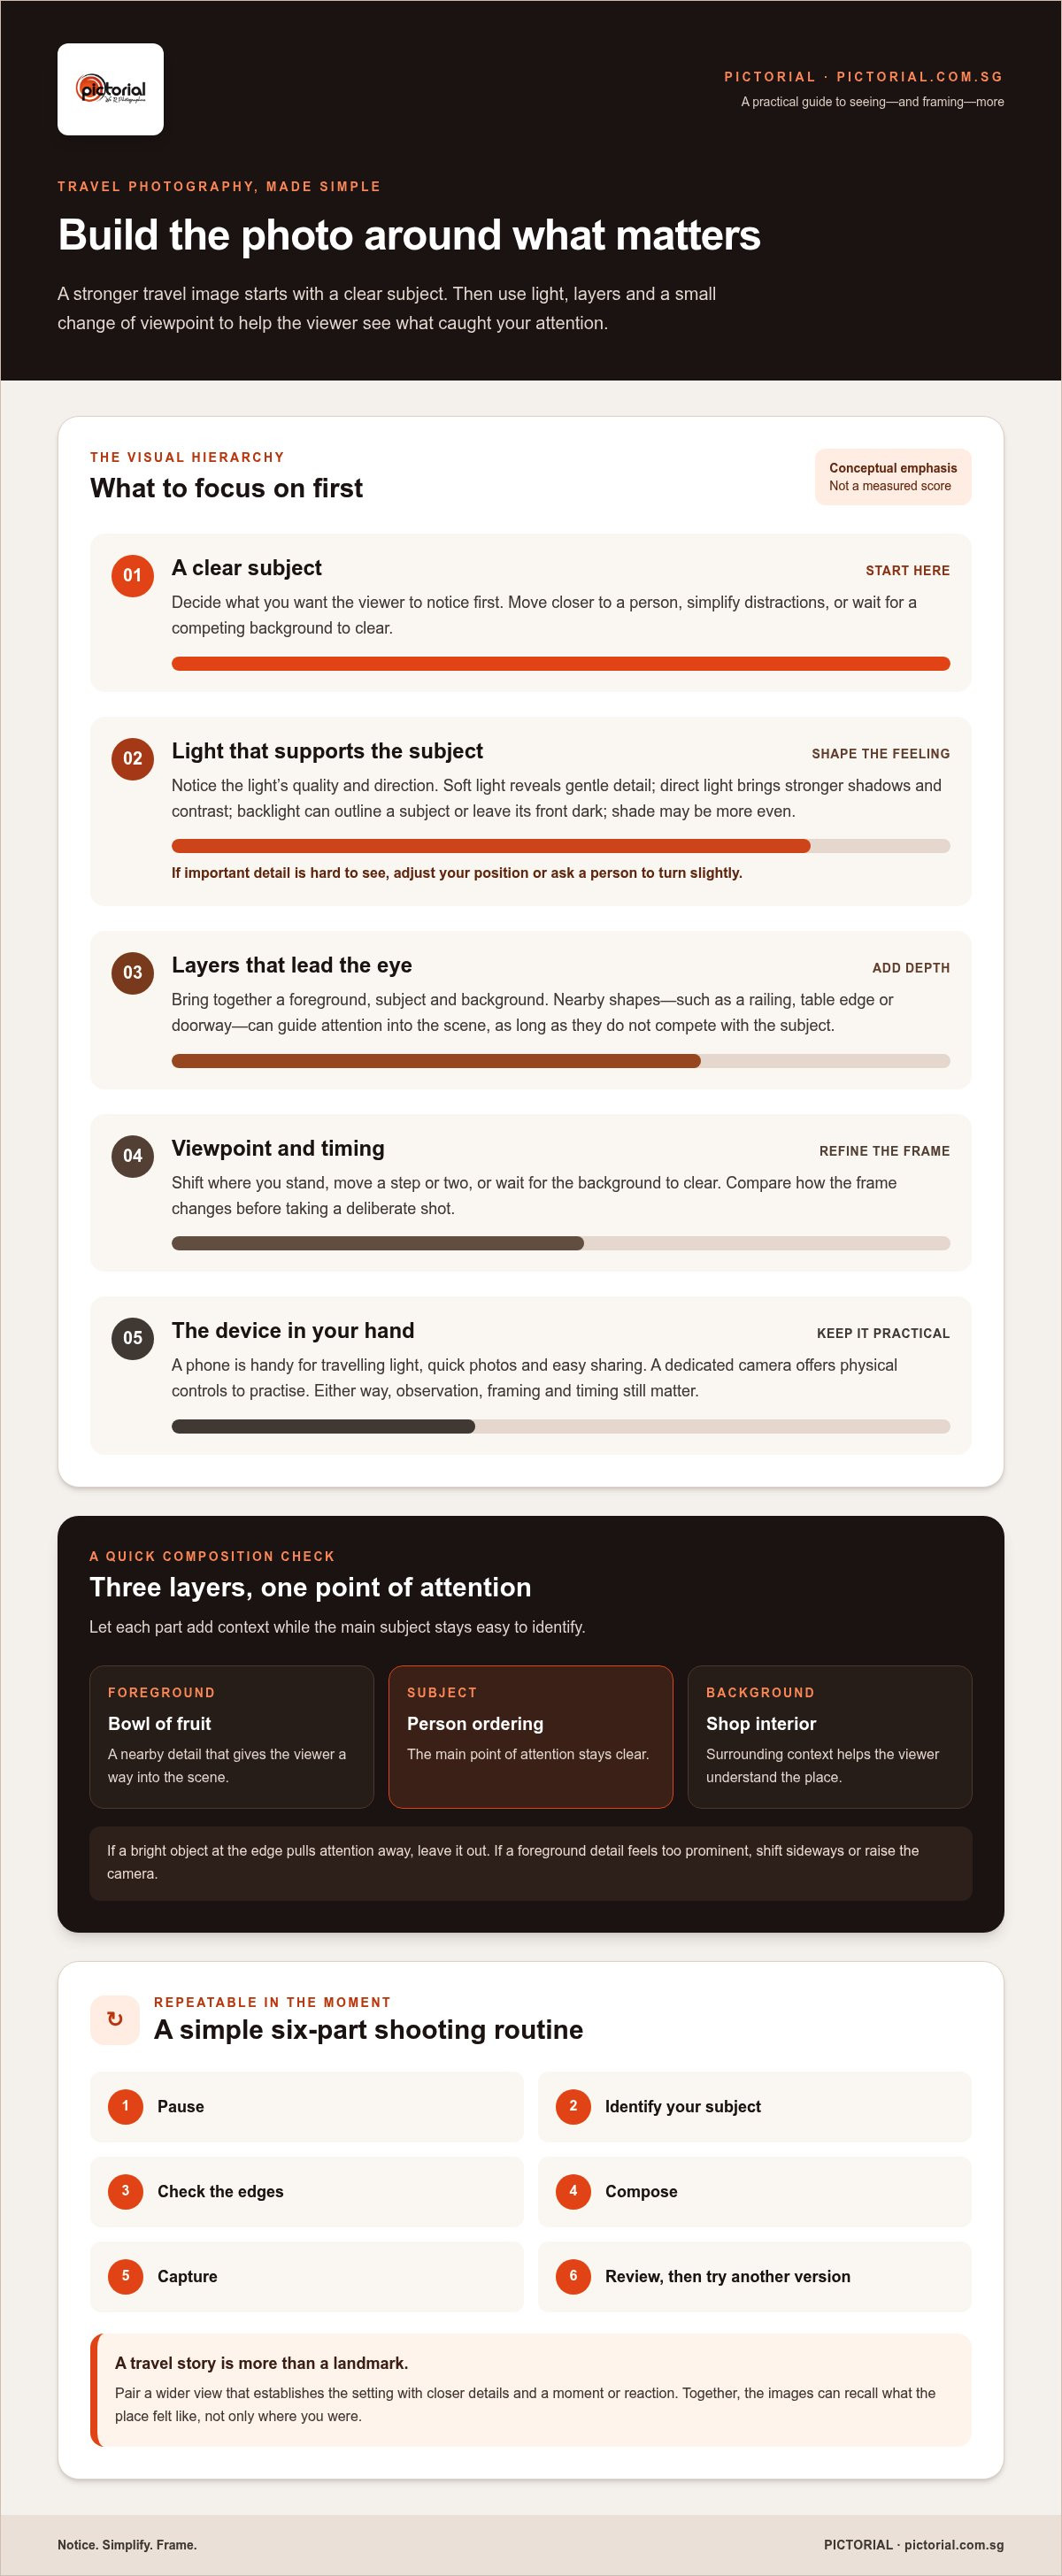
Once you’ve chosen what matters in a scene, decide how to arrange it in the frame. Composition isn’t a set of rules you must obey. It’s a way to guide the viewer’s eye, using position, light, and nearby shapes to make your subject easier to notice. A small change in where you stand can make a photograph feel calmer, deeper, or more lively.
Foreground, subject, and background work together to create visual depth, leading the eye from what’s nearby into the scene and towards what matters most. Picture a bowl of fruit on a table, a person ordering behind it, and the shop interior beyond. Each layer adds context while the bowl or person remains the main point of attention.
How can layers make a travel scene feel more immersive?
Look for a nearby detail that points towards your subject, such as a railing leading to a view or a table edge guiding the eye towards a meal. A doorway, window, or branch can frame the scene naturally, giving the viewer a sense of looking into it. Make sure these elements support the subject rather than competing with it. If a foreground object feels too prominent, shift sideways or raise the camera to simplify the frame.
Move a step or two and compare how the layers change. A clear foreground can connect a distant building to the street around it. But if a bright object at the edge pulls your attention away, leave it out. The best composition is the one that helps the viewer understand what you noticed.
How should beginners work with changing natural light?
Before taking the picture, notice the quality and direction of the light. Soft light can reveal gentle detail; direct light creates stronger shadows and contrast; backlight can outline a subject or leave its front dark; shade may provide more even illumination. None is automatically best. The right choice depends on the feeling you want and whether the subject remains clear.
If harsh light hides a face or important detail, ask the person to turn slightly, or move so the light falls from the side rather than straight behind them. For a still scene, a small change in position may bring a shaded surface into view. Take a test frame and check that the main subject is readable before making more versions.
These travel photography tips for beginners work with a phone or camera: study the scene, choose what to include, then use light to support it. For more phone-specific suggestions, How to Take Better Travel Photos With Your Phone offers additional guidance on framing and light. To practise these choices with guidance, explore Pictorial’s Mobile Photography Essentials.
Choose the Right Travel Photo Approach for Phones and Cameras
You don’t need to settle the phone-versus-camera question before every trip. Choose the device you can carry comfortably and use without missing the moment. Phones keep photography close at hand, while a dedicated camera gives you physical controls to practise deliberately. Neither replaces observation, thoughtful framing, or good timing.
Is a phone enough for beginner travel photography?
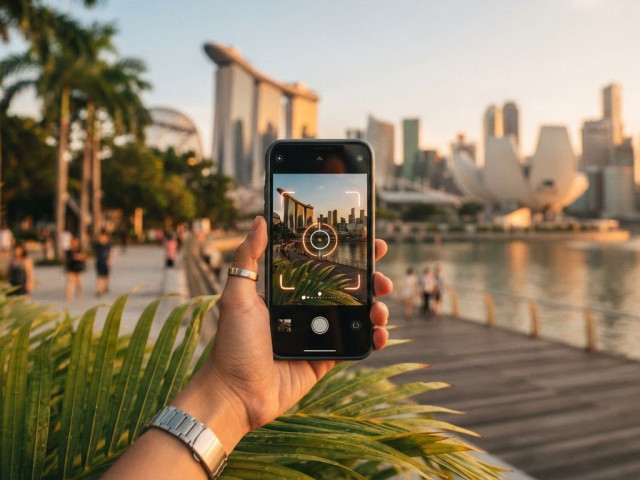
A phone is practical when you want to travel light, take a quick photograph, or share it easily. Before you shoot, wipe the lens with a clean cloth and check the edges of the frame for distractions. Tap to focus if needed, then pause to make sure the scene still looks the way you intend. These simple habits are often more useful than switching devices.
If you want to explore phone photography in more depth, Pictorial’s Mobile Photography Essentials gives you a structured way to develop those skills.
When might a dedicated camera feel useful?
A dedicated camera can be useful if you want tactile dials and buttons for making adjustments. Learning where the controls are helps you work with more intention, but unfamiliar settings can also slow you down. Practise with your camera before your trip so you can use it comfortably. A camera is a tool, not a requirement for making a meaningful photograph.
Use this quick guide to choose an approach for the moment:
| Situation | Suggested approach |
|---|---|
| A passing street scene | Use the device already in your hand so you can respond without delay. |
| A slower walk or planned stop | Use a camera if you want to practise its controls and take time composing. |
| A meal, sign, or small detail | Move close enough to make the detail clear, then check the frame for clutter. |
| A changing scene or quick moment | Keep the setup simple and be ready to capture the moment as it unfolds. |
These travel photography tips for beginners come down to using what feels familiar, then giving your attention to the scene. You might photograph the same view with a phone and a camera, but you don’t need to carry both. Choose one device, notice what is happening, and make a deliberate frame. If you’d like a structured introduction to camera basics, Pictorial’s Basic Photography Course offers hands-on learning for building confidence through practice.
Use a Repeatable Travel Photography Workflow in the Moment
A simple routine can help you respond to a scene without getting stuck adjusting settings. Use the same short sequence for a passing moment or a quiet view. It keeps your attention on the subject and gives you a quick way to check whether the frame is working.
Pause, identify your subject, check the edges, compose, capture, then review. Treat this as a guide, not a checklist you must complete perfectly every time.
- Pause: Take a breath and notice what’s happening before raising your device.
- Identify: Decide what you want the viewer to notice first.
- Check: Scan the background and frame edges for distractions or someone about to enter.
- Compose: Choose a horizontal or vertical frame that suits the subject, then steady your phone or camera.
- Capture and review: Take the photograph and check that the important detail is clear.
What should you check before taking a travel photo?
Look at the subject, the space behind it, and the direction of the light. A bright sign at the edge or someone crossing behind your subject may pull attention away. Wait a moment or shift position if it helps. Horizontal framing can suit a broad view or group, while vertical framing often works for a tall building or a person in the scene. Choose the orientation that supports what you want to show.
If the light changes or your subject starts moving, take a quick test frame. Check whether the subject is visible and in focus, then adjust your position or tap the screen to focus before trying again. Keep technical changes modest in the moment. You can practise focus and exposure controls more thoroughly when you’re not trying to catch a fleeting scene.
How can you review photos without interrupting the trip?
You don’t need to inspect every frame as soon as you take it. Review a small selection during a natural pause, such as while waiting for a meal or resting between stops. Check two things: is the intended subject in focus, and can you identify it quickly? Retake the picture only if you spot a clear, fixable problem and doing so won’t cost you the moment.
With practice, this routine becomes one of the most useful travel photography tips for beginners. It creates space to notice, make a choice, and move on without turning every stop into a technical task.
Want to put these ideas into practice with guidance? Explore Pictorial’s practical photography courses, with hands-on outdoor shooting and small classes capped at three participants.
Build Confidence With Practice Before Your Next Trip
You don’t need to wait for a holiday to practise travel photography. Familiar places give you room to experiment without feeling rushed, so you can learn to notice a subject, make a frame, and decide what to change next. Keep each practice session simple. The aim isn’t to create a perfect set of pictures, but to become more comfortable making deliberate choices.
How can you practise travel photography close to home?
Choose one everyday subject, such as a market stall, a café table, or a plant by a window. Make a wide frame to show its surroundings, a medium frame focused on the subject, and a close-up of one detail. On another outing, repeat the exercise in different light. Change one decision at a time, such as your position or framing, so you can see what that choice does.
Afterwards, select a few images and ask: Is the subject easy to understand? Does the composition guide my eye? What would I try differently next time? Write a brief note beside each frame. A specific observation, such as “the bright sign distracts from the person,” gives you something useful to practise on your next walk.
If you’d like to practise these ideas with guidance, hands-on photography classes can help you apply them while you’re out shooting. Pictorial keeps classes small, with a maximum of three participants, so learners can get personalised guidance and work through practical questions as they practise.
When can guided photography practice help?
Guidance can be useful when you understand an idea in theory but aren’t sure how to apply it in a real scene. A photography instructor can help you notice what’s competing with your subject, suggest a change in viewpoint, or help you understand why a frame feels unbalanced. Immediate feedback can make it easier to connect a choice you made with the result.
Build confidence with a short cycle: practise with a familiar subject, review a few images, note one adjustment, then try again. You can also explore Pictorial’s Basic Photography Course for guided foundational learning. Deliberate practice helps you bring a calmer, more observant approach to your next trip, whatever device you take.
Take These Habits Into Your Next Trip
Meaningful travel photographs don’t depend on complicated equipment. Notice what draws your attention, simplify the frame, and use a steady routine to check your subject and surroundings before you shoot. Practising with familiar scenes helps these choices feel more natural when a moment unfolds somewhere new.
These travel photography tips for beginners are a starting point, not a set of rules to get perfect. Review your images, notice what works, and choose one small thing to try differently next time.
For guided learning, Pictorial offers hands-on photography courses led by professional photographer Keith. Founded in 2005, the institute has taught more than 20,000 students, with classes capped at three participants. Bring your own camera or borrow one at no charge if needed.
Take your time, stay curious, and trust your eye to grow with practice. Your next thoughtful frame can begin with simply pausing to look.
Frequently Asked Questions
How do beginners take better travel photos?
Beginners take better travel photos by choosing a clear subject and keeping the frame simple. Pause to decide what caught your attention, check the background and edges, then compose before shooting. These travel photography tips for beginners work with a phone or camera. Review a few images during a natural break, notice what reads clearly, and use one observation to guide your next frame.
What should I photograph when travelling?
Photograph a mix of wide views, local details, and moments that show how you experienced the place. A busy street might inspire a scene-setting frame, followed by a close view of a shop sign or meal, then a candid moment with your travel companion. Look beyond famous landmarks to textures, patterns, daily routines, and changing light. Choose subjects that catch your attention rather than trying to record everything.
Is a phone camera good enough for travel photography?
Yes, a phone can be a practical choice for travel photography, especially when you want a camera close at hand. Clean the lens, check the frame, and tap your main subject to focus if needed. Phones and dedicated cameras have different controls and uses, but neither guarantees a meaningful photograph. Careful observation, timing, and framing help you make the most of whichever device you’re comfortable carrying.
What camera settings should beginners use for travel photography?
Start with your camera’s automatic or basic shooting mode while you practise recognising good light and framing. On a phone, tap the subject to focus and adjust the exposure slider slightly if the image looks too bright or dark. If you use a camera, learn one control at a time rather than changing several settings at once. Check the result on screen, especially when the light or subject movement changes.
How do I take sharp travel photos without a tripod?
Hold your phone or camera with both hands, keep your elbows close to your body, and press the shutter gently. If possible, brace yourself against a stable surface or rest your arms on a railing. In low light, pause before taking the picture and avoid moving as the shutter fires. For a moving subject, use a faster shutter setting if your camera allows it, then check focus.
How can I make travel photos look more interesting?
Change your viewpoint before taking another picture. Step closer to a detail, lower your camera, or use a doorway or nearby object to frame the subject. Look for layers that connect the foreground, main subject, and background, but leave out anything that competes for attention. A sequence of a wide view, a specific detail, and a personal moment can also suggest more about your trip than several similar landmark shots.

Article by
Keith Low
Photography Mentor & Founder
Disclaimer
© Pictorial | All Rights Reserved.